
Assign Guides to Tours
Who can use this feature?
Admins, Guide Admins, or users with Staff & Staff+ role.
To be able to assign staff to tours in the calendar we need to ensure that the product has the option Need staff? toggled on.
Navigate to the product → click the product → In Product settings, toggle on Need staff? → Save changes.
Activate Guides on a Product
Before you can assign guides to tours, you'll need to enable guides for the necessary product(s) to make them available for scheduling.
Navigate to the Product. From the left side bar, click Products → Products → Select the one you’d like to edit.
In the Product Settings tab, scroll to the Operations section.
Toggle on Need staff?

(Optional) Add the necessary Guide Tags.
Only guides with the selected tags can be scheduled for this product.
Assign Guides as an Admin
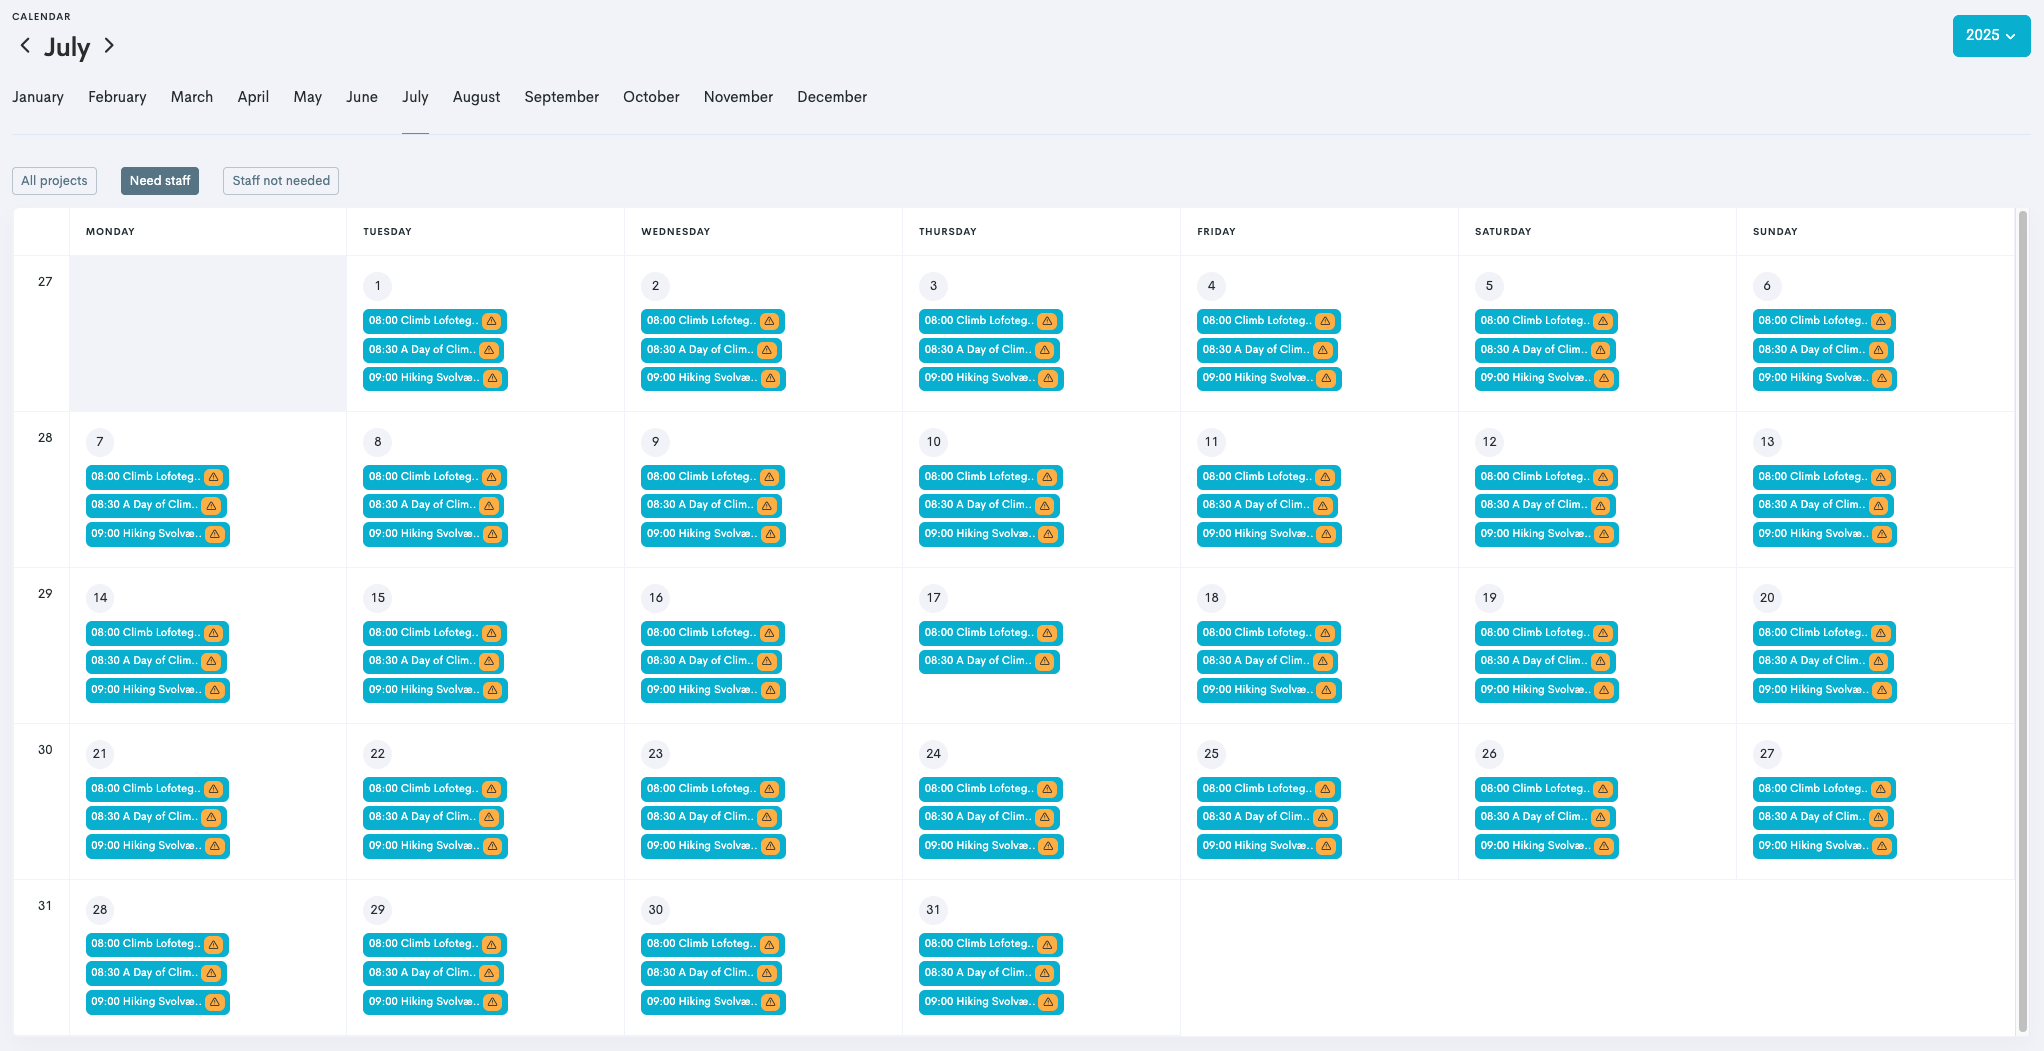
Navigate to Calendar → Month.
Filter to only view tours that need staff: Click the Need Staff: All icon
 → check the box Need staff.
This will display all tours linked to a product with 'Need Staff?' enabled that still need guides to be assigned.
Select a tour to assign. (This takes you to the Project page.)
In the Program section, click the yellow warning icon
 (this indicates that staff is needed for this tour).
 Click the Add icon
 next to the guide you want to assign.
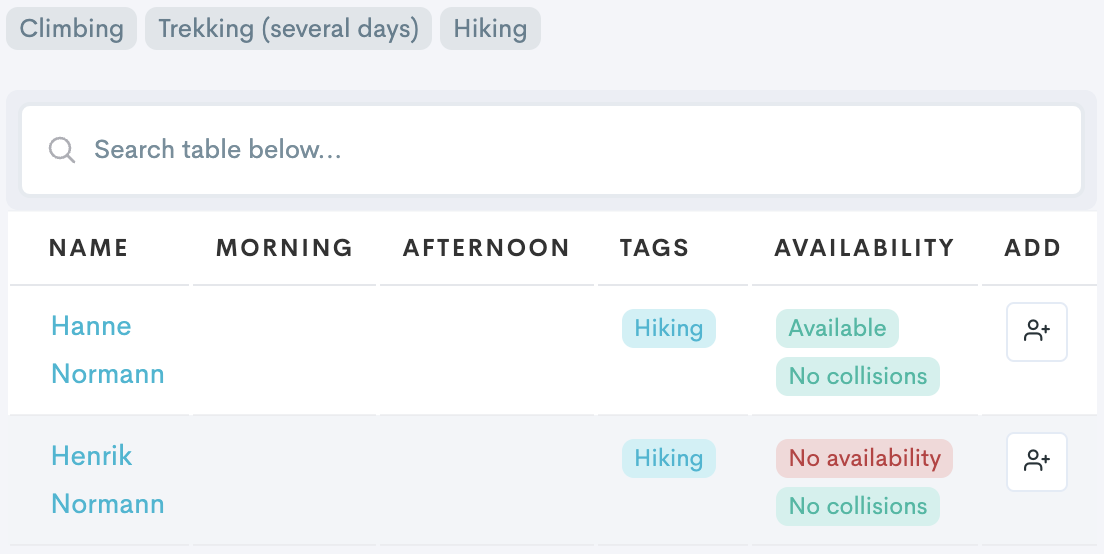
Note: You can filter by guide tags. For instance, if it’s a rock climbing tour, you could use the “Climbing” tag to show only climbing guides.
In the pop-up window, you can edit the guide’s start and end time.
Note: By default, this aligns with the tour’s start and end times. However, they can be adjusted to match the guide’s working hours.
(Optional) Add Instructions for the guide.
(Optional) Check the box for Notify the guide by email? to send them a notification. (This is recommended.)
Click Add staff.
The guide will now appear under Staff added on plan.

Click Project to go back to the Project page. Here you can see that the name of the guide has replaced the triangular icon.
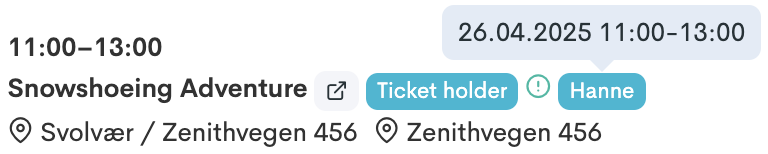
Hover over the guides name to view details of the assignment.
Assignment Calendar
The Assignment Calendar
Navigate to Personnel → Assignment calendar in the left side menu.
Note: Working the same way as the original calendar, this calendar will show the tours that have assigned guides on them.
You can also access this info by going to the original Calendar and filtering on the Need staff: All ![]() icon.
icon.
Self Assigning for Guides
This requires having the Staff+ role in addition to the Staff role.
Navigate to Self assign calendar in the left side menu.
Click the tour you want to assign (one of the blue bubbles).
In the Program section, click Me. This will add you to the tour.

Go ahead and view the different tours you have assigned yourself to by clicking:
My roster: The upcoming schedule is prominently displayed, with upcoming engagements listed first and completed activities shown in a separate section below.
Your calendar: Displays the monthly calendar, showing the tours to which you are assigned.