
Connect Extra Product to Main Product
The Extra Product is connected to the availability (tour period) of the product, and not the product itself. That applies that if you have to edit the Extra, you will have to navigate to the tour period to do so.
Connect the Extra
Navigate to the tour period, using one of the following paths:
Go to the Product by Products → Products → Select the tour series you’d like to edit → Availability.
Go to Projects → Tour Periods.
Here you will have a full overview of ongoing tours that are bookable, upcoming, and passed. You’ll notice a column called ‘extras’ here you’ll be able to view at a glance if you have extra products attached to those tours.
Click the Extras button
 on the tour you want to connect the extra to.
Stay in the tab Add new extra.
Check off the Project periods that you want to get the extra product added.
Select the Extra Product in the drop down. If no products show, you have no extra products in your product pool.
(Optional) Edit Max entrants.
You can toggle on or off a Individual time on extra product. Example: If you have a day tour stretching from 10-15, and the extra is a lunch lasting from 12-13.
Prices are collected from the extra product, but can be edited.
Click Register.
Checkout - What Your Customers See
When properly connected, the Extra will be displayed in the booking process (checkout), and will be possible to book in addition to the main product.
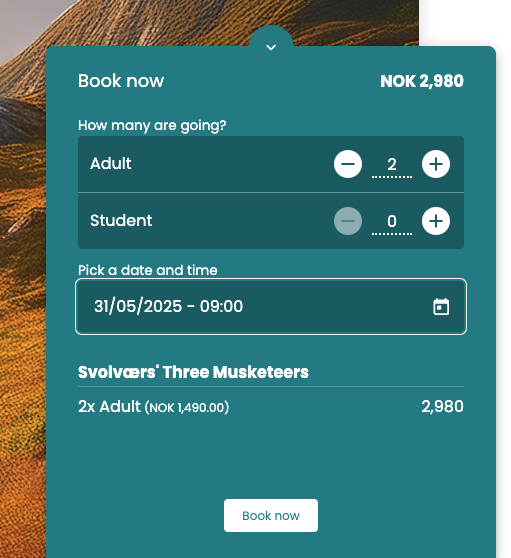
Your customer find their desired product and navigate to the booking widget on the product page on the website to select their day and time.
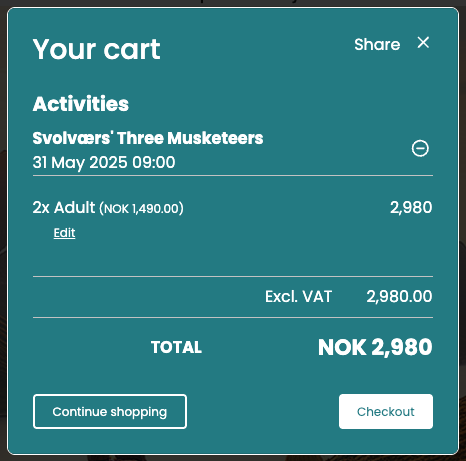
An (optional) pop-up overview of the cart will prompt the customer to checkout.
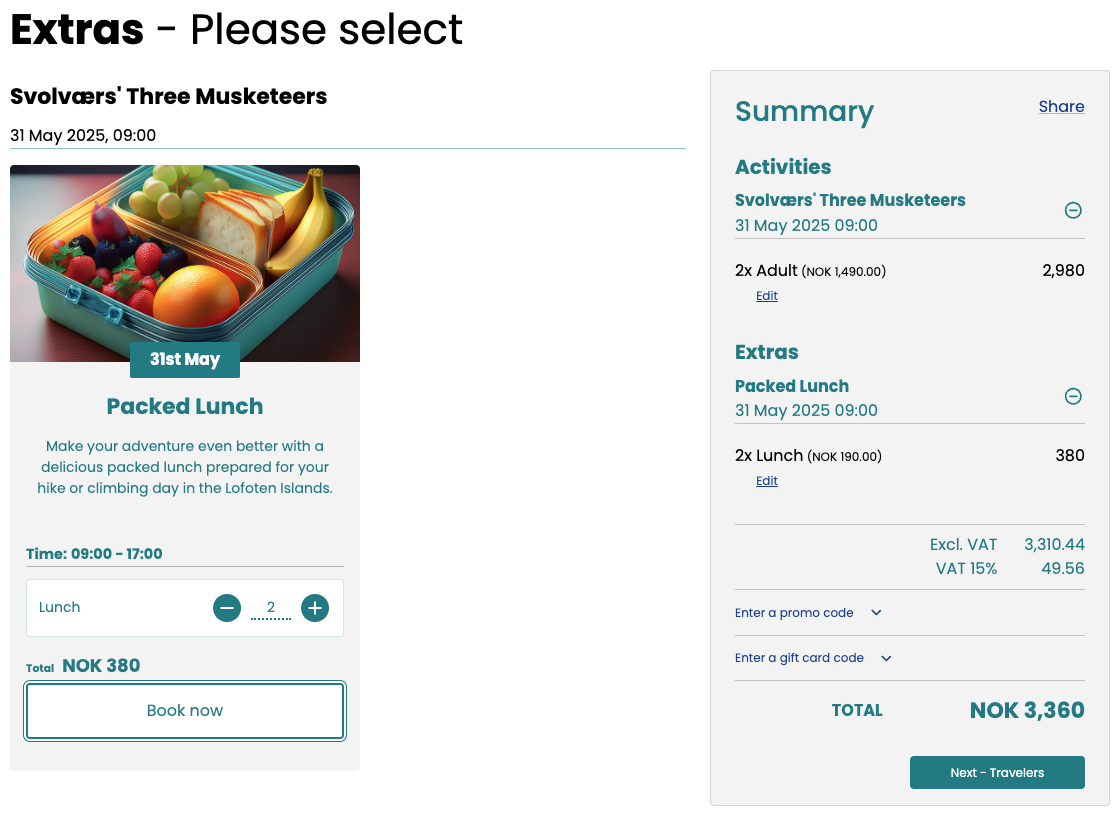
The optional option to select the connected Extra product(s) appear and the customer can select as many as the capacity makes possible.
Your customer can now complete the checkout process.
