
Booking Requests
Booking Requests are request customers can initiate through a Request Widget.
Customer View
There are two different widgets where a customer can submit a request from.
The customer fill in the appropriate information in the widget, and will receive a confirmation email upon request. This request will come in to Bilberry, in the leads overview.
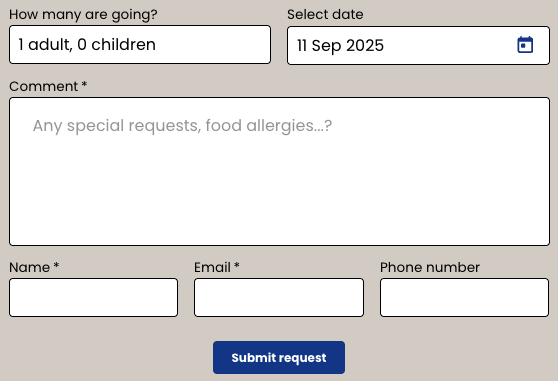
Leads Form Widget
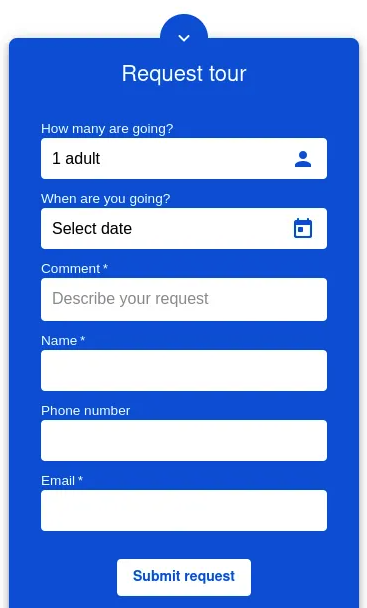
Request Tour Widget
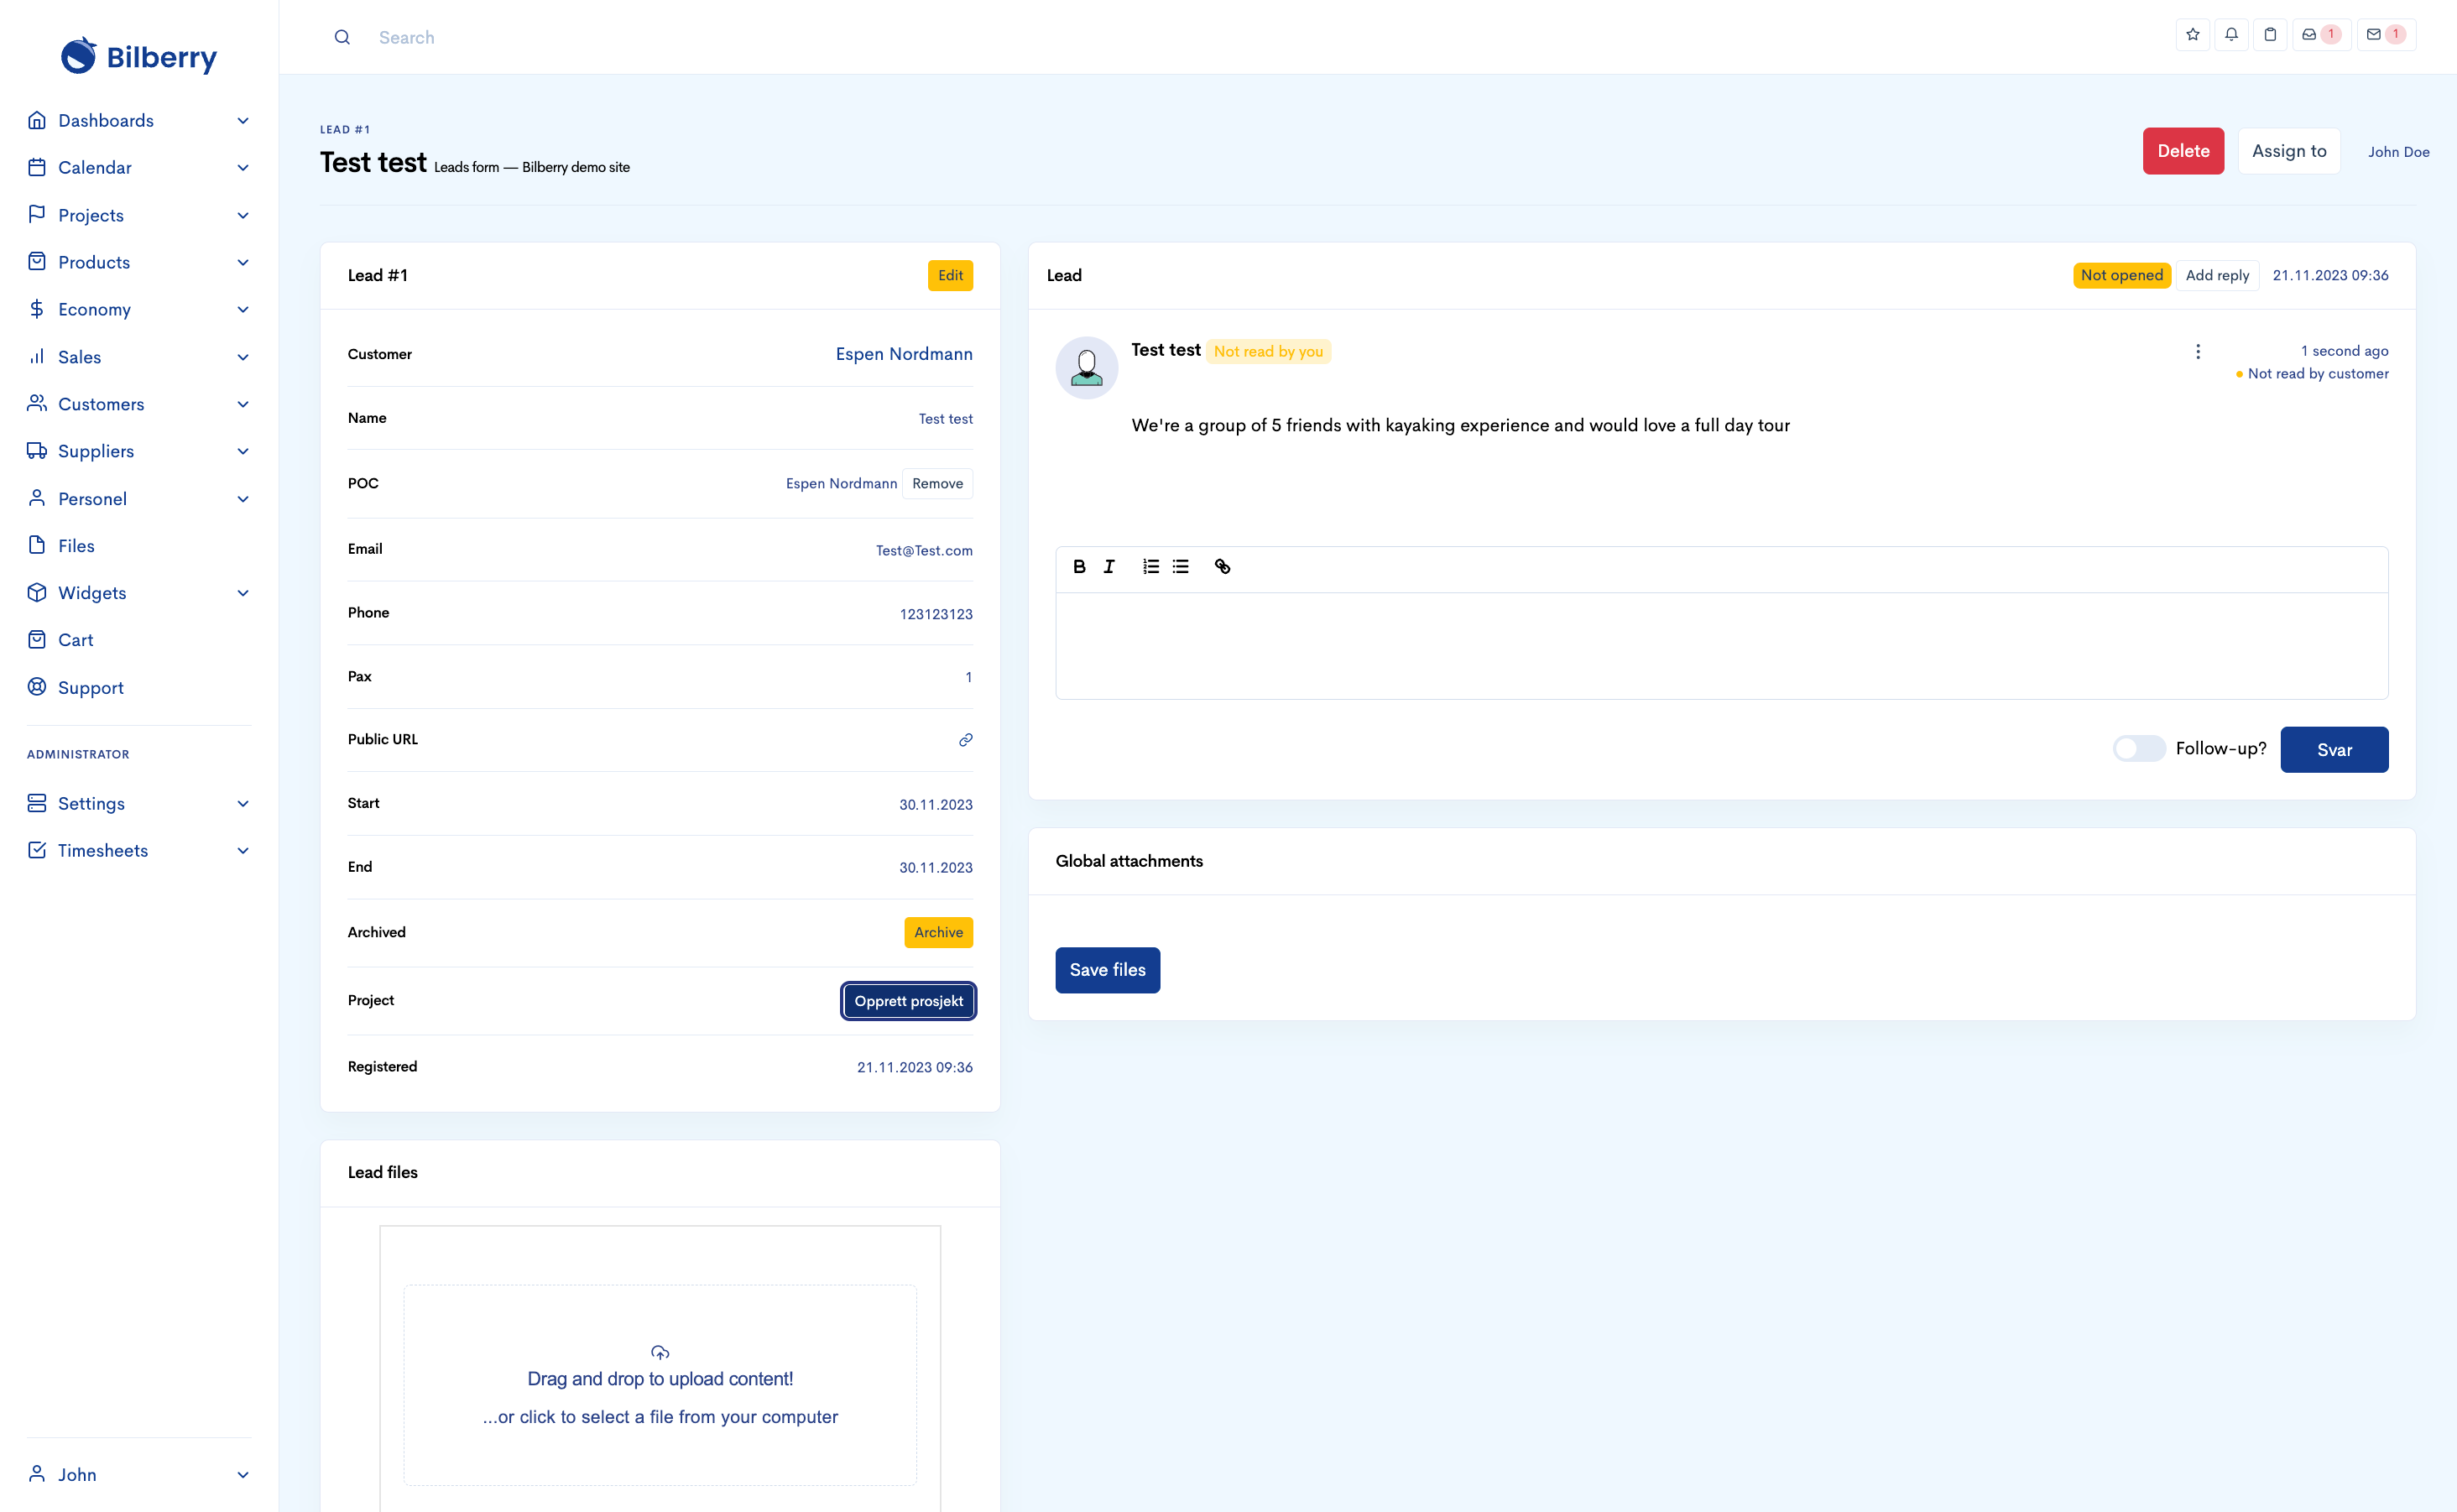
Handling a Request Coming Through a Online Widget
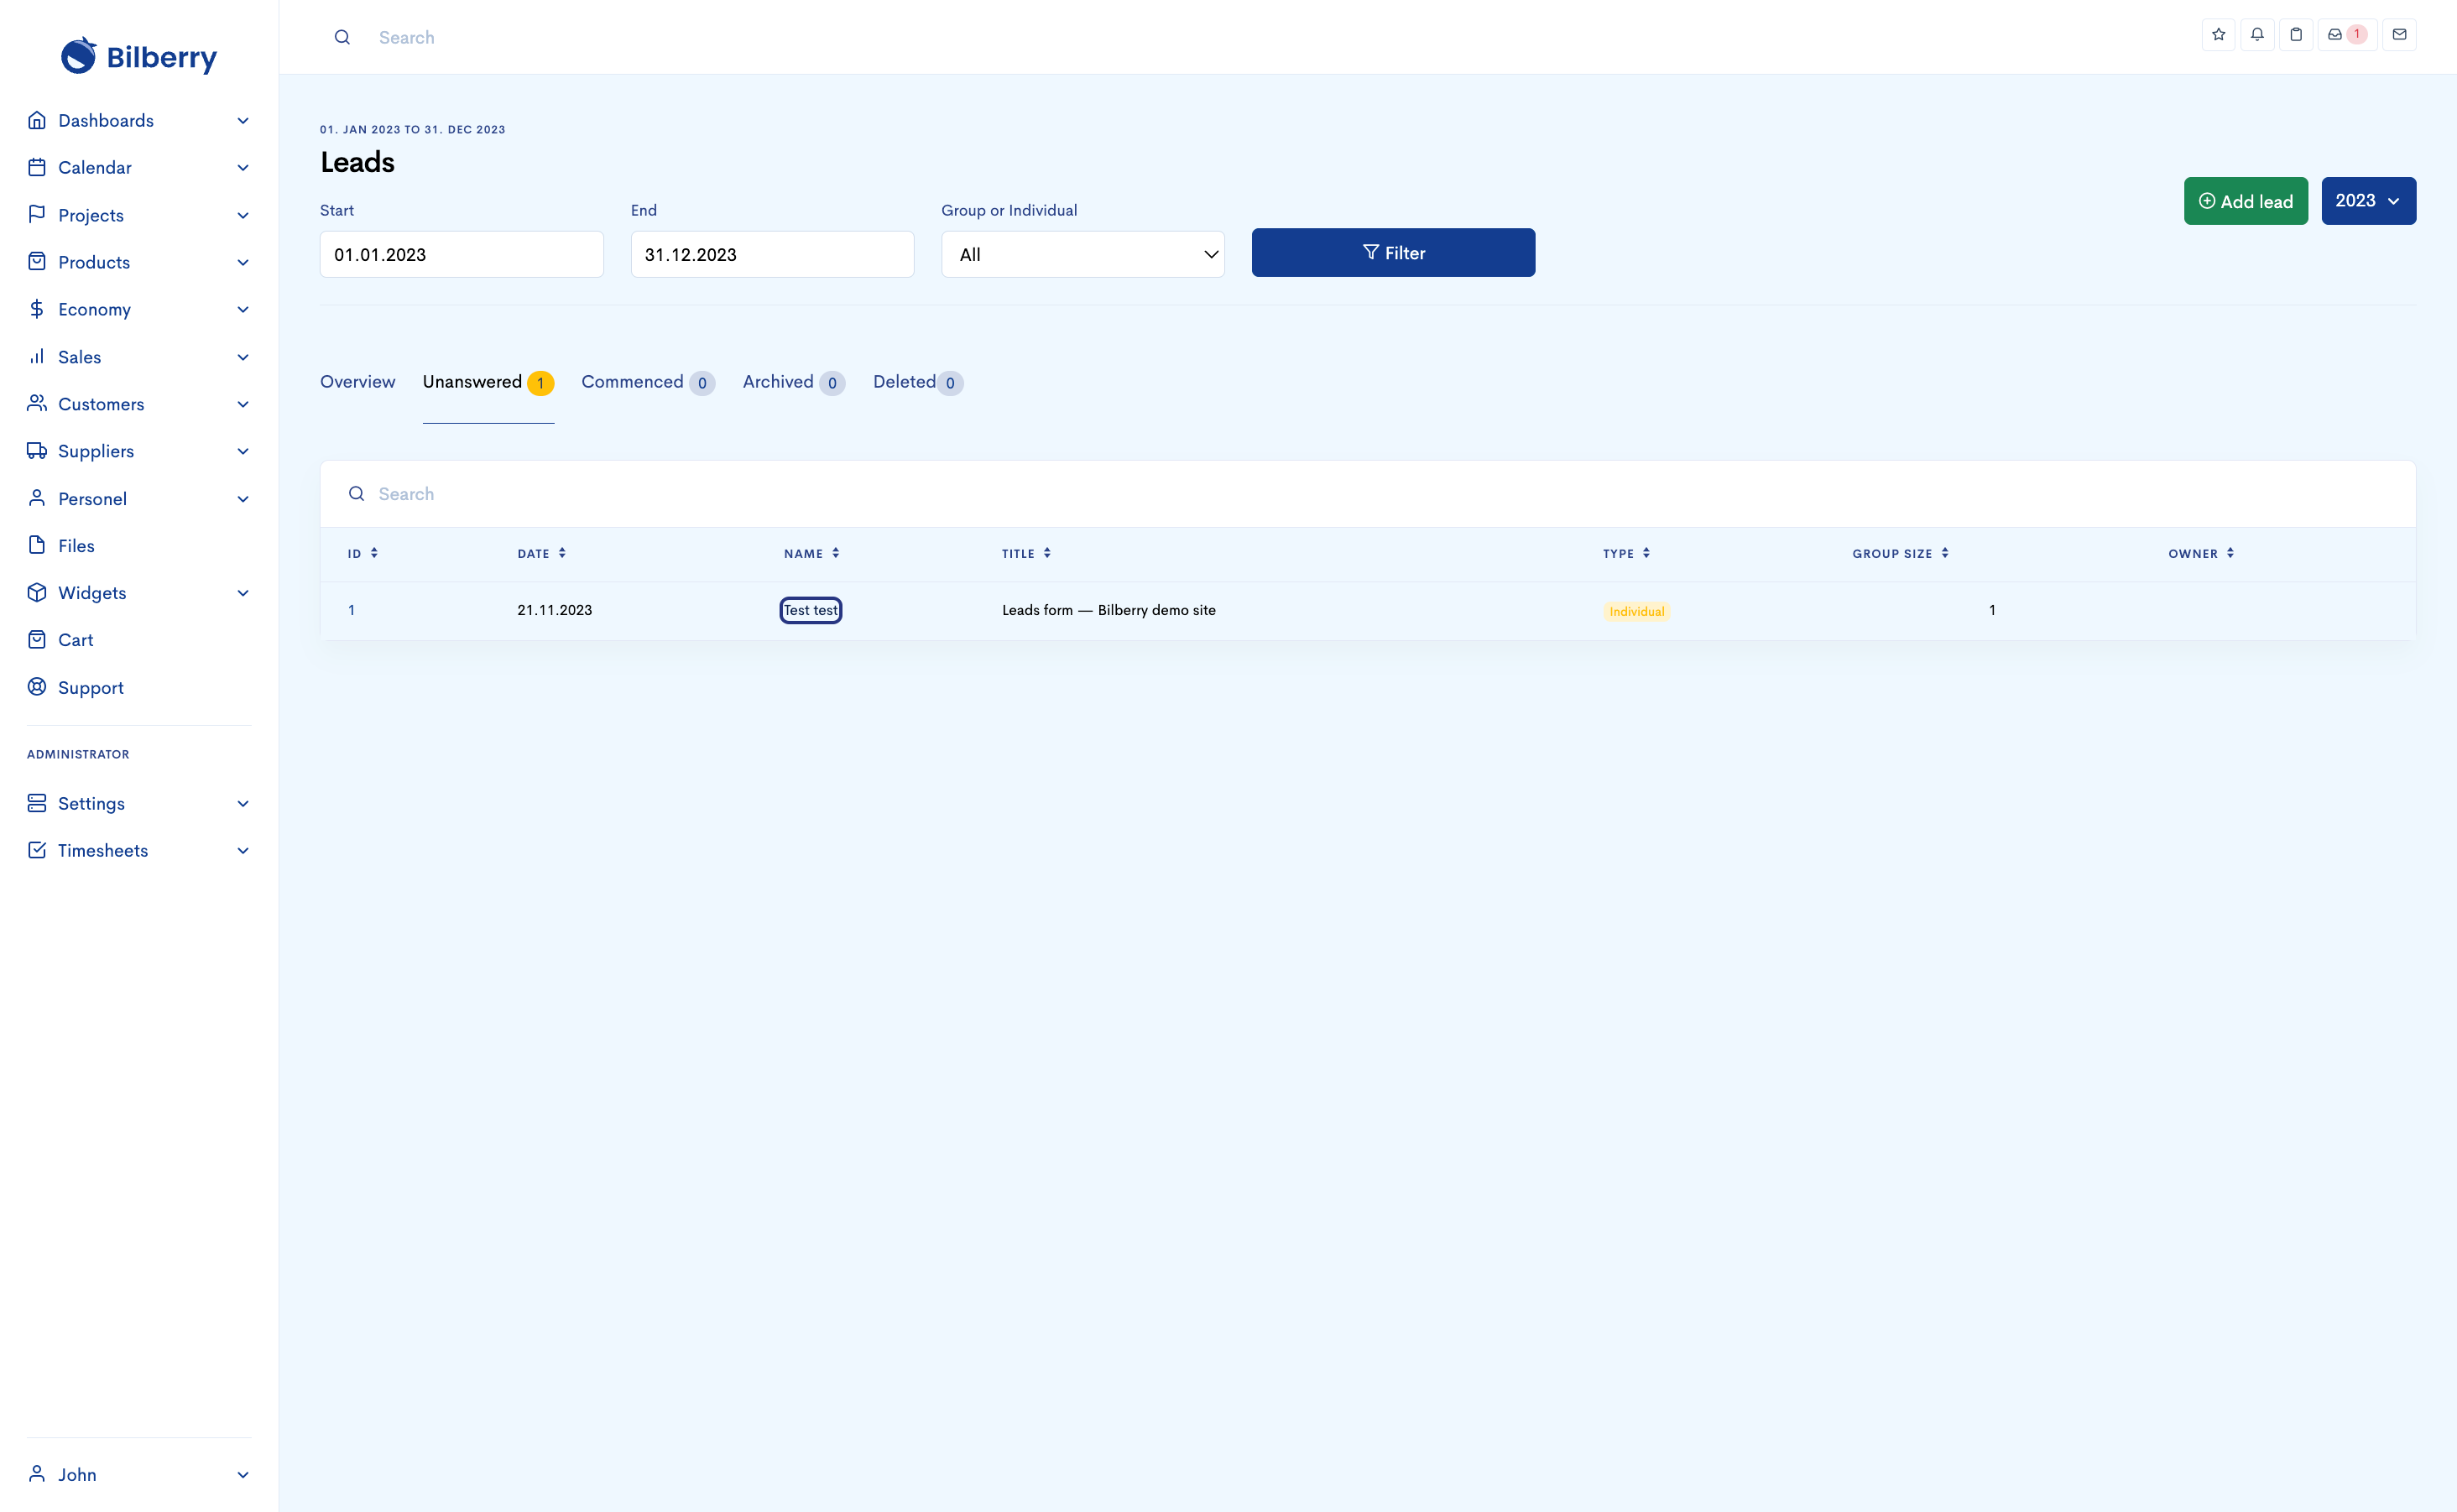
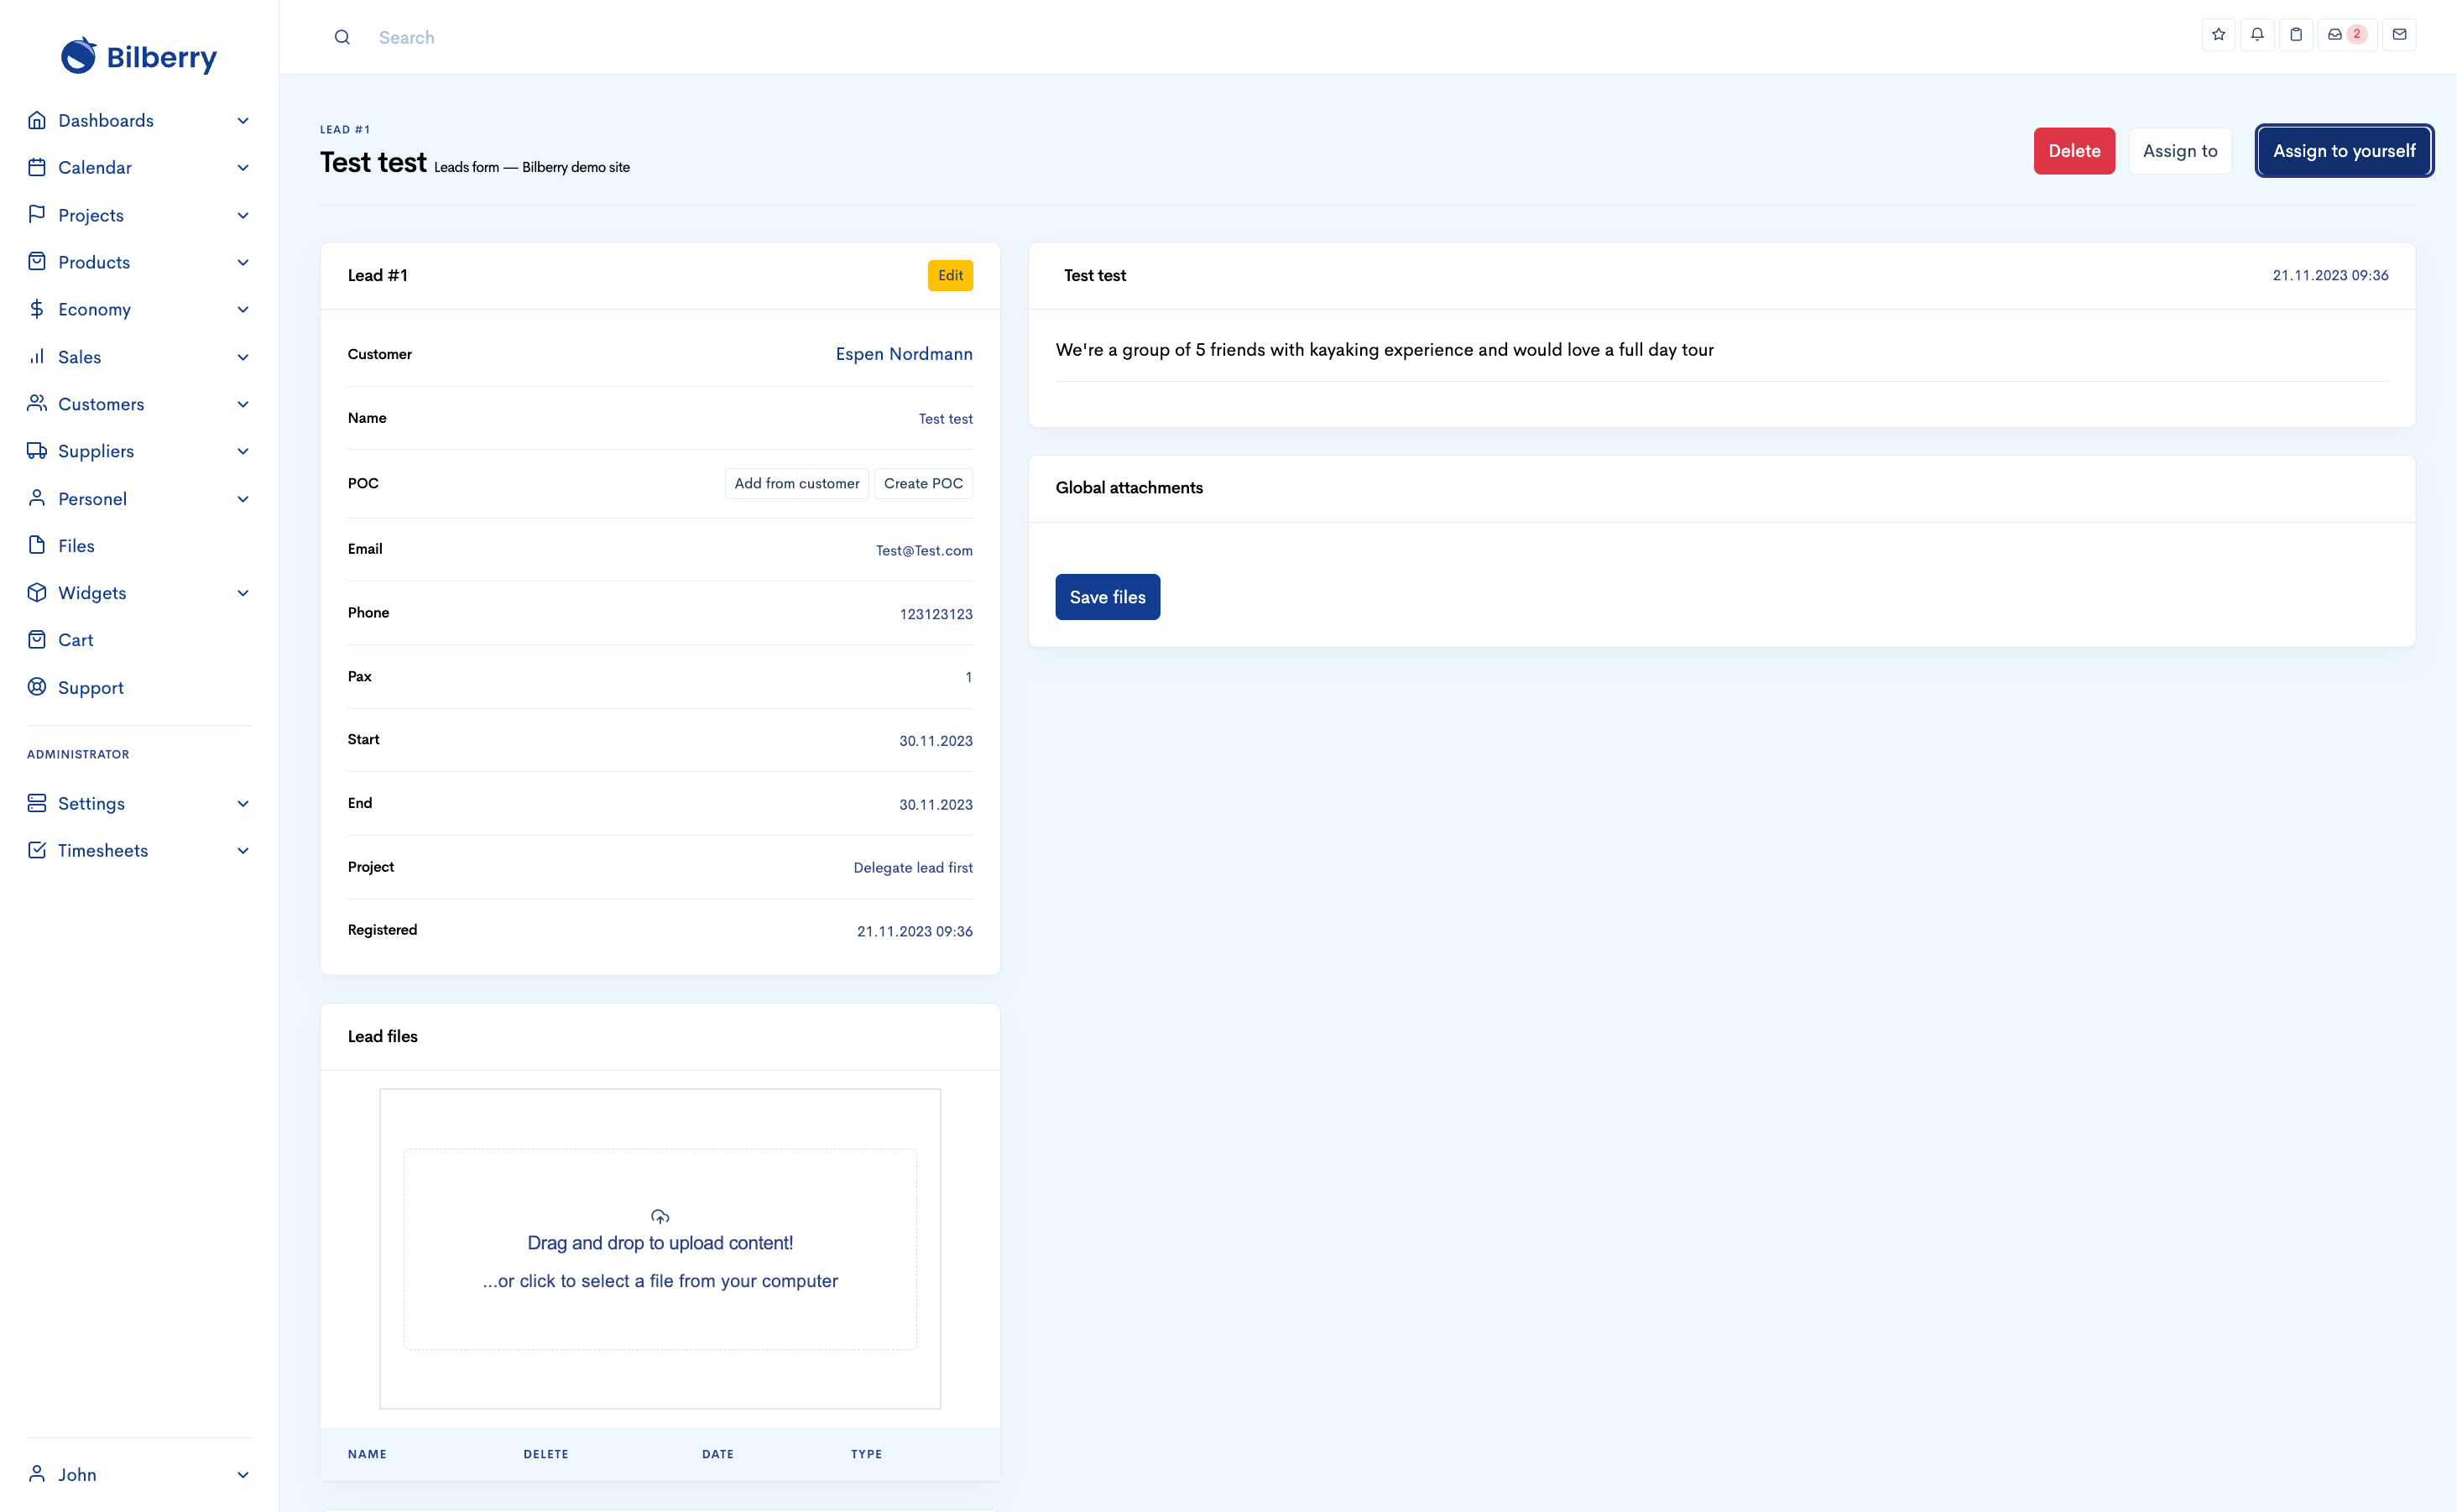
Select the unanswered lead to create a private event & build an itinerary
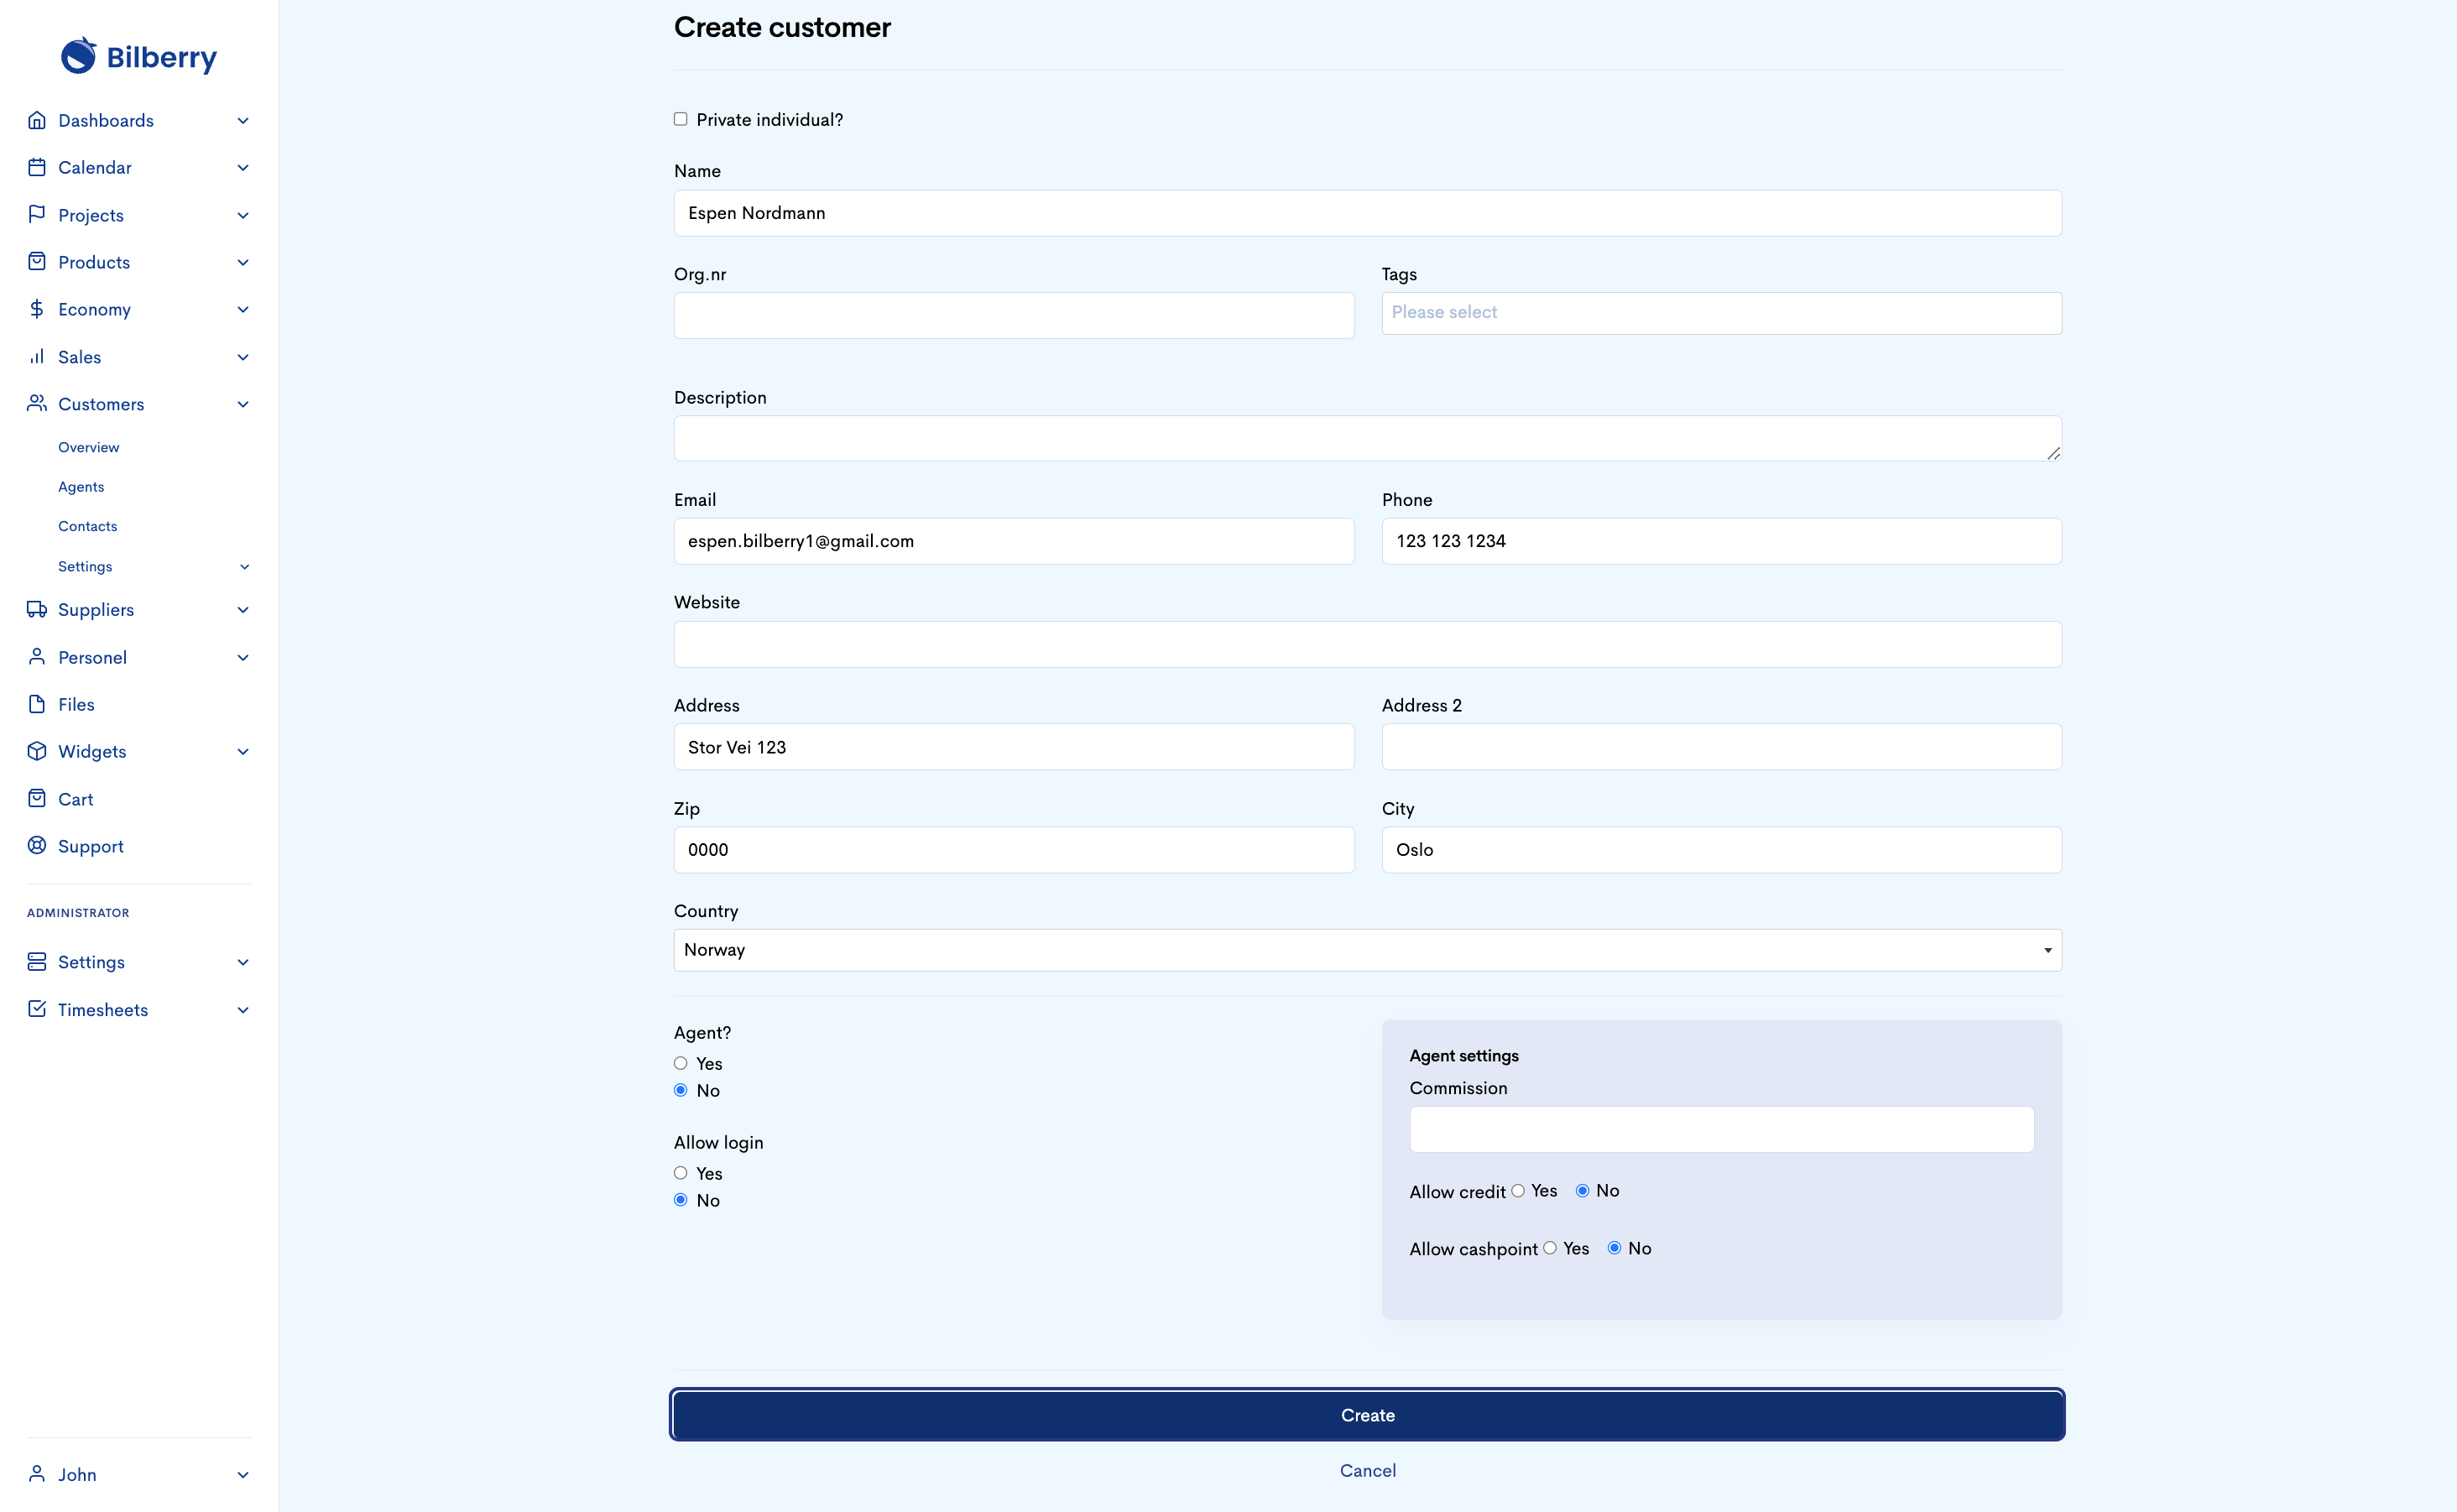
Click on ‘create new’ customer
You do this because you have to have their Point of contacnt so you can send out an offer
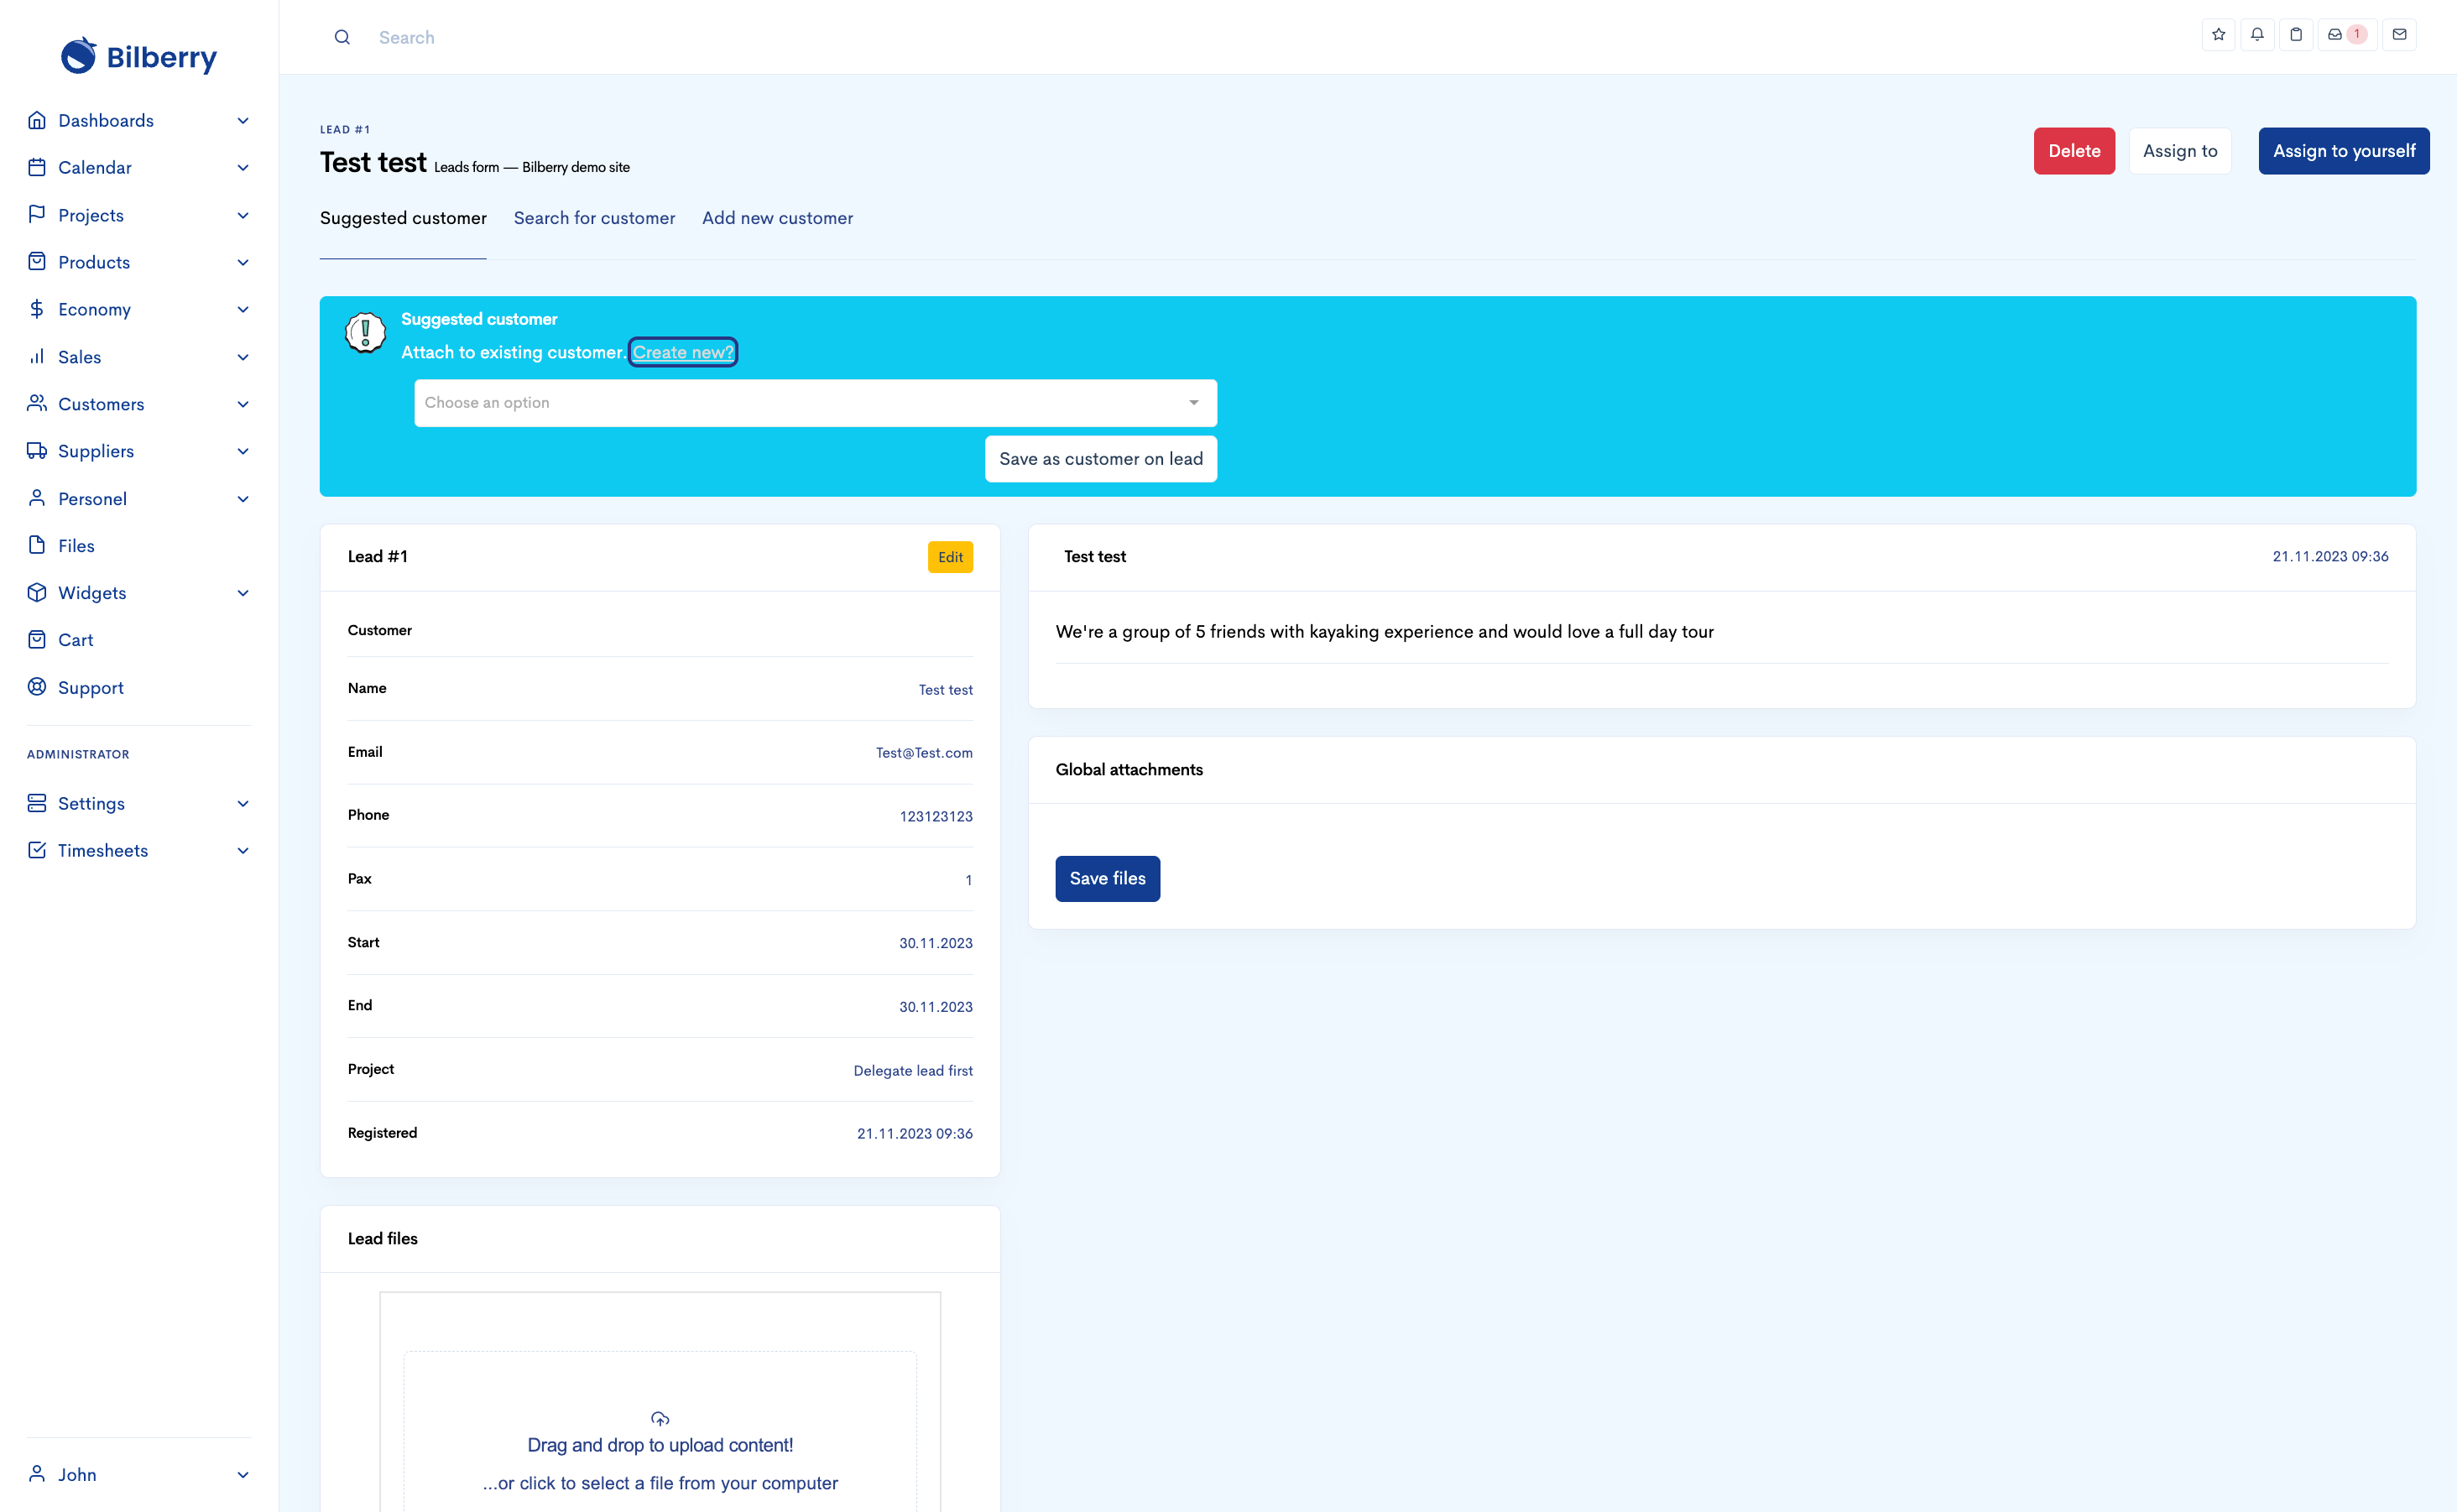
Input information received in the widget to create a customer card. Click create when finished.
This will allow you with the necessary information to invoice etc. for Private customers, no need to input agent information. Only use information written in this card as a guide.
Assign the lead to yourself
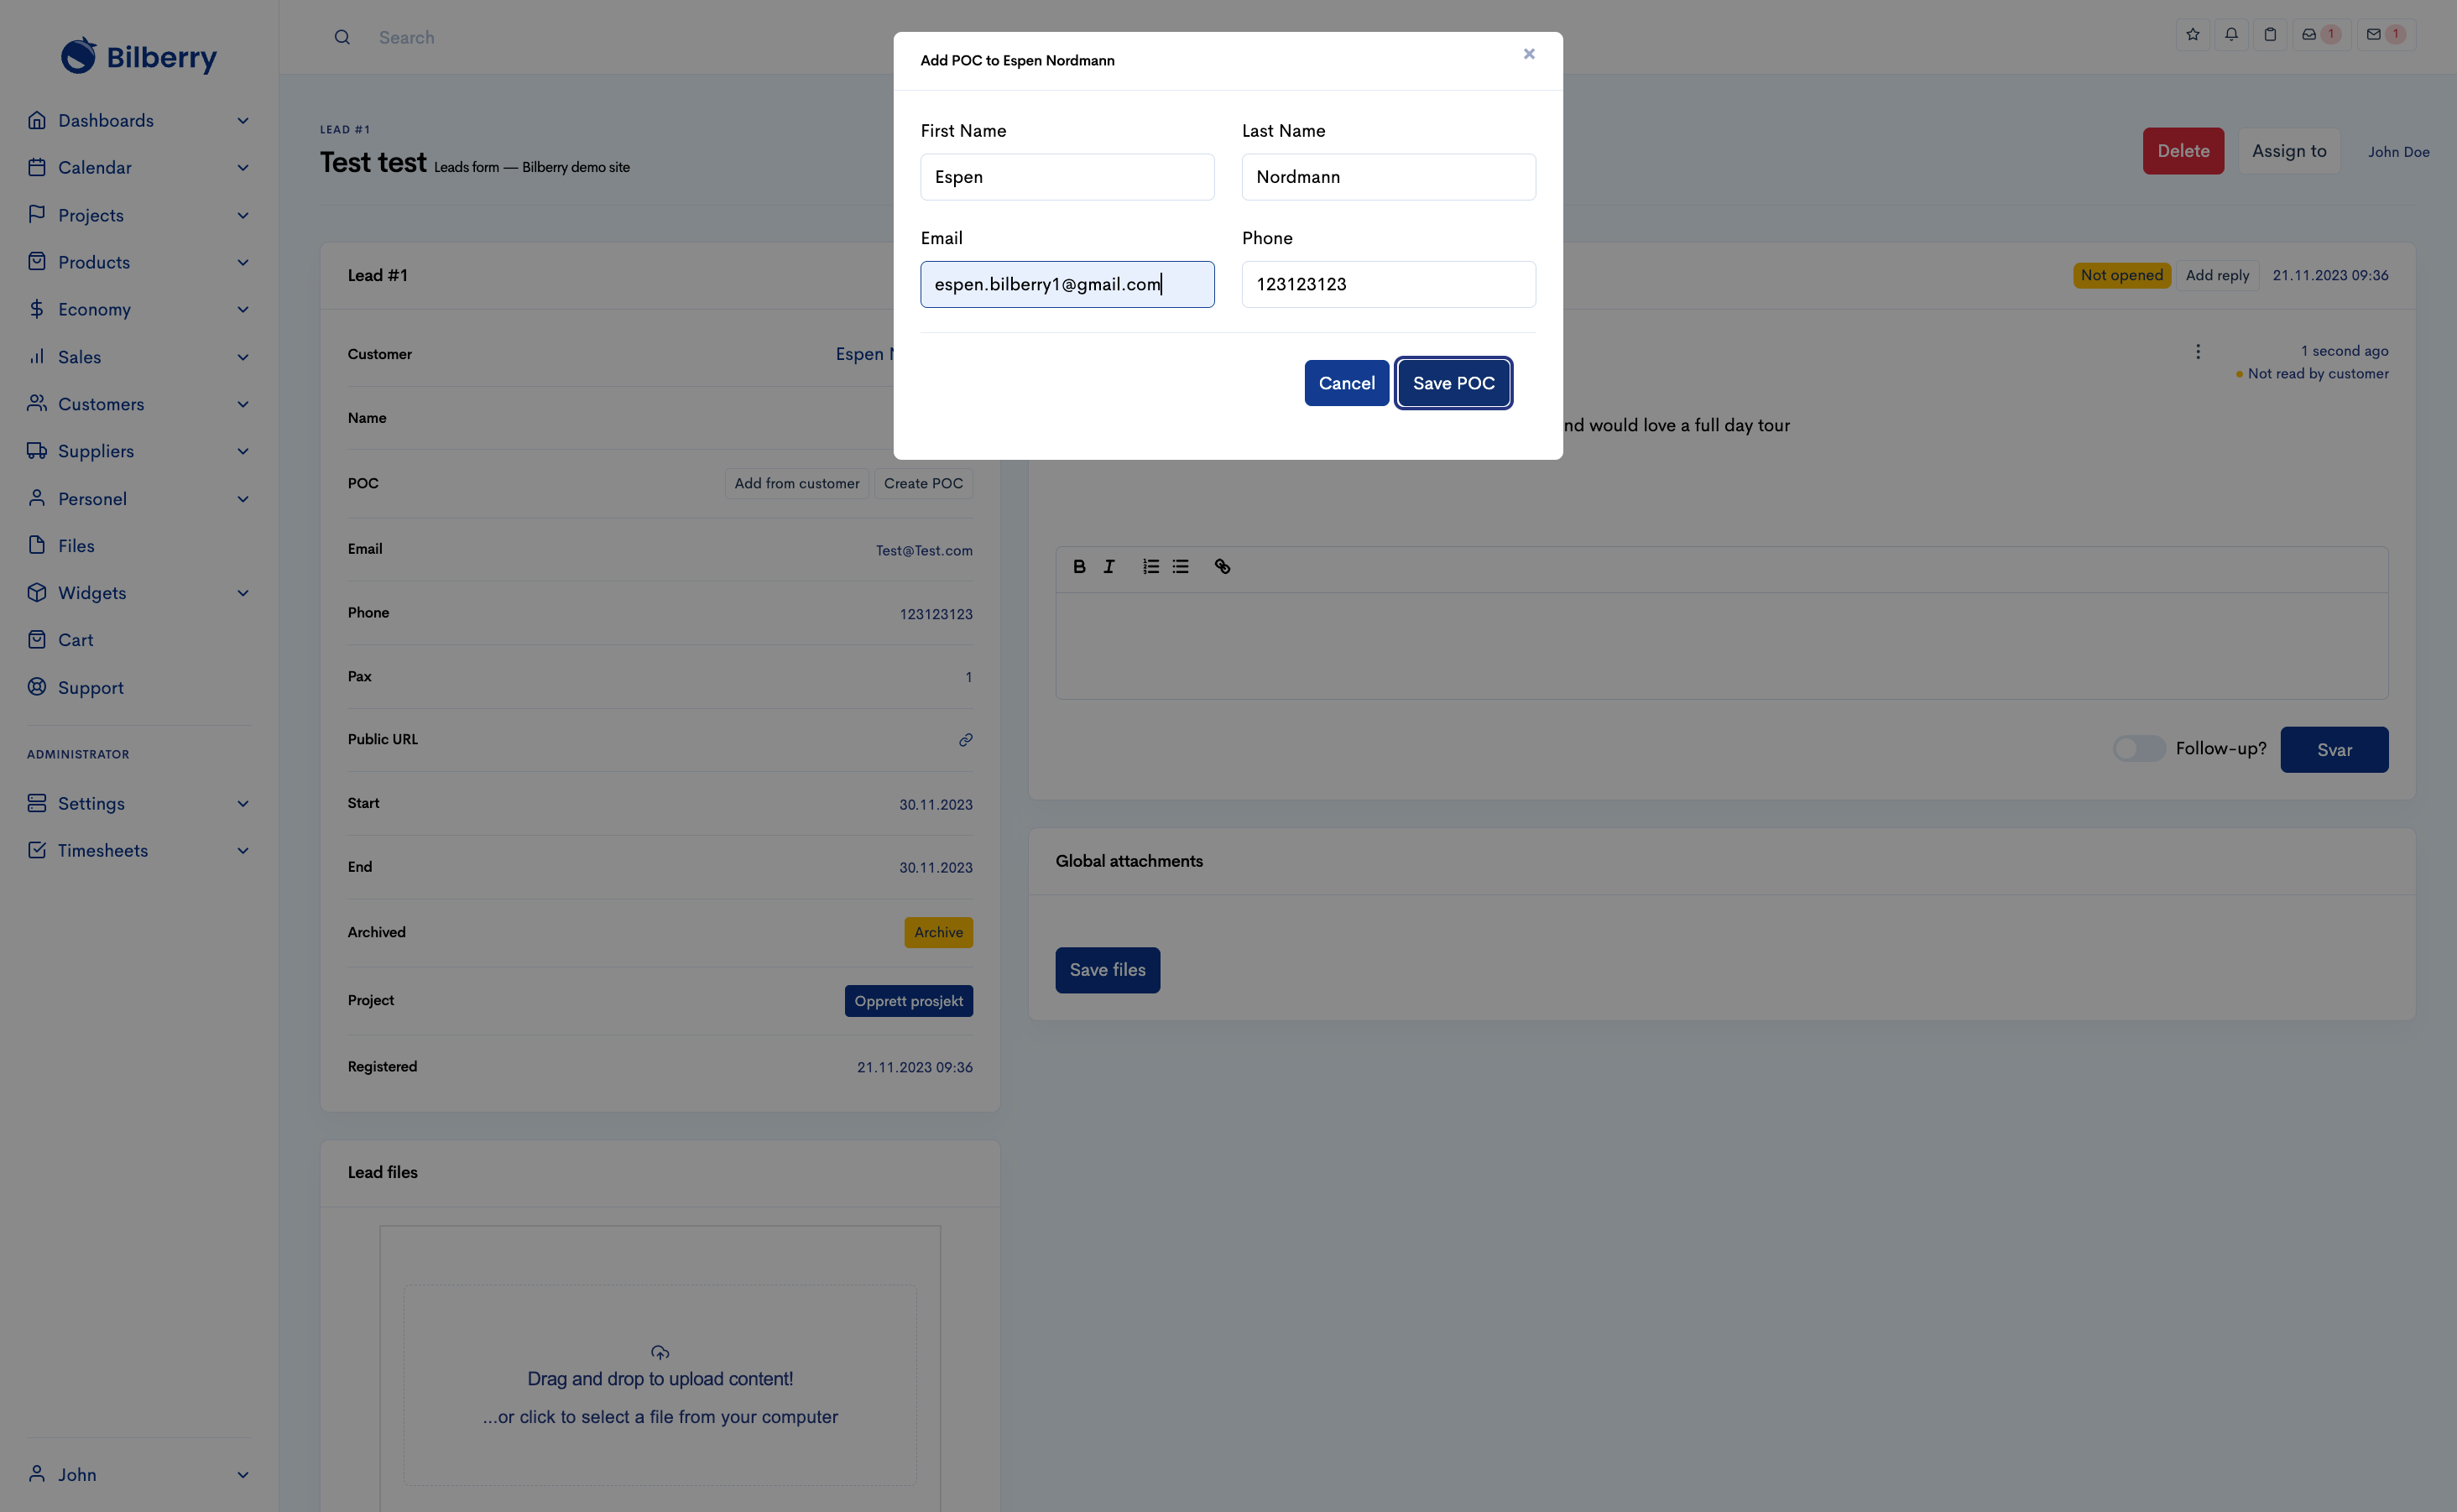
Now create a POC (point of contact ) & click save POC
This is a feature made especially for companies and having a point of contact within a company, however for private individuals just input your customer information once more. This is needed in order to move further.
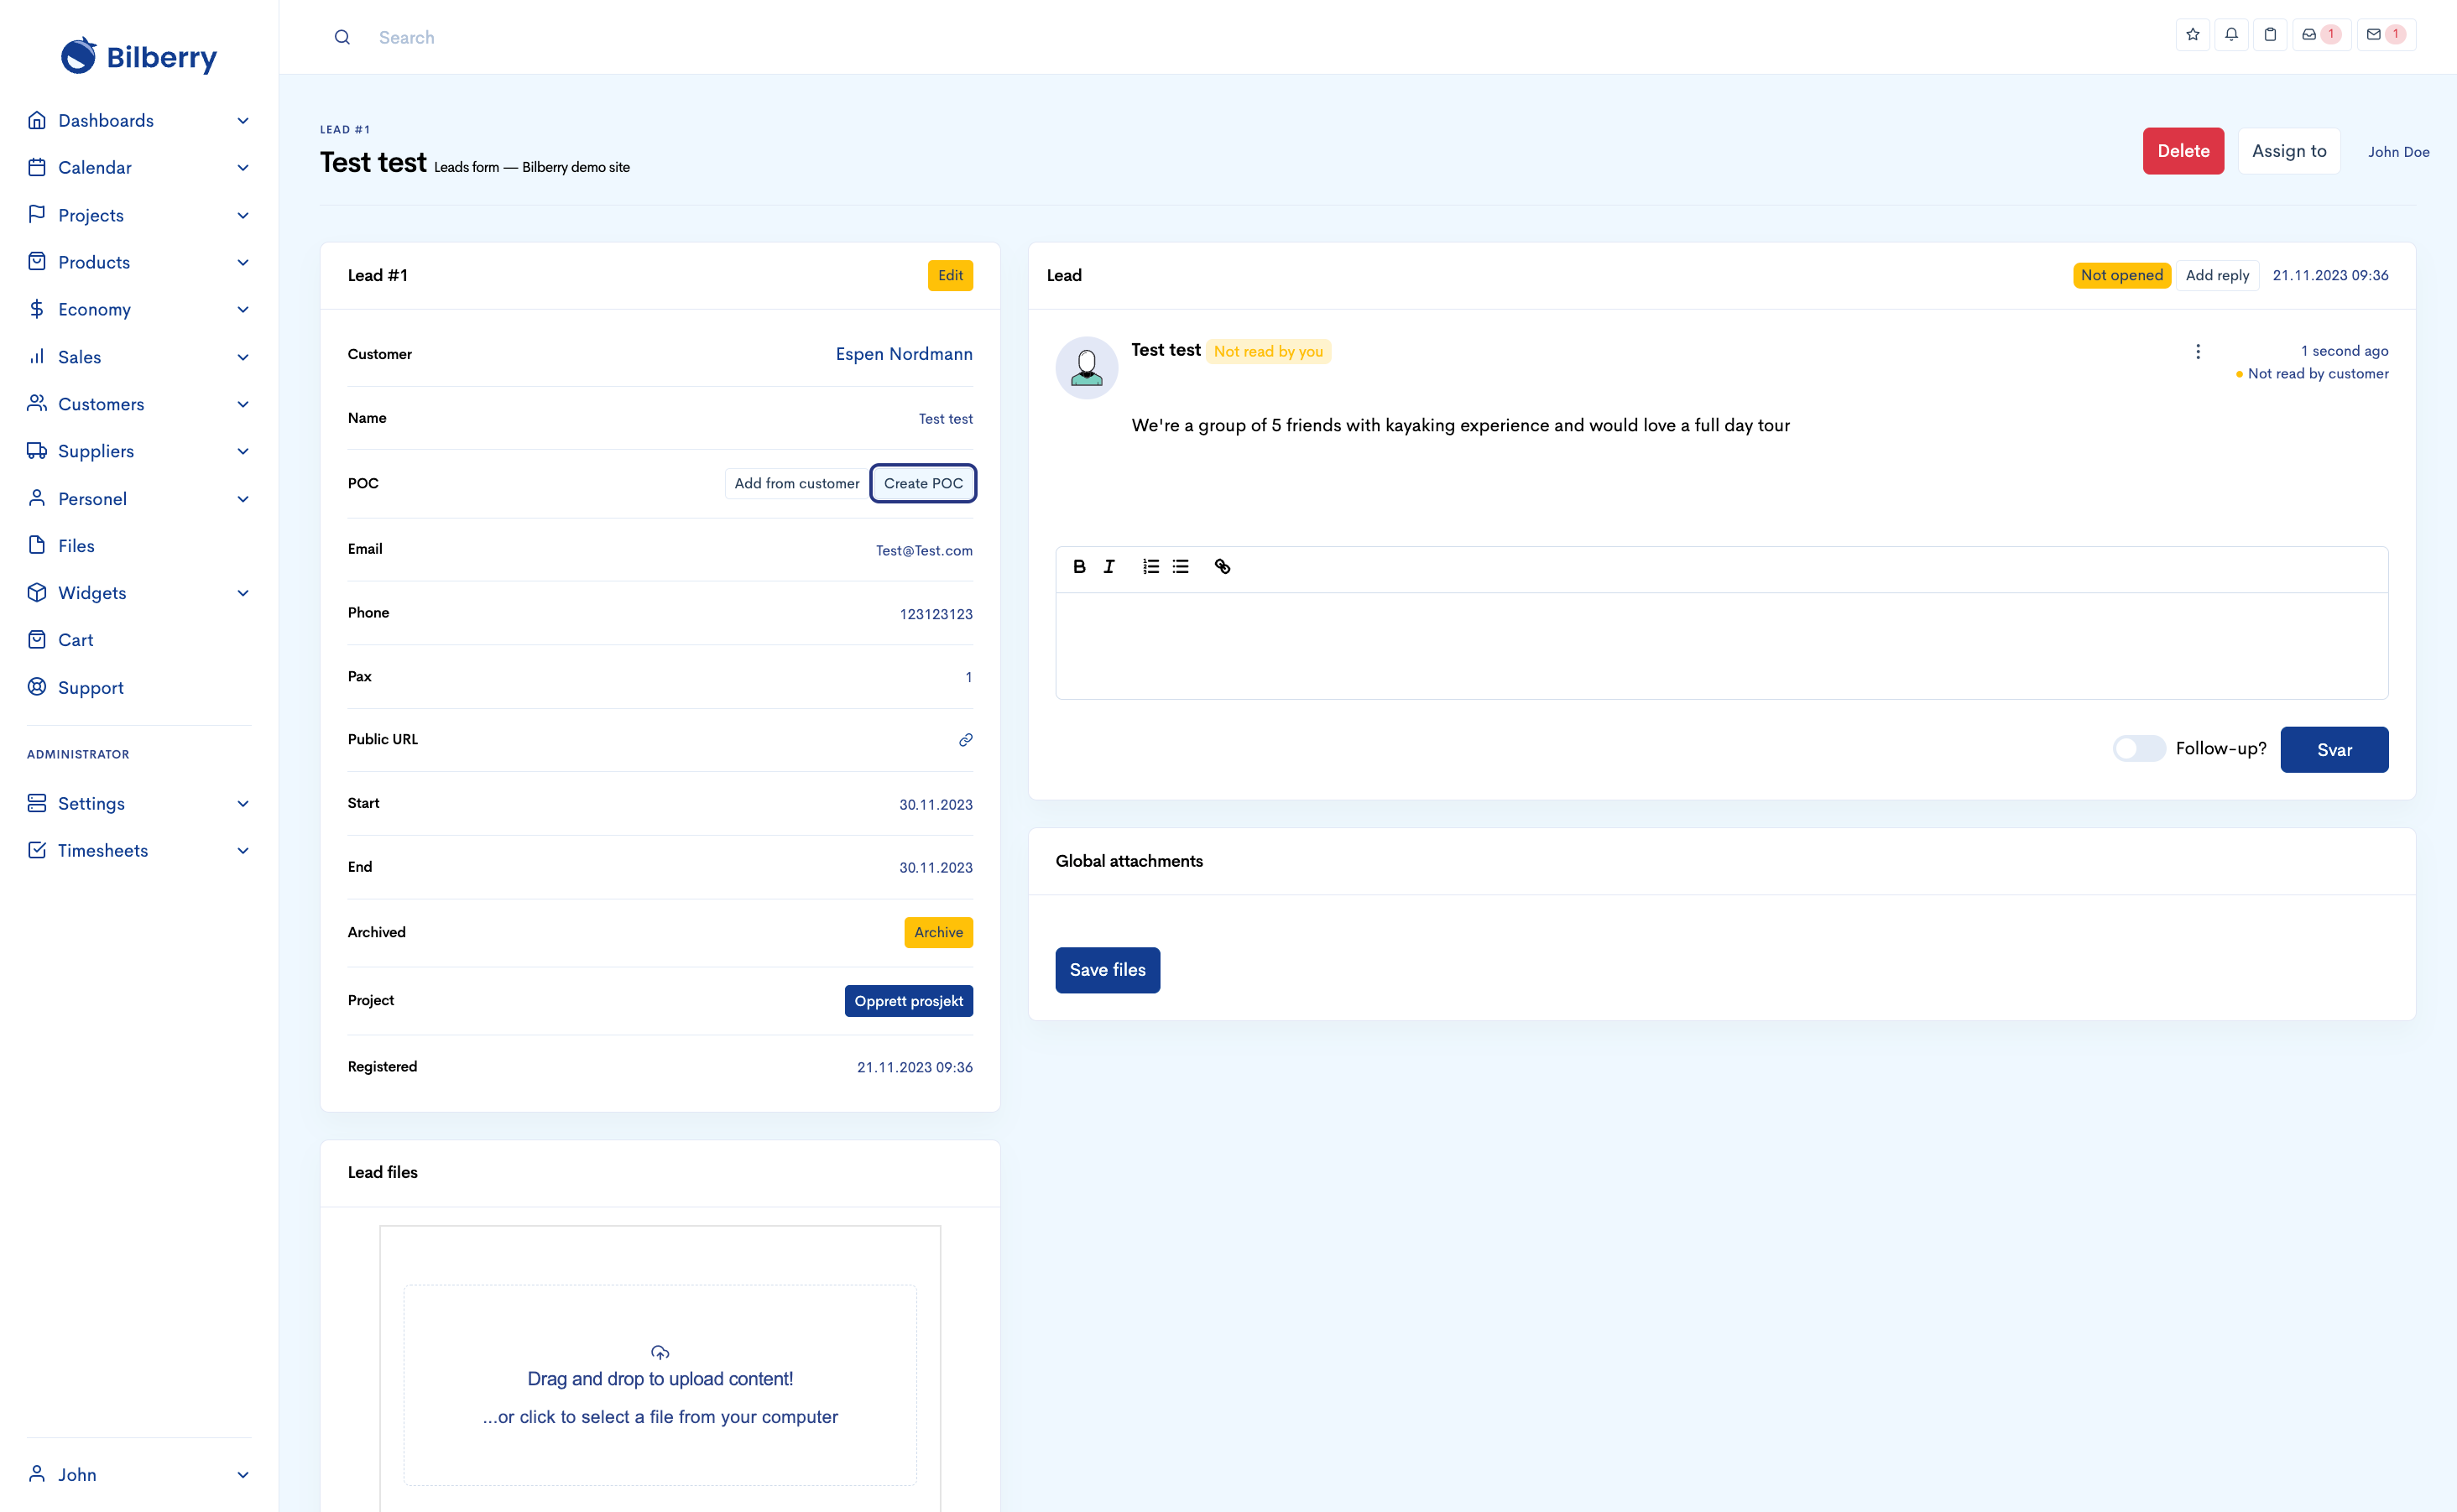
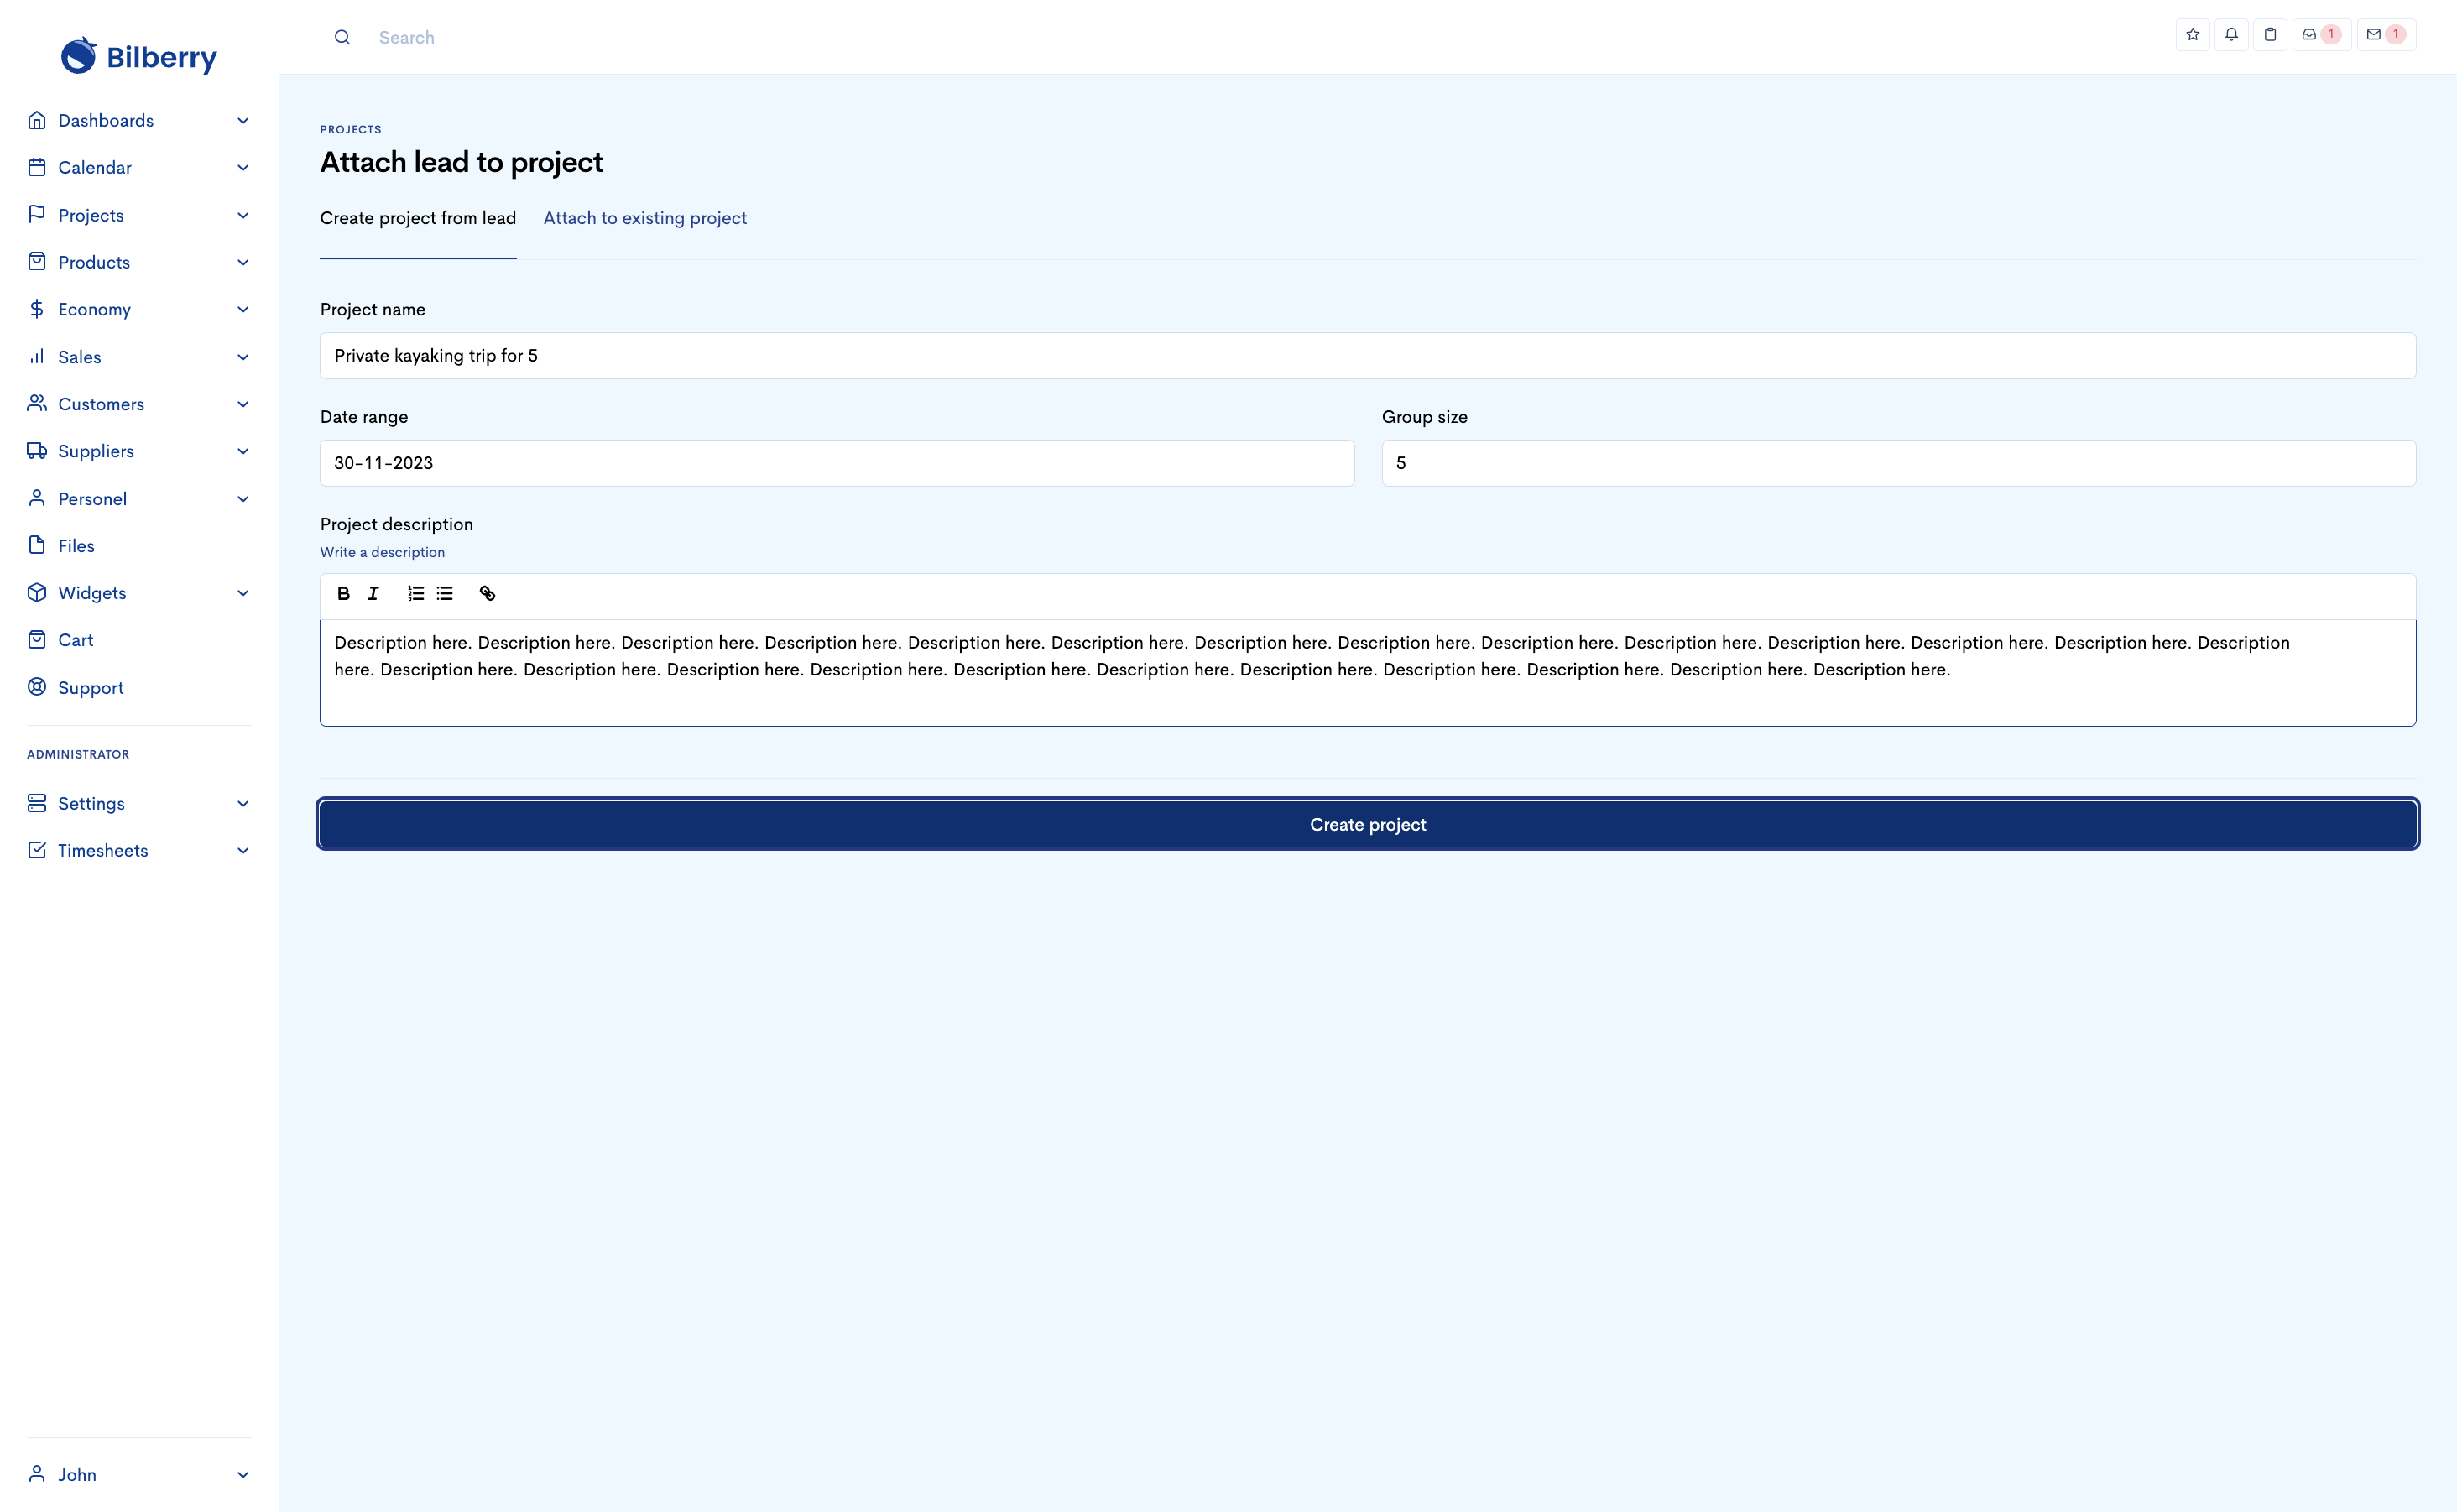
Now click on ‘Create Project’ (opprett prosjekt)
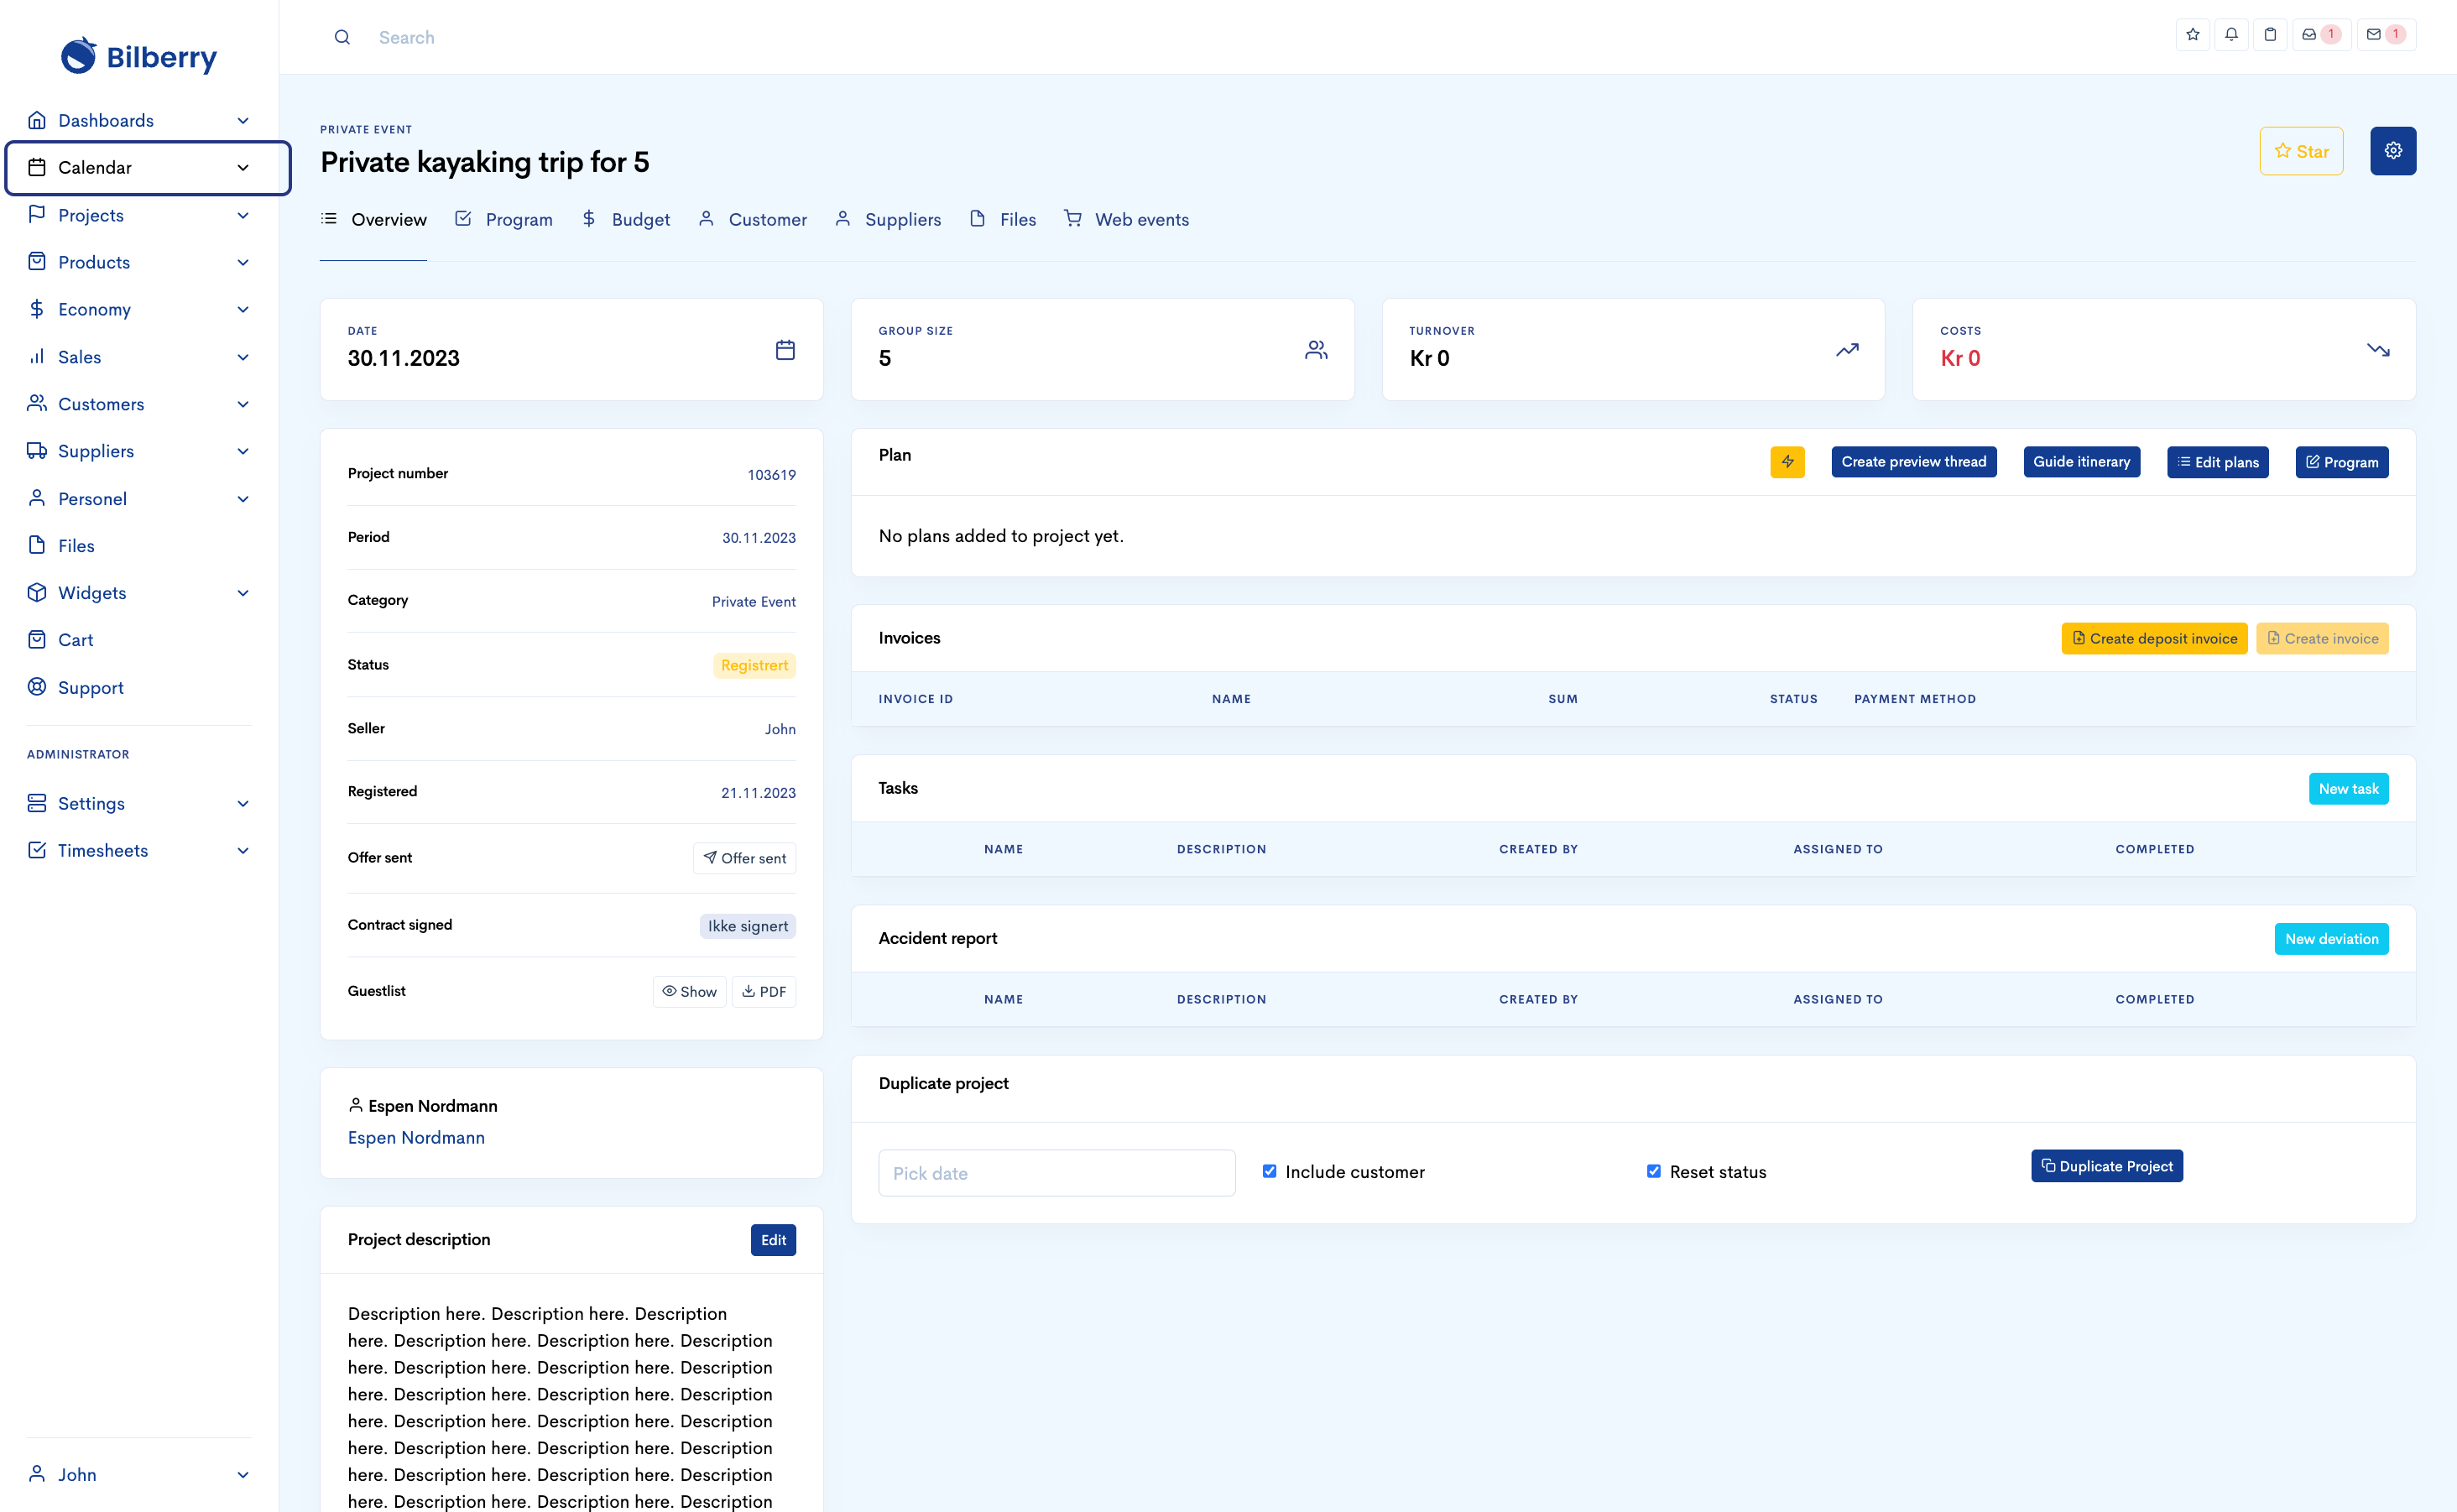
This now creates a private event that is shown as such in your calendar and attaches it to your requested tour/lead. The project description is only for internal use.
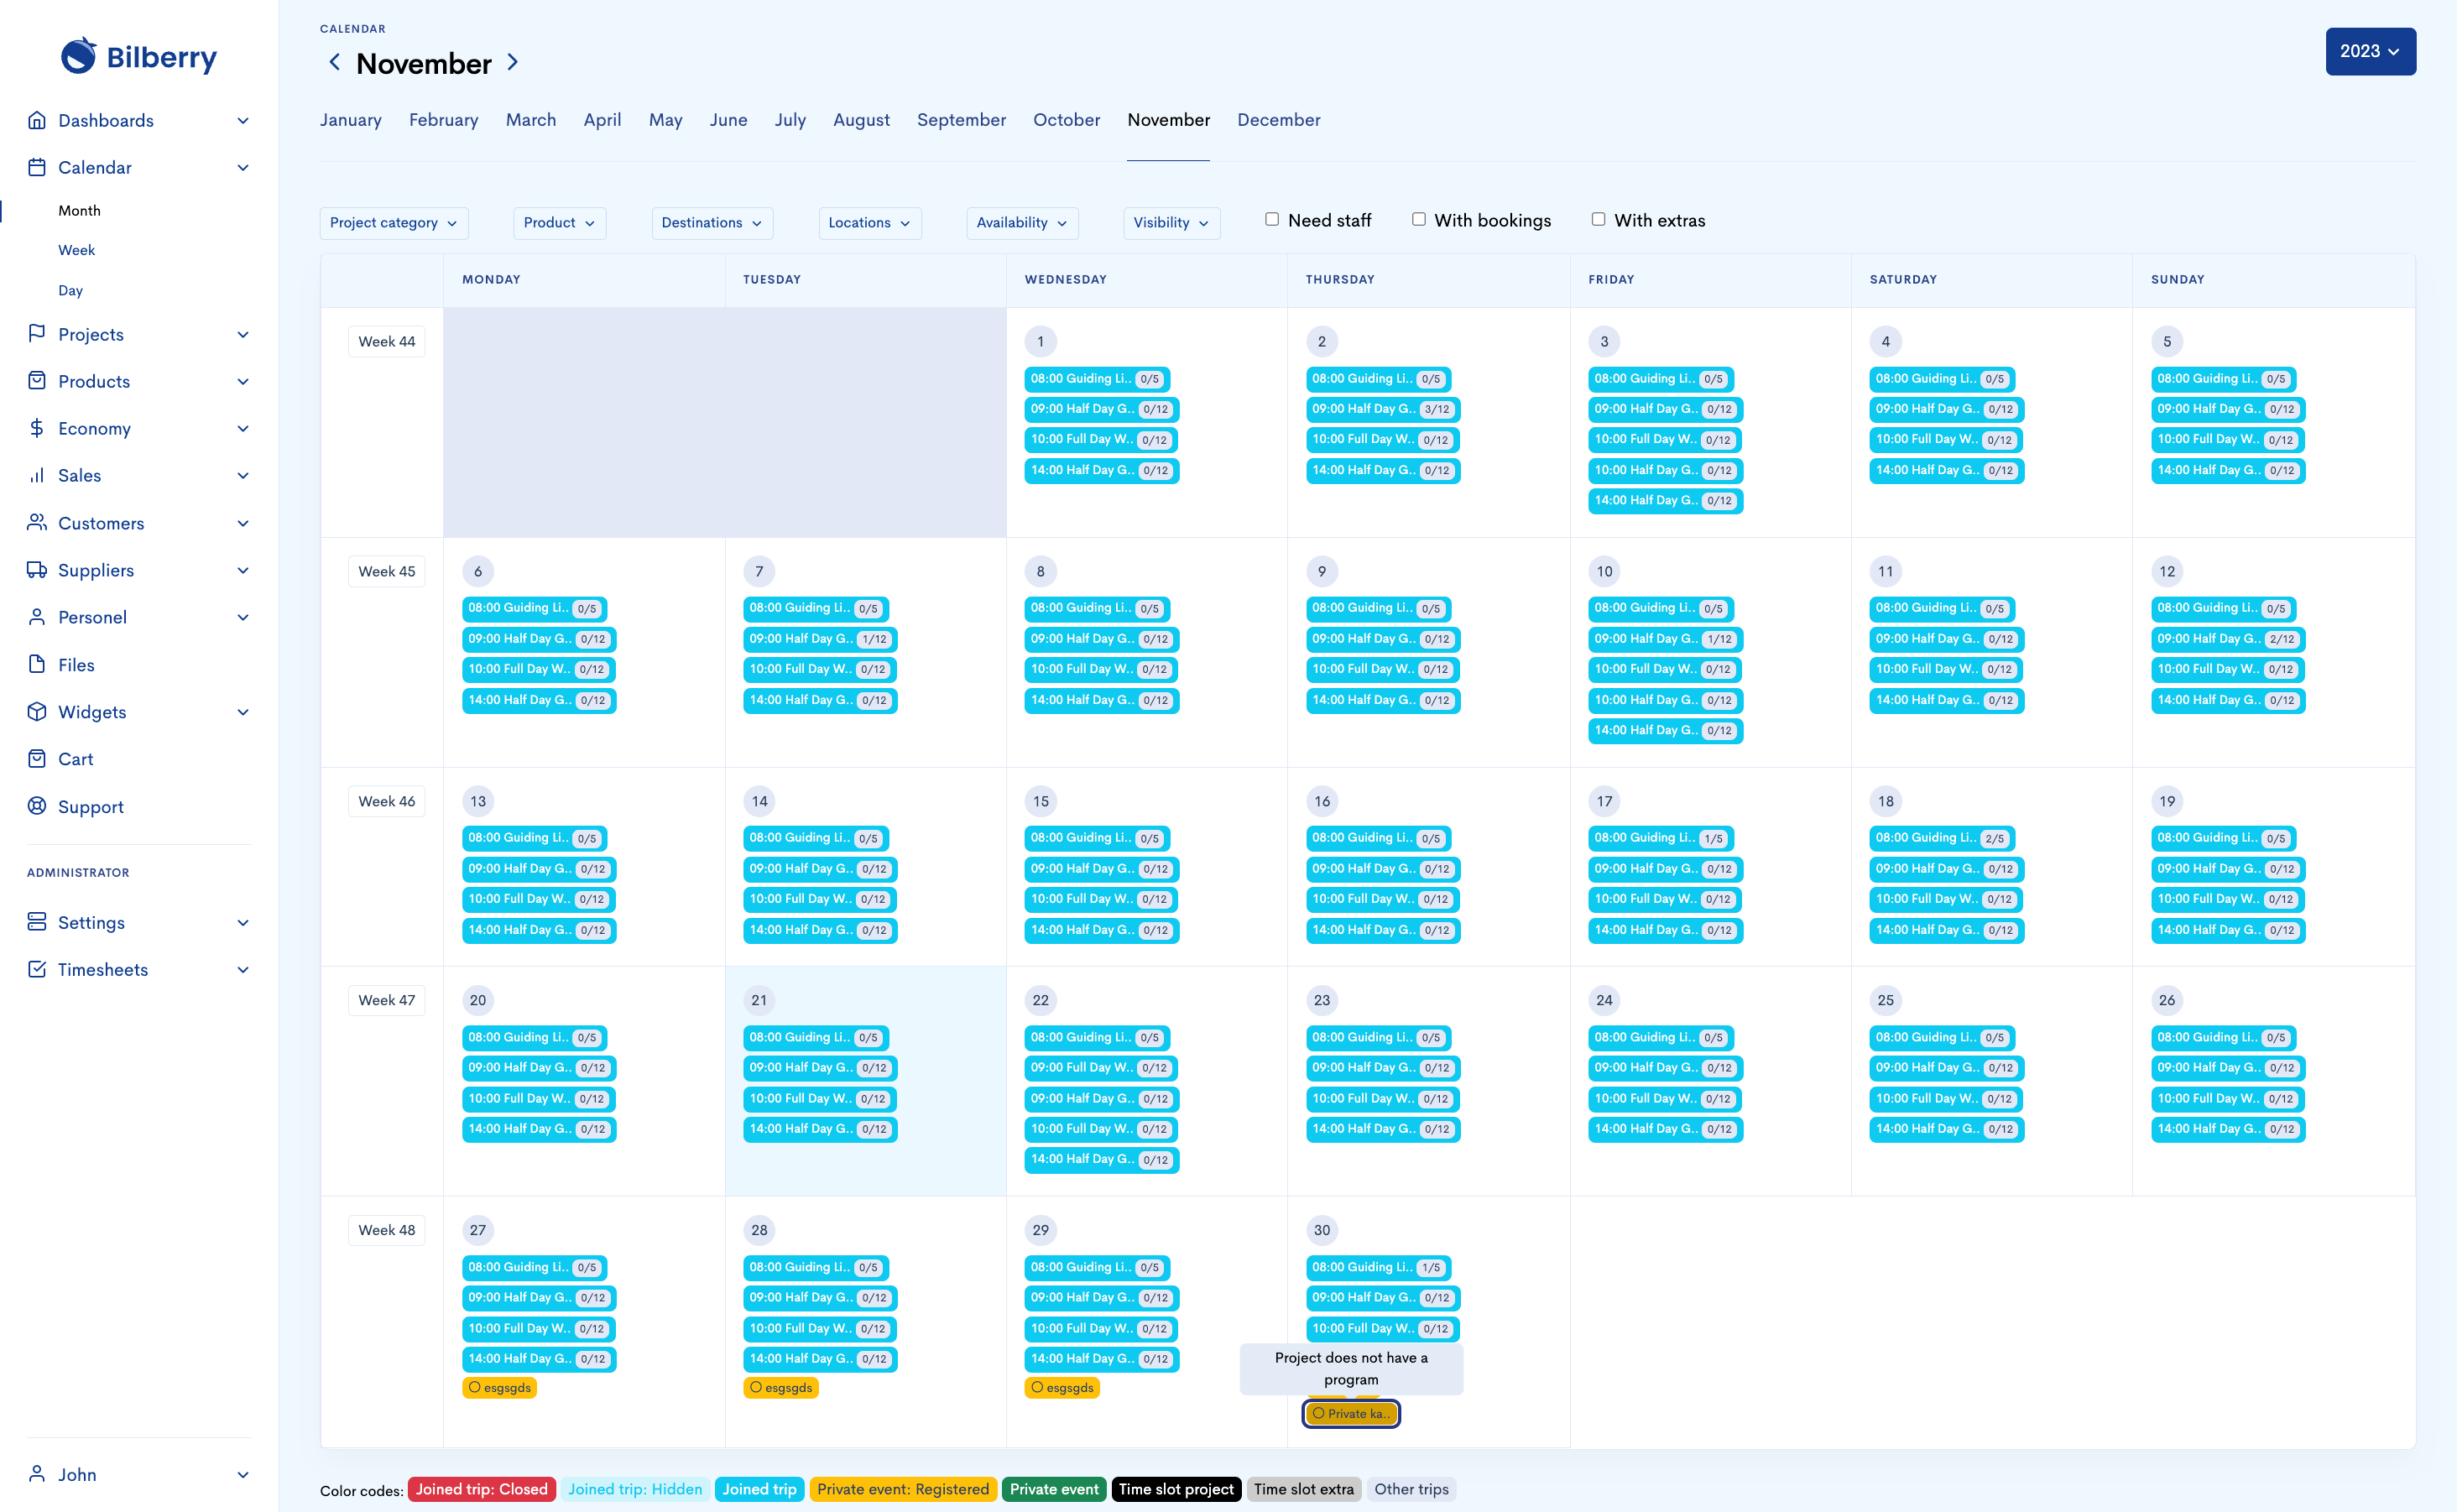
You’ll now see your private event created, and internal description made. to Double check that its in your calendar, navigate to month view and you will see it in yellow
Handling a Request Via Email or Phone
If not using the request widgets, but you receive requests via email or phone, you can send offers directly via email.
Navigate to the main menu.
Click Calendar to go to your calendar view.
Find the day your customer is asking for.
Click the date bubble.
Click Register project.
Input customer information if already registered in your system, or create a new customer as well as a POC (point of contact). This is needed in order to move further.
Click Create.