
Manage a Smart Event
Smart Events are designed to help customers easily book individual activities from a curated list. A smart event provides a booking URL that elegantly showcases the registered tours you desire, gathered in ready-made widgets. You can also choose to hide these tours from your own website, making it an ideal solution for selling tours to private businesses or conferences.
These events are ideal for highlighting specific tours during slower periods, such as weekend offers and campaigns, by grouping them under one public event page.
Create a Smart Event
Navigate to Projects in the left side menu.
Click Smart events.
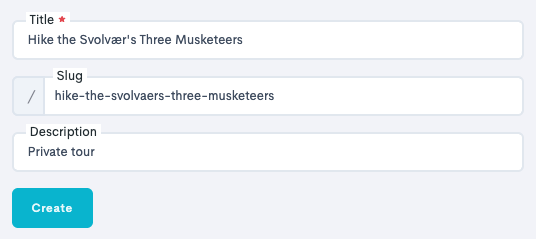
Click Create.
Enter the Title and Description of the smart event. The Slug is created automatically based on what the title is.
Click Create.
Edit the Smart Event
After creation, it is possible to edit the smart event further.
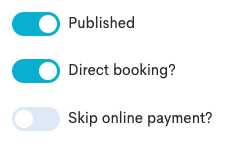
Toggle on Published to ensure visibility of the smart event.
Toggle on Direct booking to allow customers to book.
Toggle on Skip online payment to allow customers to book without paying; paying by invoice or manual payments.
Add a Subline, Short description and Product description for all languages (if using multiple).
Click Save changes.
In the Banner image section of the smart event, click Choose file to upload a desired banner image.
Click Upload.
The Smart event should now look something like this:
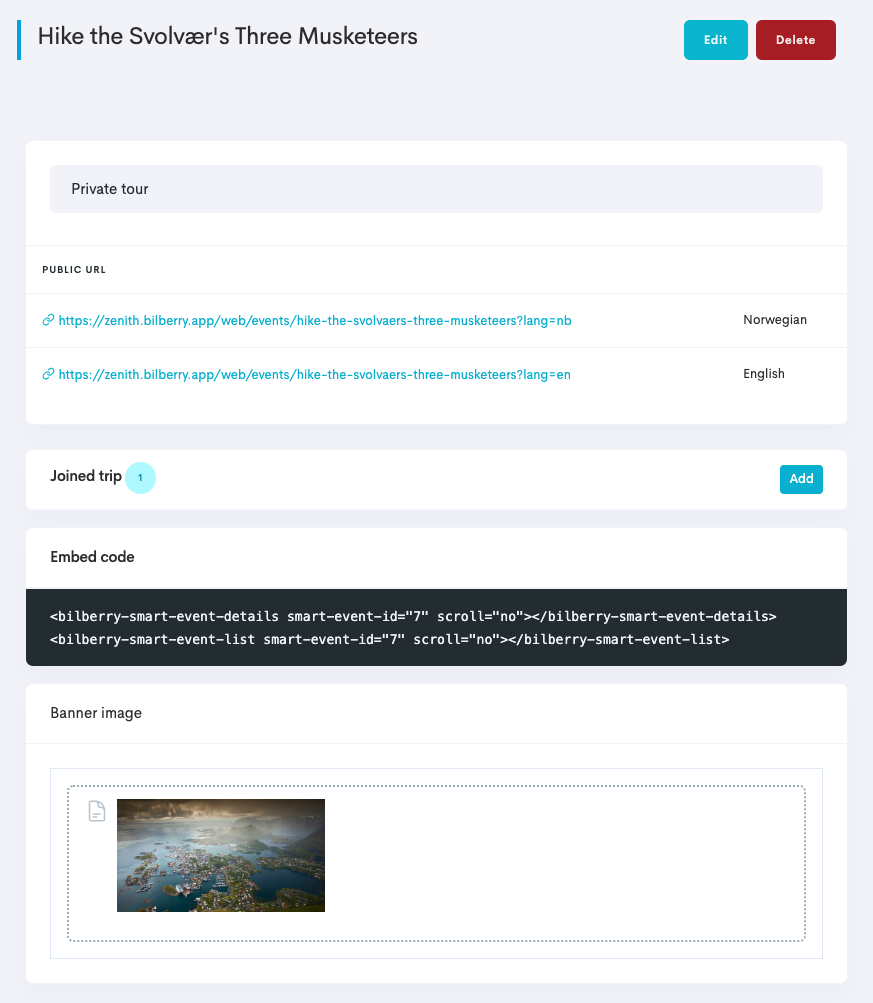
The Embed code section provides a code that can be added to a website, as an alternative to sending out the URL link.
Add an Activity to the Smart Event
After the edits are made, it is needed to select a tour for the smart event to be connected to.
In the Joined trip section of the smart event, click Add.
Search for a specific joined trip by selecting start- and end dates and a product, and click Search.
Add a tour by clicking the Attach
 button to the right of the tour.
You can also add a smart event (web event) to a tour directly in the project card of a tour.
Navigate to Calendar in the left side menu.
Click Month.
Fint the applicable month and date, and click the activity that you would like to be displayed and available to book within the smart event.
Click on the Settings wheel
 in the top right corner.
In the Web event section, choose the smart event you want to connect.
Click Save.
Share the Smart Event
Your smart event is now ready to be sent out to a customer.
In the Public URL section, copy the link by the language applicable.
Send the link to the customer, and they will be able to book the tour through the link.

Customers will see all the available tours that are selected in a clean, bookable interface.