
Payment Provider: Connect to Stripe
Stripe is a global online payment platform that makes it easy to accept secure payments by card and other methods. In Bilberry Base it is possible to connect to Stripe to handle customer payments seamlessly directly through the system.
To be able to get the connection right, it is needed to copy different keys and codes found in the Stripe login portal, and add them to the Stripe Settings in Base.
You can access support/documentation from Stripe here. Other helpful links:
Step 1: Settings in Stripe
Log in to your Stripe account.
Dashboard view in Stripe.
In the Dashboard view, click on Developers in the left lower corner.

Click Webhooks in the pop-up menu.
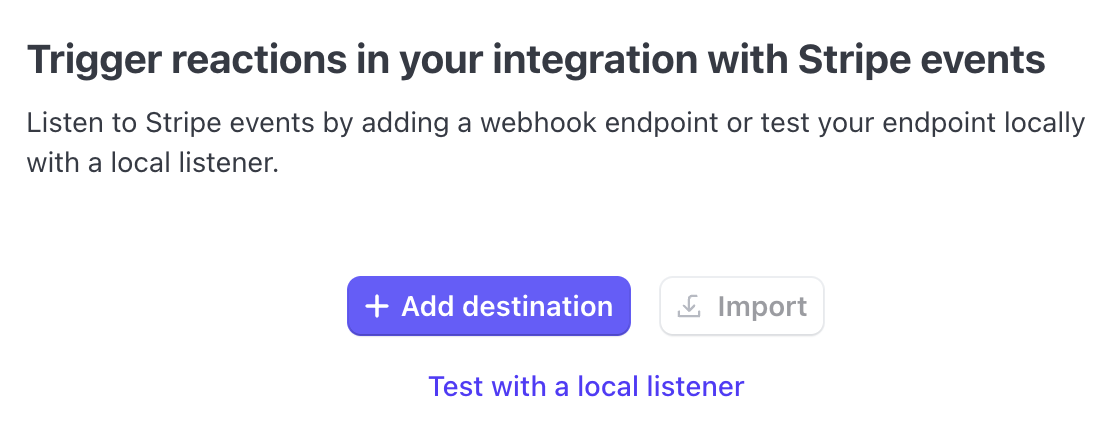
Click Add destination.
Find the events to listen to by searching for checkout.session.completed and payment_intent.succeeded.
Select both of these as events.
Click Continue.

Find and add both the Checkout event and the Payment Intent event.
Click Webhook endpoint to select where you want to send events.
Click Continue.
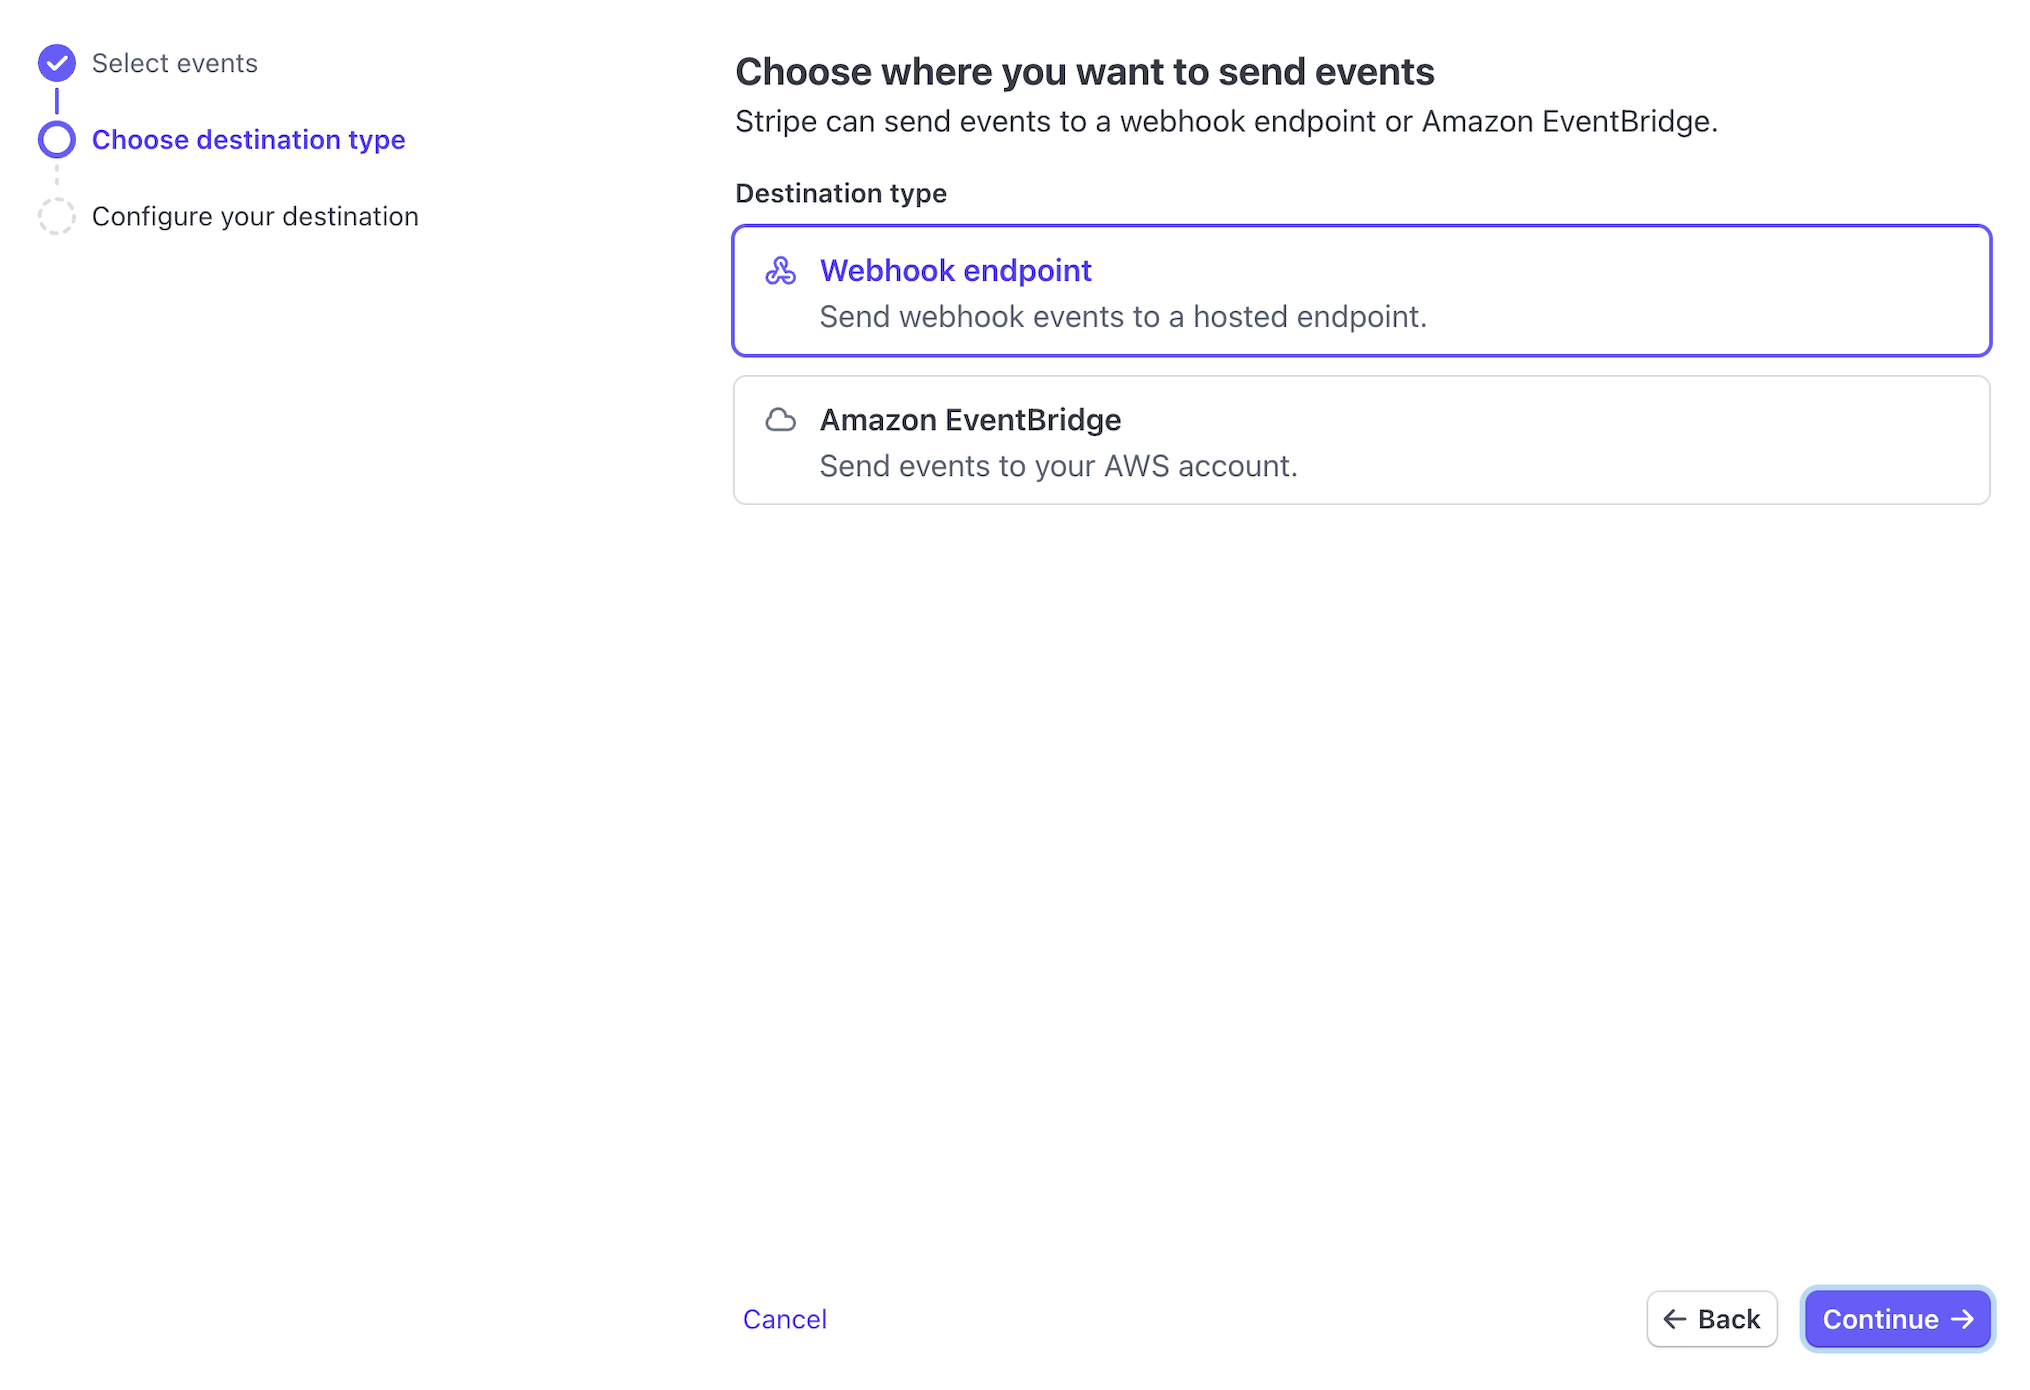
Select the Webhook endpoint option.
Configure destinations:
Destination name: Is auto generated, and no need to do anything more here.
Endpoint URL: Enter your Bilberry instance + /stripe/webhook in the Endpoint URL field. Example: https://zenith.bilberry.app/stripe/webhook
Description: Optional.
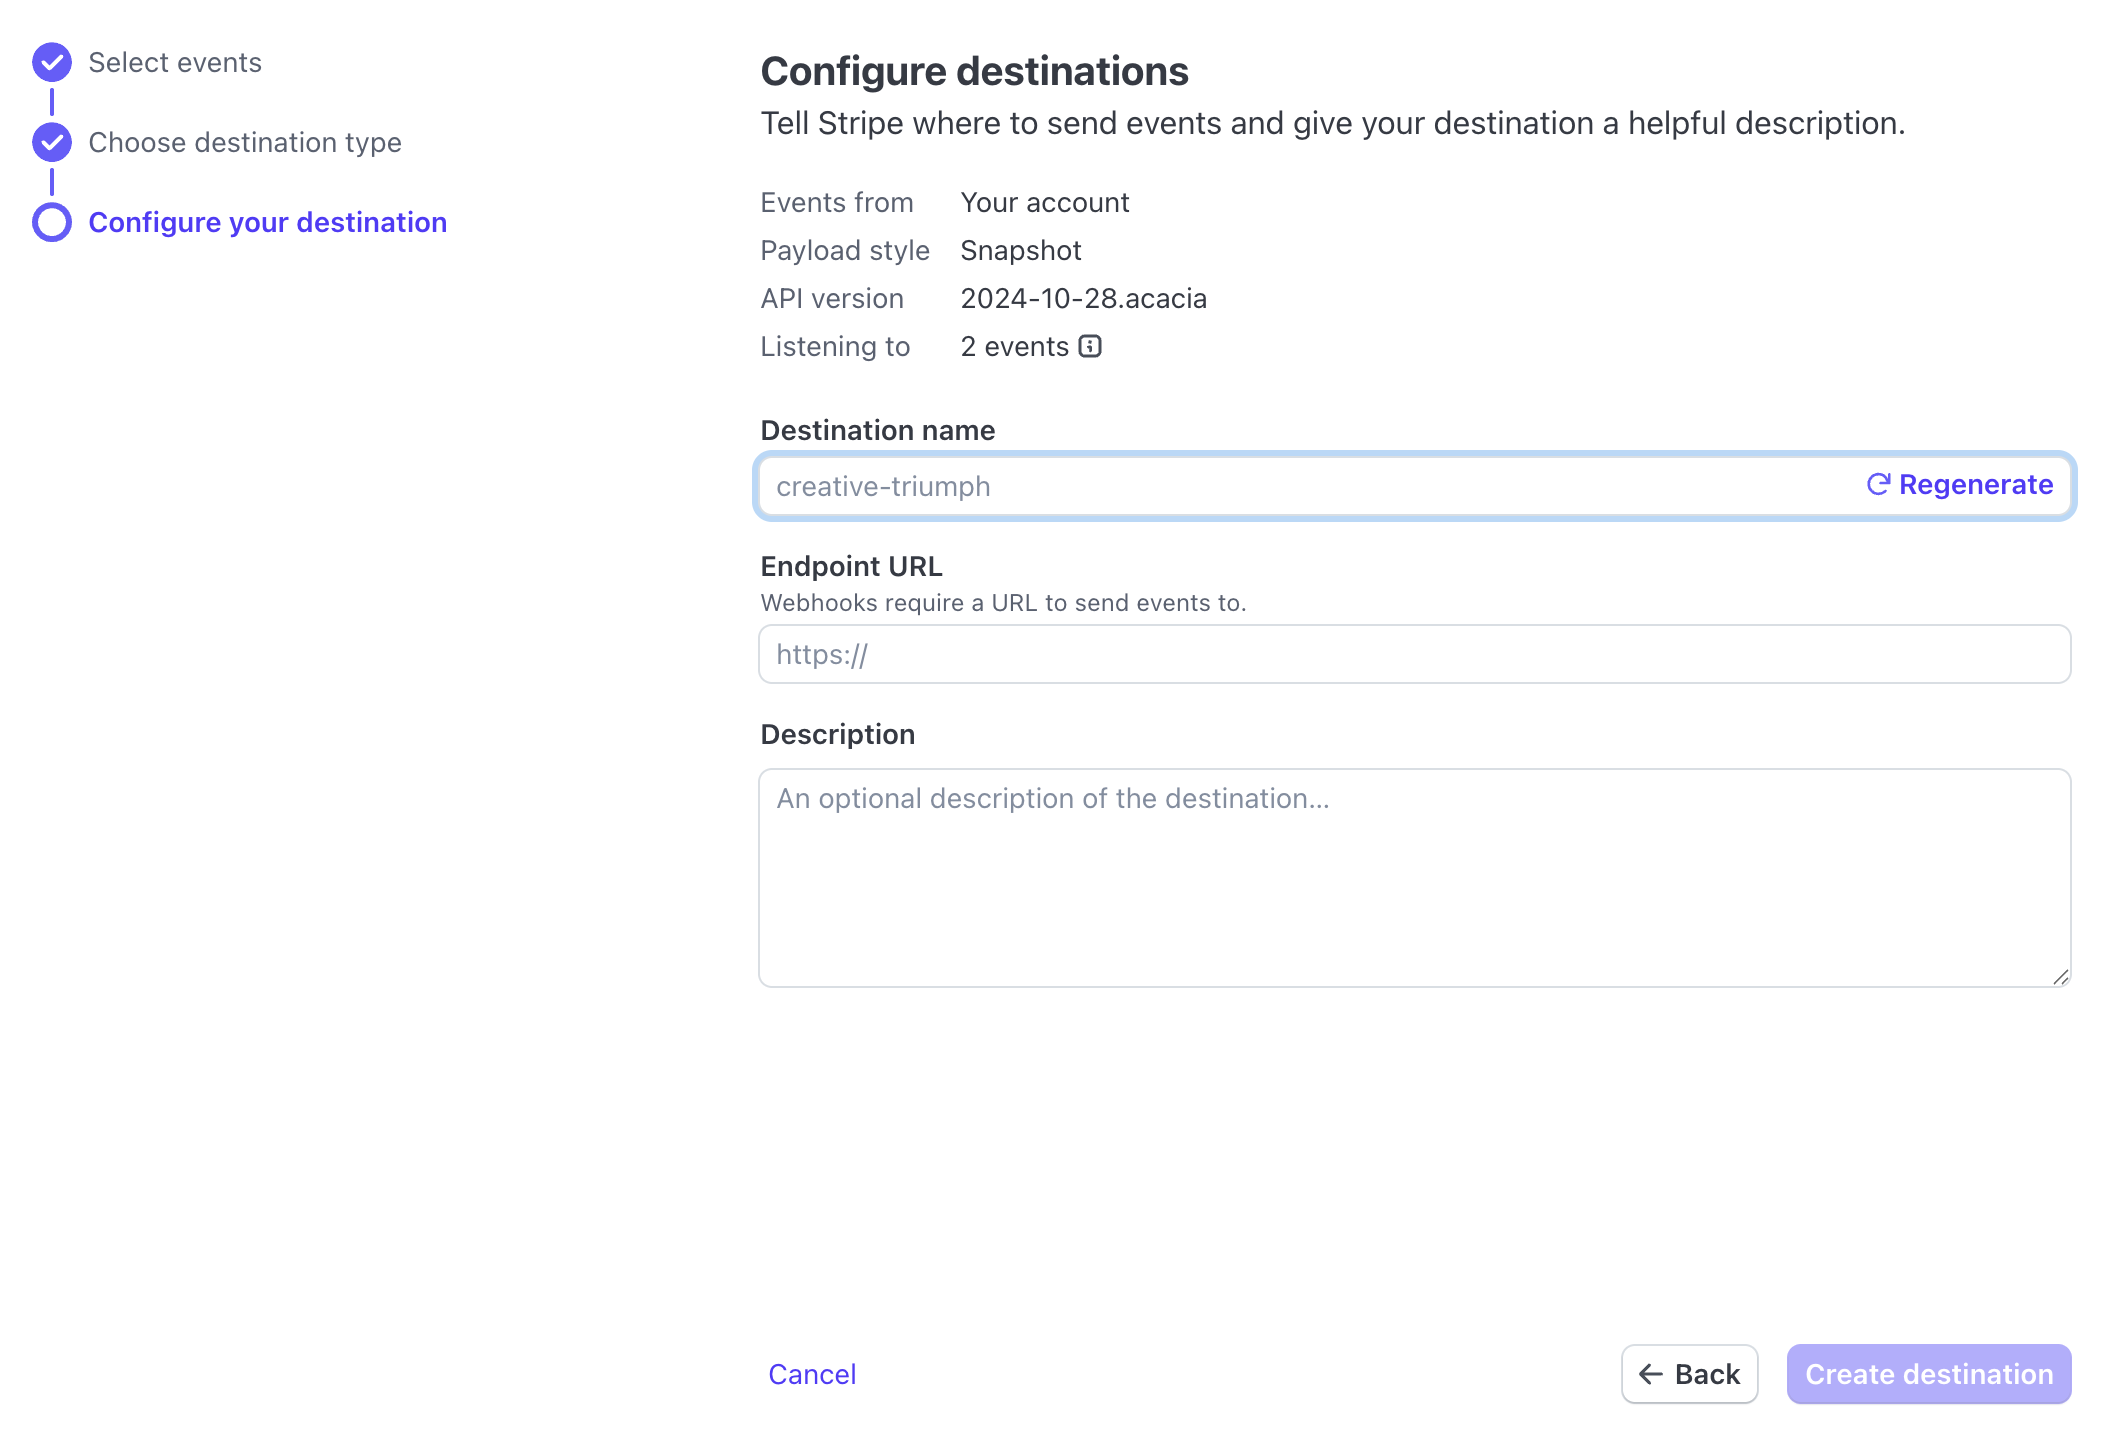
Configure the destination.
Click Create destination.
This takes you to the Event destination overview.
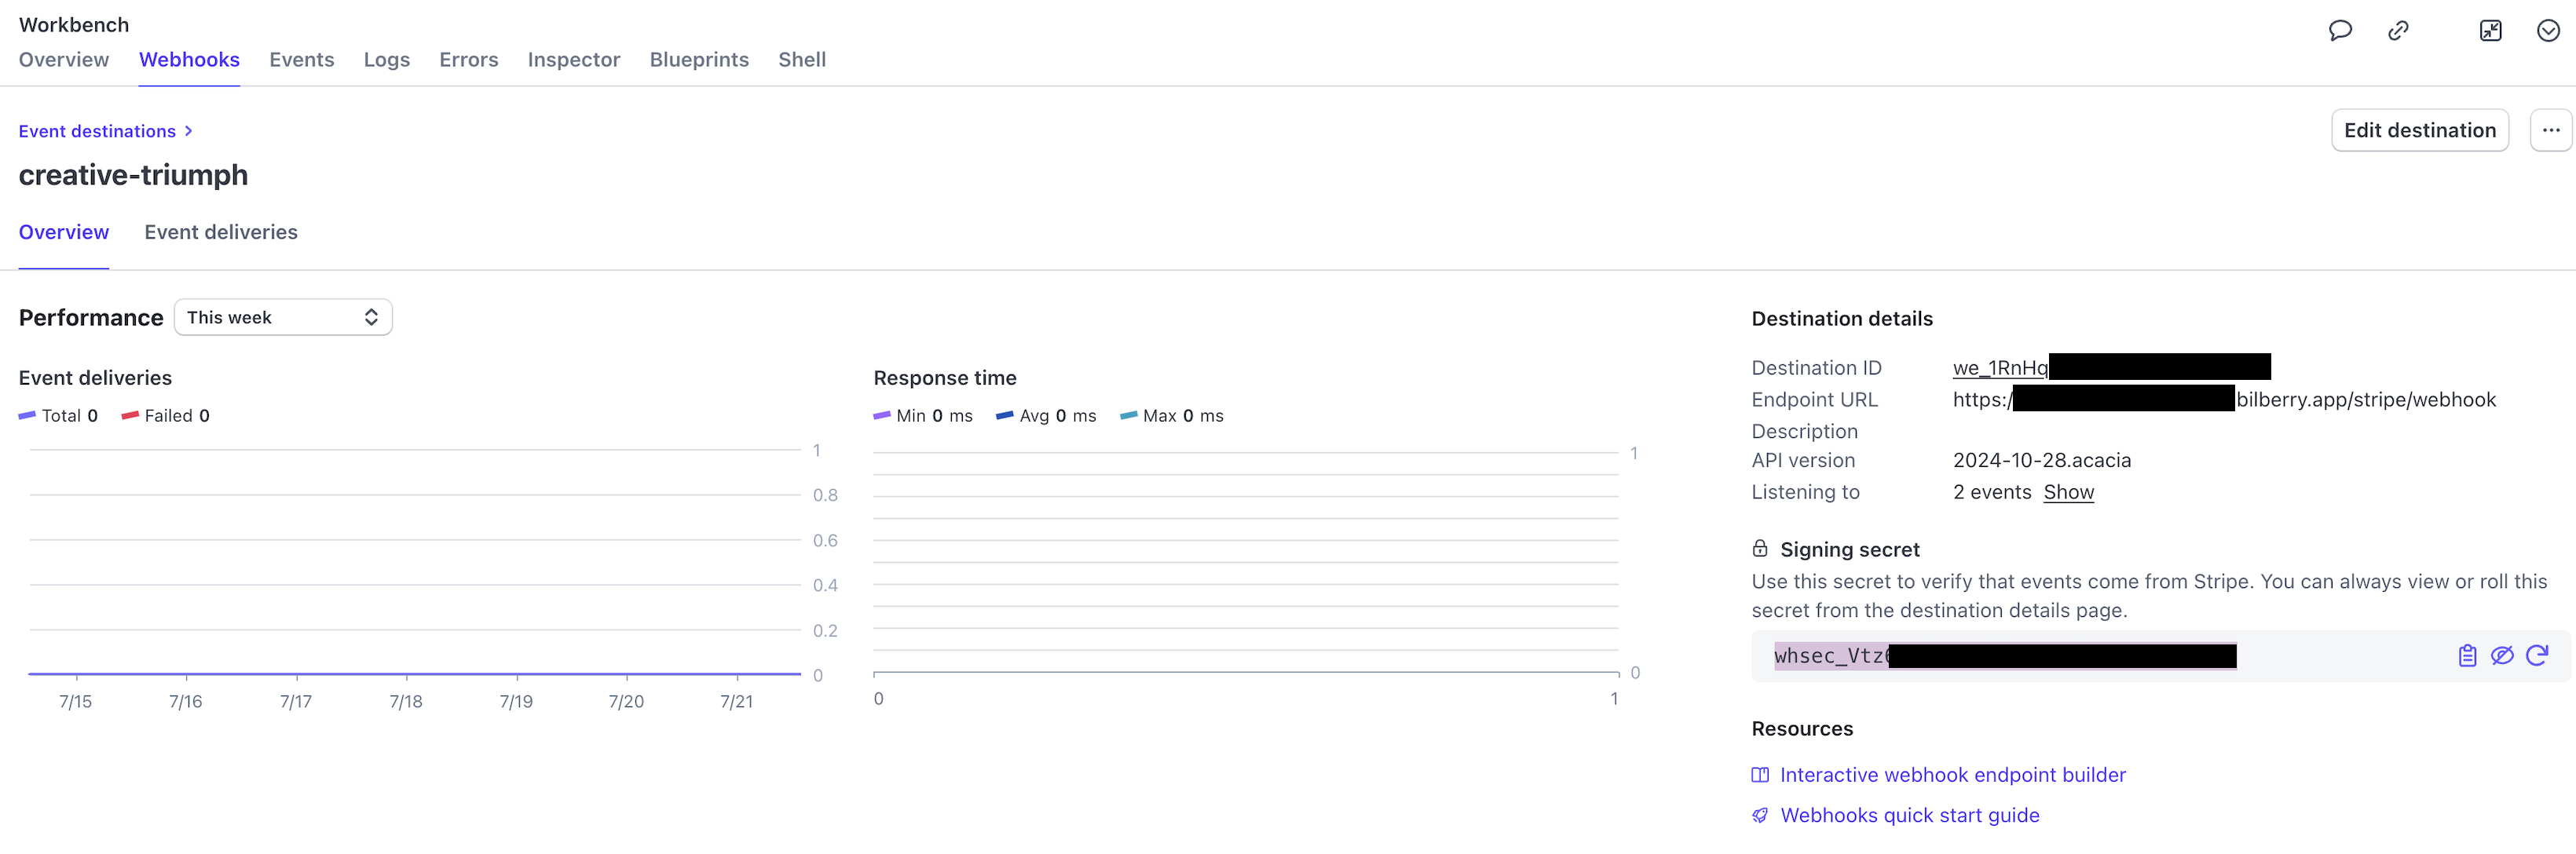
Event destination overview.
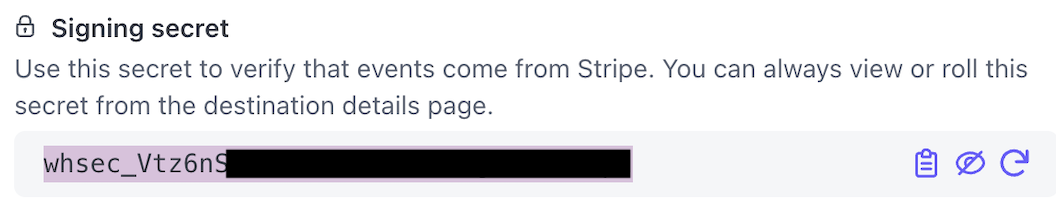
Copy the Signing secret.
Step 2: Settings in Base
Next steps will ensure the connection from the Bilberry side.
Log in to your Base account.
Navigate to the Administrator section in the left side menu.
Click Settings.
Click Payment provider settings.
Click Stripe to enter the Stripe settings.
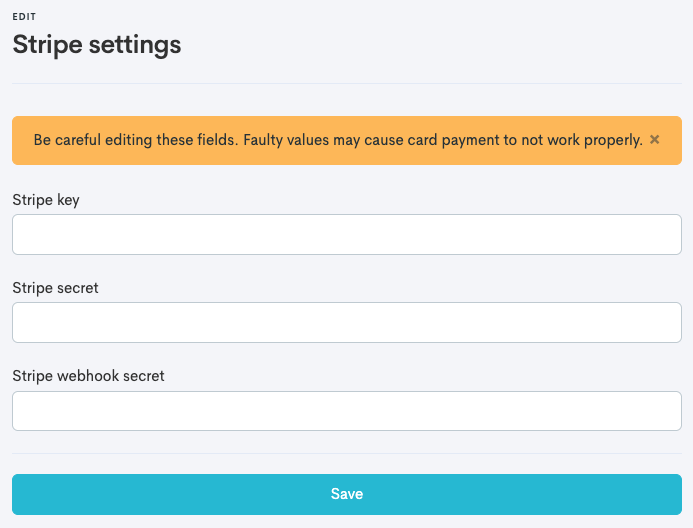
The Stripe Settings in Bilberry Base.
There are three different keys/webhooks from Stripe that have to be copied and pasted into the fields in Base. These have to be collected from the Stripe account.
Paste the already copied Signing secret in to the Stripe webhook secret field.
Click Save.
Go back to the Stripe account to collect the Stripe key and Stripe secret.
In the Dashboard view, click on Developers in the left lower corner again.
Click Overview in the pop-up menu.

Find the API keys section and collect the standard keys.
Publishable key: Has to be pasted in to the Stripe key field in Base.
Secret key: Has to be pasted in to the Stripe secret field in Base.
Click on the keys to copy them and paste them in to the fields Base.
Click Save.
The integration is completed and Bilberry should now be capable of processing payments through Stripe.

Very important step!
To being able to receive payments through the widgets, you need to change the payment solution on your website by adding this code to the Bilberry configuration code inside the head-tag on your website:
window.BilberryWidgetsGlobal.paymentProvider = 'stripe';Test a Payment
If you want to connect to a test environment before you go live, the same process is used as above, but with test keys instead. After you create a Stripe account, you can find a set of test API keys in the Stripe Dashboard. You can use these API keys to create and retrieve simulated data by making requests to the Stripe API.
Before going live by starting receiving real bookings through Base, we suggest contacting our Support Center to get test bookings deleted from the system – to start using the system with a clean slate.