
Add Categories
By creating and using Categories you will make it easier for your customers to navigate to their desired activity. In the Blend search widget, customers can select from the categories we have created in Blend Back office.
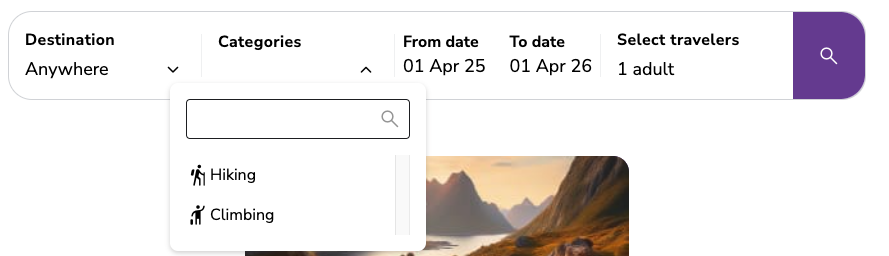
In the Blend search widget, customers can select from the categories we have created in Blend Backoffice.
Create a Category
Navigate to Settings → Categories.
Click Add Category.
Add a Name to your category.
You will have two options when adding a Symbol to your category.
Material symbol: Search for and choose from one of our built-in material symbols database.
Image: Will let you upload your own symbols to choose from.
When your symbol is added, click Add Category.
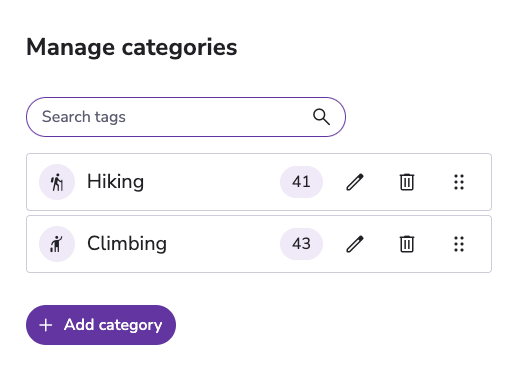
Back office view of two created categories.
Attaching a Category to an Activity
Click on Activities in the side bar menu.
Click on your desired activity.
In the presentation tab, click on Categories.
Add one or more categories by clicking on the name of the category.
Click Save.
Edit a Category
navigate to Settings → Categories.
Click the pencil icon
 for the category you want to edit.
Edit name or symbol to your liking.
Click Save.