
Package Itinerary
This article explains how to add different types of integrated and manual products to the package itinerary.
Add Products to the Itinerary
Click Add product
 on a specific day of the itinerary.
Select product type:
 Activity
 Accommodation
 Transportation
 Cruise
 Non bookable item: A product that is shown in the itinerary for informational purposes, that is not bookable. Example: meeting points, free time, self-guided visits, own transportation etc.
Activity, Accommodation and Cruise
Select how you would like to add the product type:
Add one product: Add one specific product.
Add one or more products to choose from: Select multiple products the customer can choose from.
Add all products from a destination to choose from: Select a destination. Blend displays all available products during the travel period within this destination. The customer can choose between all the displayed products.
Choose whether the product should be a mandatory part of the package by toggling on or off the Mandatory part of the package.
When the switch is turned on: The product becomes a mandatory part of the package, meaning the product affects the package availability.
One product: If you have added just one product, this product must be available for the package to be available.
One or more products to choose from: At least one of the products added must be available for the package to be available.
All products from a destination to choose from: At least one of the products in this destination must be available for the package to be available.
When the switch is turned off: The product is optional, meaning the customer can choose to add this product to their package at checkout. If this product is unavailable, it does not affect the package availability.
Set the search requirements for the product:
Maximum price (Optional)
Earliest start time
Latest end time
These settings ensure the product fits within the itinerary. If the requirements are not met and the product is set to mandatory, the package will be unavailable, ensuring all products align with the package's constraints.
Enter the information displayed in the itinerary:
Start time: The start time for the product.
End time: The end time for the product.
Name: The title for the product.
Short description: A short summary providing key details about the product.
Add icon: Upload an image/icon for the product.
This information does not affect the packages availability, and is only for informational purposes for the itinerary.
Click Add.
Click Save.
Transportation
Select transportation type:
 Train
Train- Private bus
- Public bus
- Boat
 Flight
- Ferry
 Rental car
Train, Private bus, Public bus and Boat has both integrated and manual products. Select either the integrated or manual type.
For integrated transportation:
Select a curated transportation from the list of products.
Click Continue.
Choose whether the product should be a mandatory part of the package by switching the Mandatory part of the package toggle.
Fill in the search requirements.
Fill in the information displayed in the itinerary.
Click Add.
Click Save.
For manual transportation:
Choose whether the product should be a mandatory part of the package by switching the Mandatory part of the package toggle.
Fill in the product settings:
Field | Description |
|---|---|
Departure location | The location where the product begins, such as an airport, train station, pickup location or port. |
Arrival location | The location where the product ends. |
Duration days | The total number of days the product spans. |
Earliest departure time | The earliest possible start time. |
Latest arrival time | The earliest possible end time. |
Adult selling price | The price at which the product is estimated sold to adults. As the buying cost is unknown for manual products, we recommend that you estimate a selling price covering the highest possible buying cost. |
Child selling price | The price at which the product is estimated sold to children. |
Child from age | The minimum age at which the child price applies. |
Child to age | The maximum age for the child price to apply. |
Infant selling price | The price at which the product is estimated sold to infants. |
Infant from age | The minimum age for the infant price to apply. |
Infant to age | The maximum age for the infant price to apply. |
VAT rate (optional) | The value-added tax rate applied to the product or activity, if applicable. |
Exclusion days | Specific days of the week where the product or activity is unavailable. |
Fill in the information displayed in the itinerary.
Click Add.
Click Save.
Non Bookable Item
A non bookable item is a product that is shown in the itinerary for informational purposes only. Example: meeting points, free time, self-guided visits, self-arranged transportation etc.
Enter the information displayed in the itinerary:
Field | Description |
|---|---|
Start time | The start time for the product. |
End time | The end time for the product. |
Destination | The destination where the product takes place. |
Name | The title for the product. |
Short description | A short summary providing key details about the product. |
Add icon | Upload an image/icon for the product. |
Click Add non bookable item.
Click Save.
Update a Product Added to the Itinerary
Click the three dots on the product you want to make changes to.
Click Manage product.

Remove a product from the itinerary
Click the three dots on the product you want to remove.
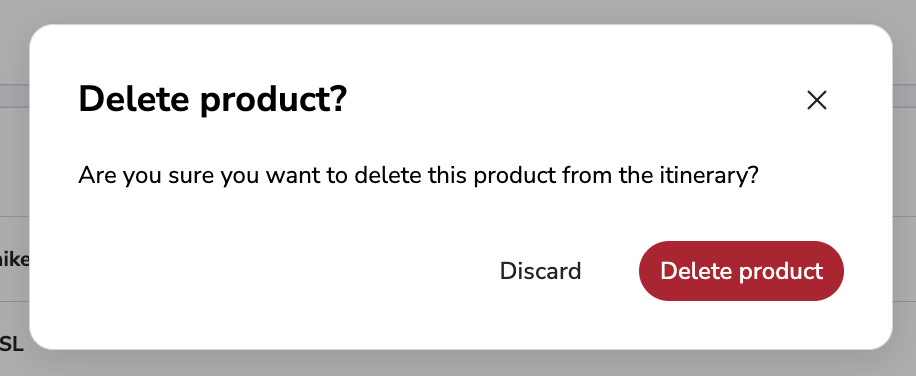
Click Delete.
Click Delete product.
Click Save.
Move the Product
Click the three dots on the product you want to make changes to.
Click Manage product.
In Search requirements, change the Day number to the preferred day.
Click Apply changes.
Click Save.
Add a New Day to the Itinerary
Click Add new day to the itinerary.

Add products to the new day.
Click Save.
Debug Package Availability
The debug function allows you to test availability for a package by entering specific details.
Select the package version you want to debug.
Click the Bug icon
 .
.

Input travel dates, select a sales channel, and specify the number of adults and children.
Click Debug.
The system will then display the availability status for each product in the package based on the provided criteria, with error messages.