
Update Package Widget Presentation
This article explains how to set up and update the widget presentation for a package, as shown on your website.
Add Information to the Package
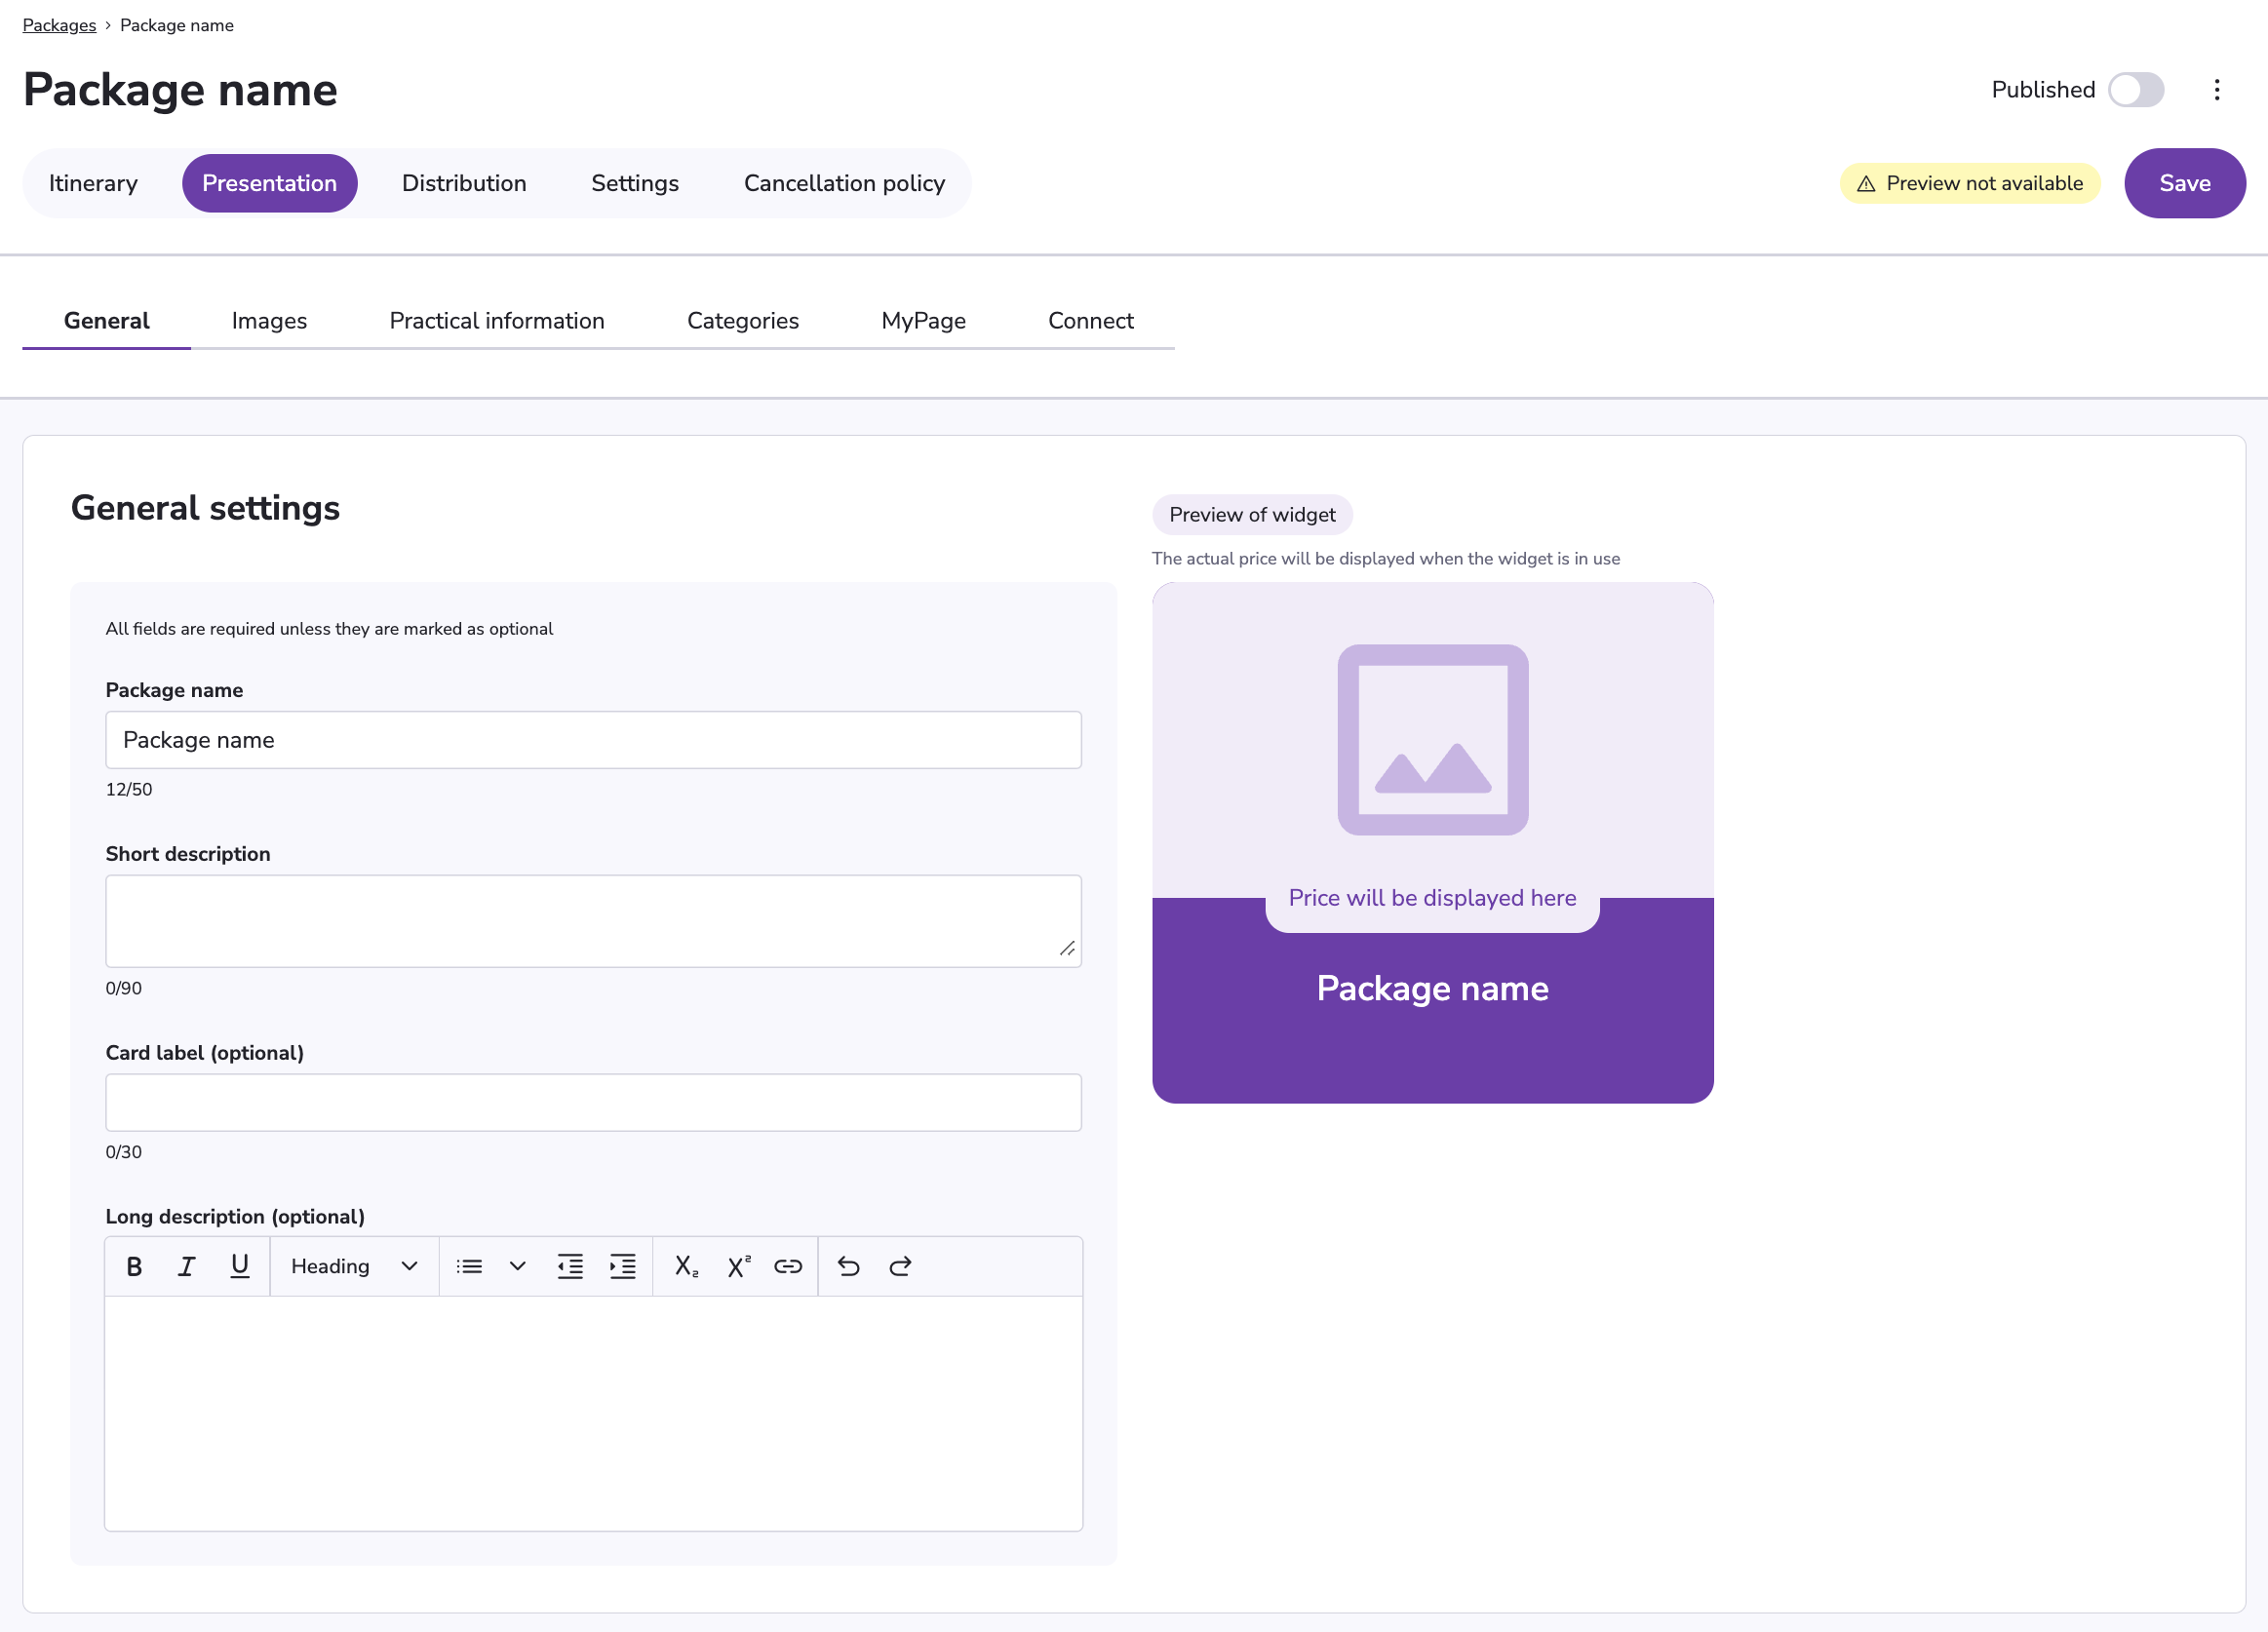
Navigate to the Presentation tab.
Under General, fill in the input fields. The widget preview will update in real-time after each change.
Package name: The name of the package, as previously set.
Short description: A brief summary highlighting key details of the package.
Card label (Optional): A customizable label that appears on the package widget, often used for tags like "Best seller" or "Limited offer". Adding a card label can help the widget stand out from the others.
Long description (Optional): A more detailed explanation of the package, providing in-depth information about the itinerary, inclusions, and other relevant details.
Click Save.
To translate the widget to different languages, click the language selector in the top bar and select another language. Fill in all input fields again in the selected language.
Click Save.

Add Images
Navigate to Images.
Click Add image.
The first image added will be the header image, displayed in the widget. The images can be rearranged later.
Manage your header image, click Add Image: This will open Blends image bank. You can select a previously uploaded image, or upload a new one. Click on your preferred image, and click Select.
Title (Optional): The name or headline given to the image, often used for identification or display purposes.
Description (Optional): A brief explanation or context for the image, detailing what is shown or providing relevant information about the image.
Alternative Text (Optional): A textual description of the image used for accessibility purposes, providing context for those who may have visual impairments or when the image cannot be loaded.
Credit (Optional): The attribution or acknowledgment of the photographer or source of the image, typically included for copyright purposes.
To upload another image, click Add image.
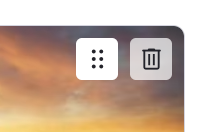
To select a different image as the header image, click the 6 dots on your preferred image, and drag and drop this image to the far left.
Click Save.
Add Practical Information
Navigate to Practical information.
To add a new section with practical information about the package, click Add practical information.
Click Add Image: This will open Blends image bank. You can select a previously uploaded image, or upload a new one. Click on your preferred image, and click Select.
Title: The title for this specific practical information section.
Description: The description about this specific practical information section.
Display in email: If this is toggled on, this specific practical information section will be displayed in the confirmation email sent to the customer when booking.
To add another section, click Add practical information.
Click Save.
Add categories
Navigate to Categories.
To add a category to the package, click on one or more of your activated categories.
To manage the categories, go to Settings → Categories.
To remove a category from the package, click on the added category.
Click Save.
Add Links to My Page
Navigate to MyPage.
Click Add link to MyPage.
Click Add Image: This will open Blends image bank. You can select a previously uploaded image, or upload a new one. Click on your preferred image, and click Select.
Title: The title for this specific link.
Description: The description about this specific link.
Link URL: The URL for this link. The link has to start with “https://”.
Click Save.
Connect the Widget to an External Product Page
This section allows you to customize what happens when a user clicks on a widget on your website.
By default, clicking the widget opens the Blend product modal with all package details. However, you can choose to direct users to a dedicated page on your website or an external site instead. If no URL is entered, the widget will continue using the Blend product modal.
Navigate to Connect.
To add a link to an external product page, paste the link in the “External URL” input field.
Click Save.