
Create a Product, Part 2: Add Product & Price Categories
Before you get started creating your products, you’ll first need to set up your Product Categories and Price Categories.
Product Categories help you organize your offerings into groups and you can retrieve reports later. For example, you may categorize your products by season (ex. “Winter” or “Summer”) or terrain (ex. “Land” and “Water”).
Price Categories are the different ticket options your customers can select when booking your product (ex. “Adult” or “Child”).
Add a New Product Category
Navigate to Products → Settings → Categories.
Click Add new product category.
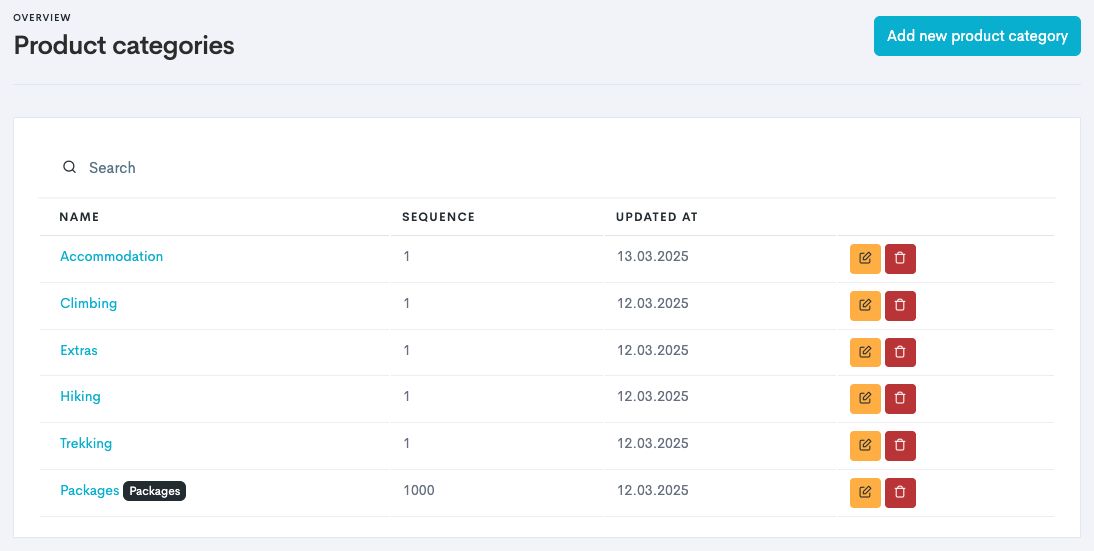
Enter the Name of your product category.
Click Create.
Add a New Price Category
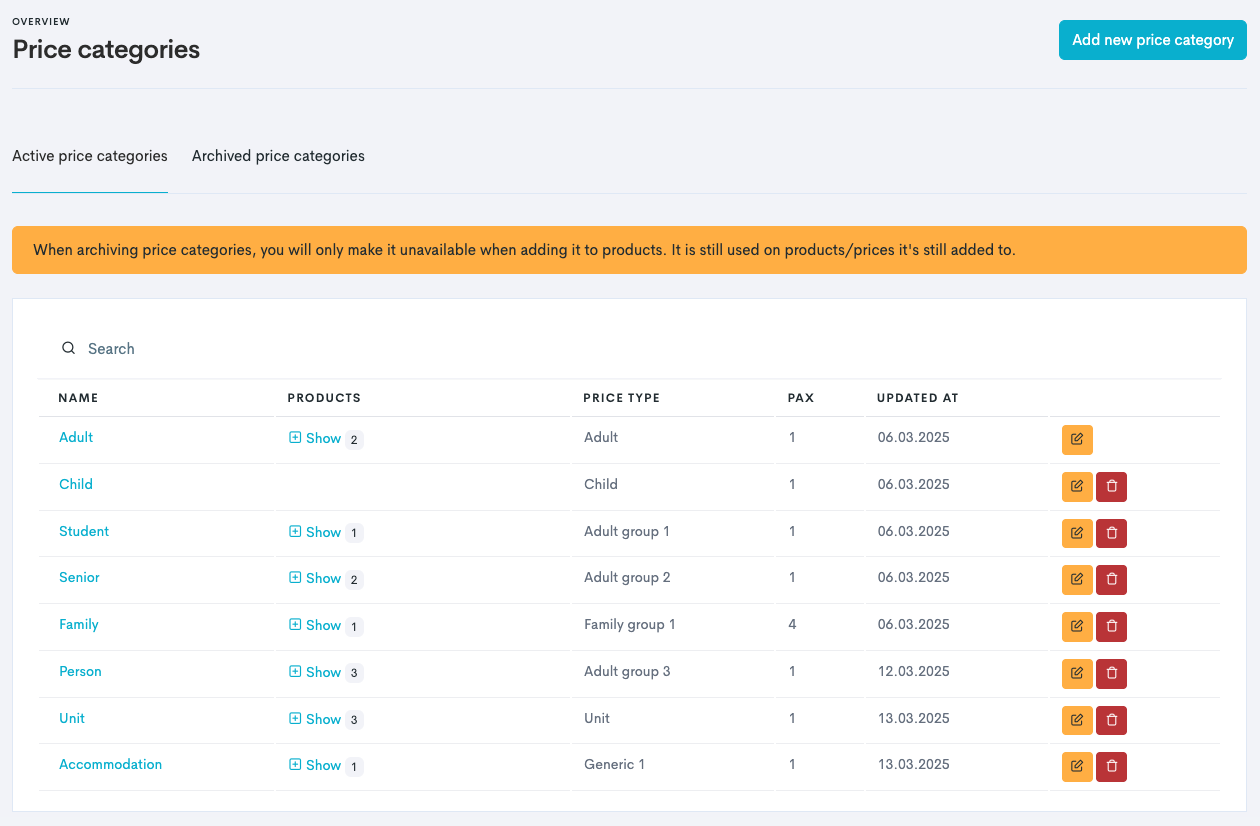
Navigate to Products → Settings → Price Categories.
Click Add new price category.
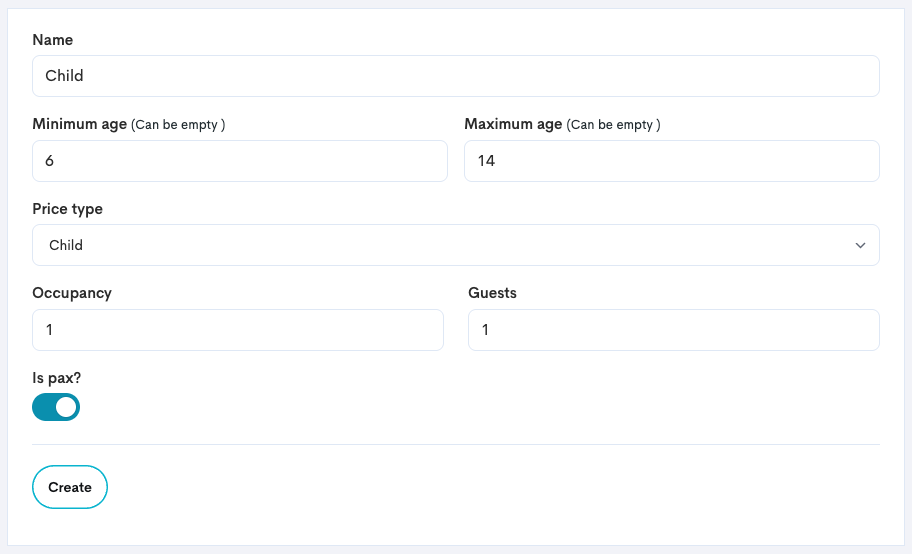
The Price Category Overview
Enter the necessary information:
Field | Description |
|---|---|
Name | This is what your customer will see when booking. |
Minimum/Maximum age | If this ticket has age restrictions. |
Price Type | This is a label for the system to know the difference between the different prices. Aim to create price categories with different price types. |
Occupancy | This sets how many seats one ticket should take from the capacity of the tour. |
Guests | This sets how many guests one ticket should count for when booked. Should normally be the same number as set in Occupancy. |
Is pax? | Toggle on Toggle off ⚠️ Be aware that guest list fields are not showing when toggled off. |
Click Create.
The Price Category will appear in the Price Category Overview.
In the overview, click the Price Category name.
Click Translations tab.
Add language translations for the Price Category (this is customer facing).
What’s next?
Now you’re ready to create your first product!