
Create or Update Sales Channels
This is a step-by-step guide on how to create and update your sales channels.
Creating a Sales channel
Navigate to Settings → Sales Channels.
Click Create new sales channel.
Add Name.
Add Description.
Click Ok, save.
Updating a Sales Channel
We recommend to press the save button after editing or applying information for each tab.
Information tab:
Name: Edit the name of your sales channel.
Description: Edit or add a description.
Selling Currency: Add a currency for this sales channel.
Destination tab:
Click on Add destination.
Find the destination you want to add from the dropdown menu.
Click Add destination.
Payment tab:
Click on the payment provider that you want to add.
Based on the option you choose, fill out the fields that appear for that payment provider.
Click Add “insert payment providers name”.
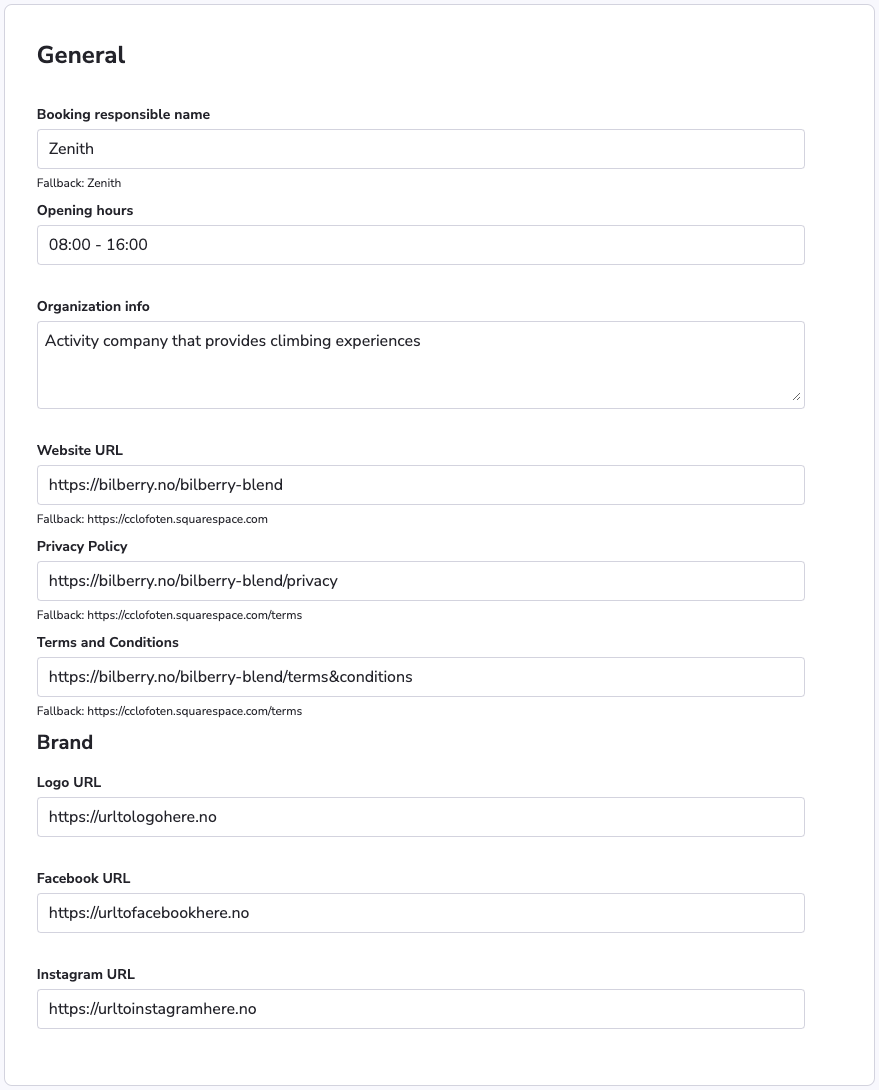
Settings tab:
Fill inn the different fields for the general settings:
Fill out Contact information.
Click Save.
For more information on how to add a sales channel to a product, visit Activity Distribution