Enable Partner Network
Partner Network refers to when two Base users are collaborating and selling each others products (or just one way). Please note that this is applicable only when both parties are using the software system Base, and requires mutual agreement between the two.
In this guide, we will illustrate the process using two entities, the first one being Zenith Adventures (Zenith for short) which will act as an agent for the other. The second one being Nadir Experiences (Nadir for short), being a supplier to the agent.
Setup for Supplier
In this example, Nadir (the supplier) will have to add Zenith as an agent in their Base instance.
Navigate to Customers in the left side menu.
Click Overview.
Click Add new customer.
Follow the steps in the guide about how to Create an Agent.
When the agent is created, you will be taken to the Customer Card.
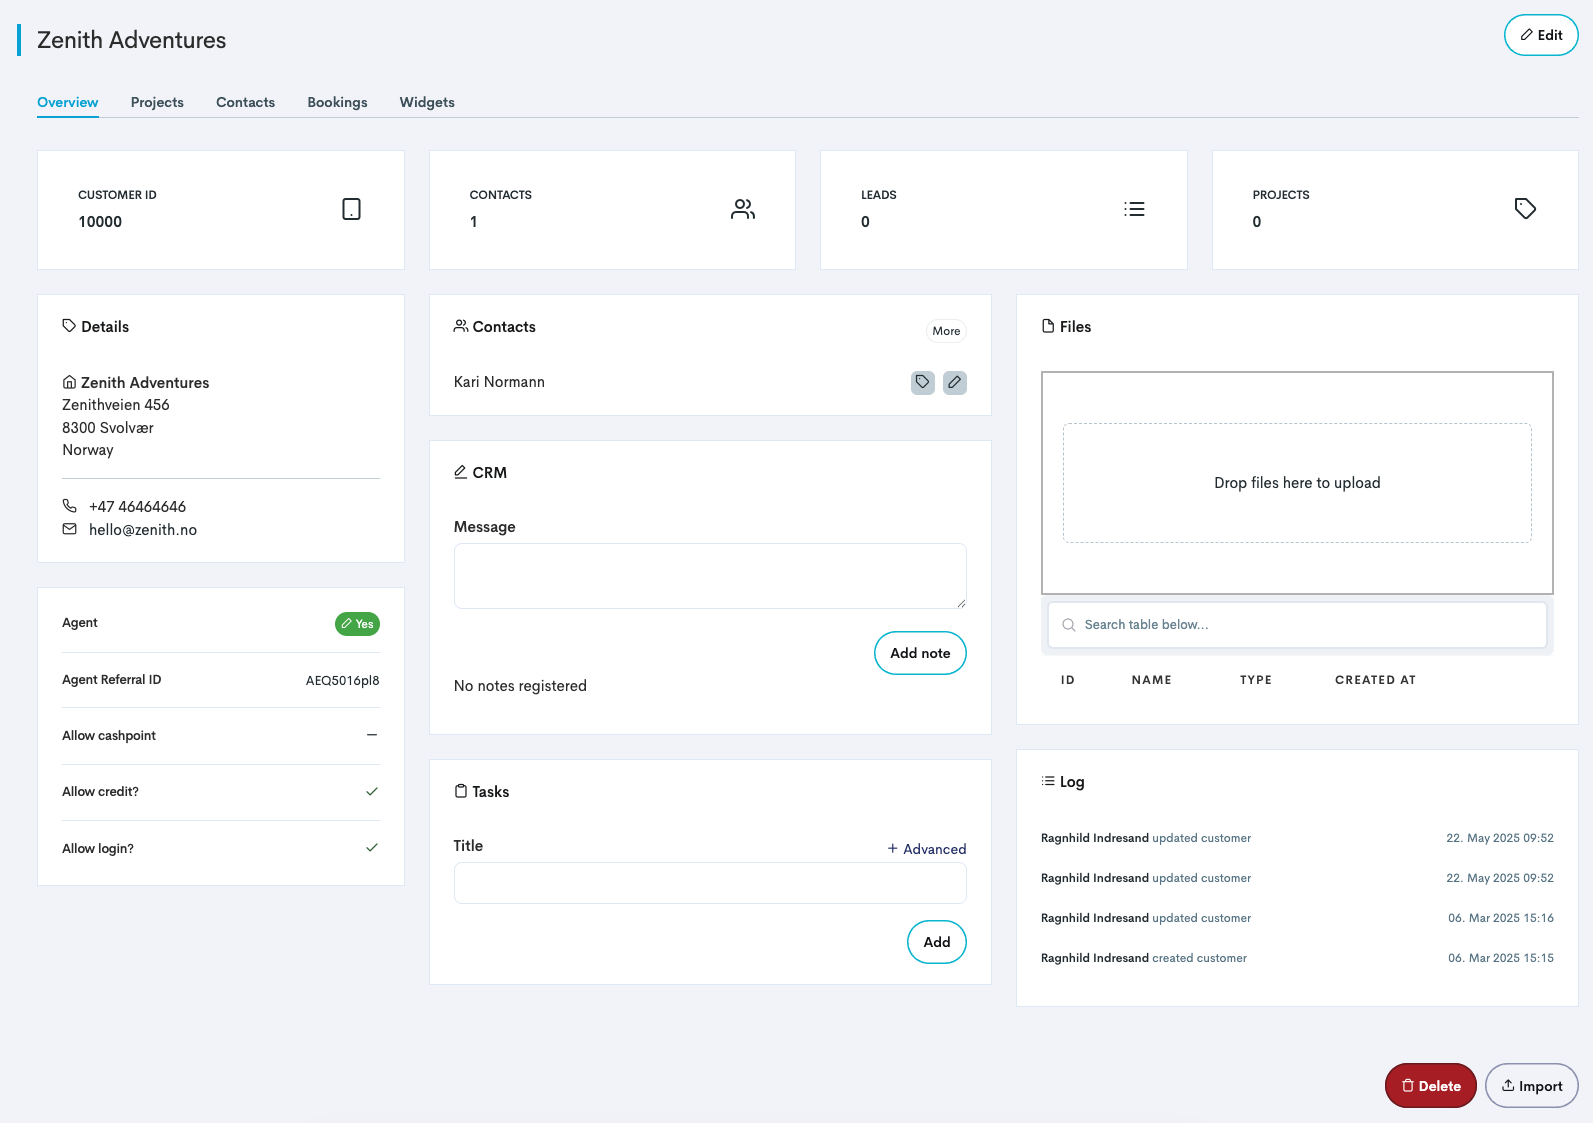
The Customer Card.
As a next step, the products that should be available for the agent to resell, must be activated.
In the Customer card, navigate to the Widgets tab.
In the section Product provision, select a product which the agent should be able to resell from the drop down menu.
Add Commission and Referral percentage.
Commission: The commission percentage the agent receives on a booking where he/she must log in and complete the booking personally.
Referral: The commission percentage the agent receives on bookings made through the agent’s referral link.
Click Add.
When all products are added to the Agent card, the next step will be to create a token.
In the Customer card, navigate to the Widgets.
Scroll down to the section Agent token.
Click Generate token. A token is generated, an looks something similar to this:
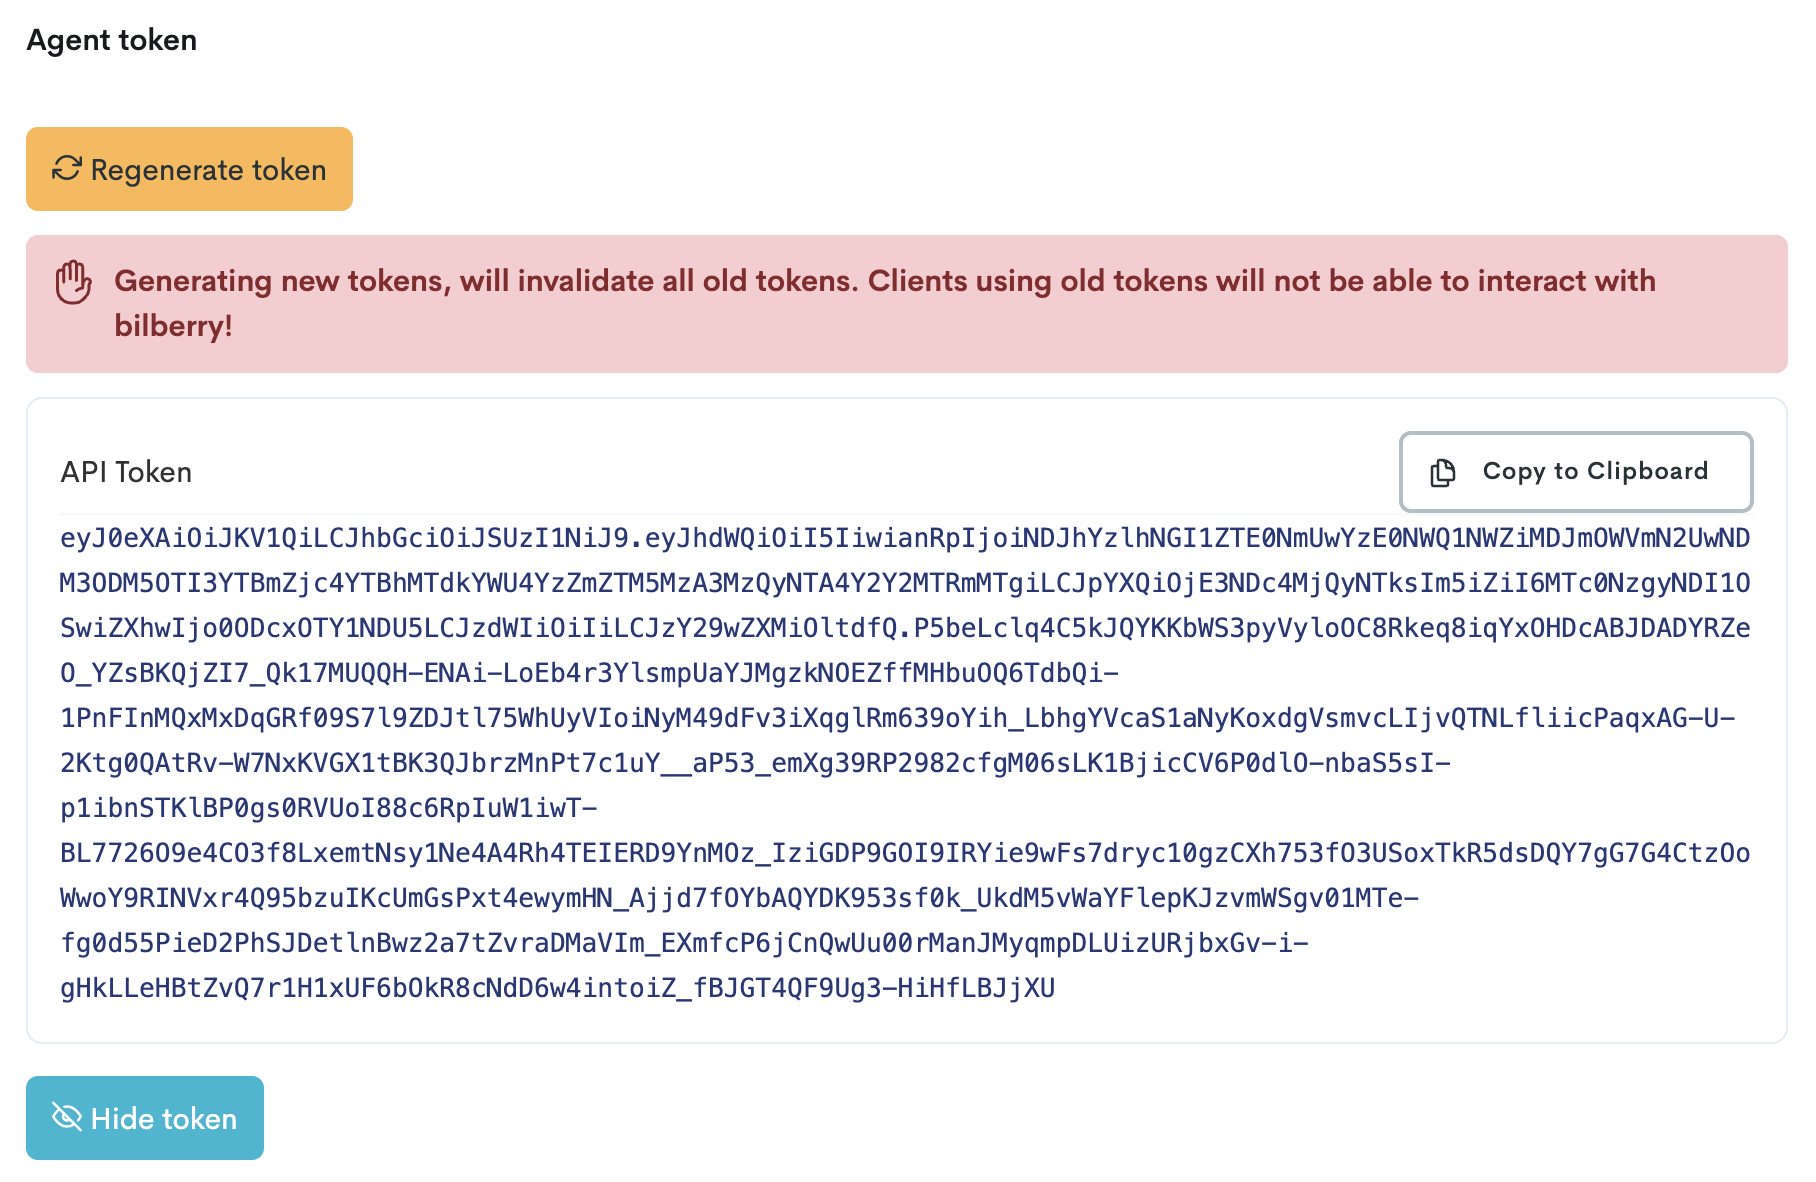
How a generated token looks like.
Click Copy to Clipboard to copy the token and send it to the agent you want to partner up with.
In the next section, select what type of payment method should apply to this agent and, if applicable, mark if the agent is a Blend user (which is our second software system).
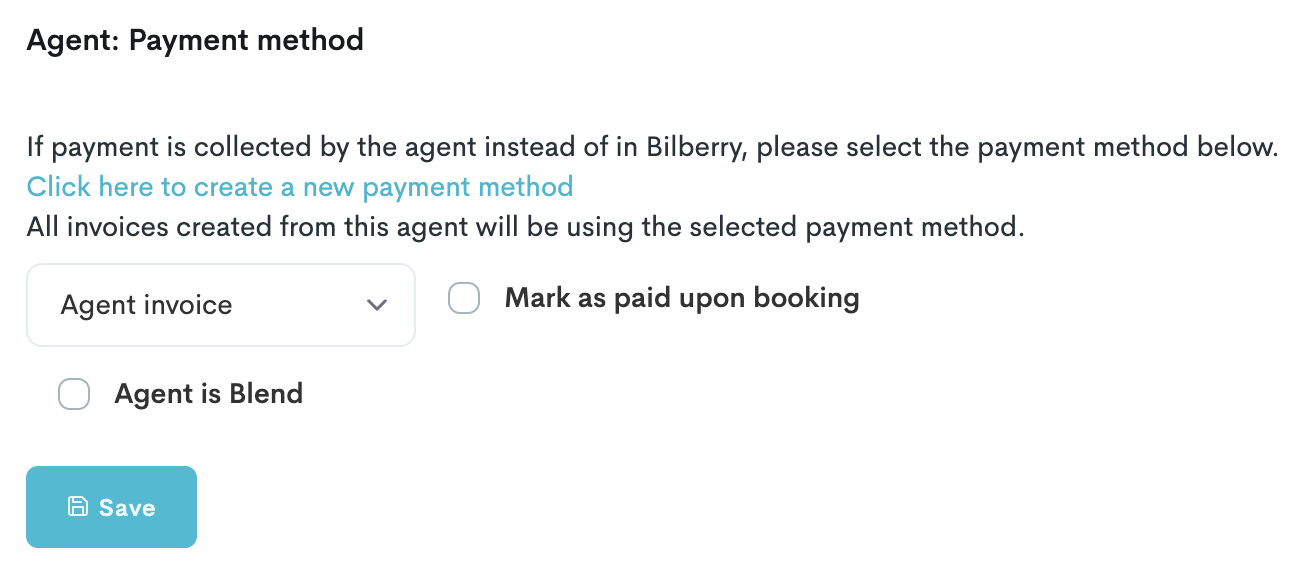
Set the payment method of each specific agent.
Setup for Agent
Now that the Supplier has created an agent, added products and created a token, the Agent will have to add Nadir as a supplier in their Base instance (zenith.bilberry.app).
Navigate to Suppliers in the left side menu.
Click Overview.
Click Create.
Add all credentials for the supplier (name, email, phone number etc.).
Click Create.
When the Supplier has been set up properly and created, some extra adjustments are needed.
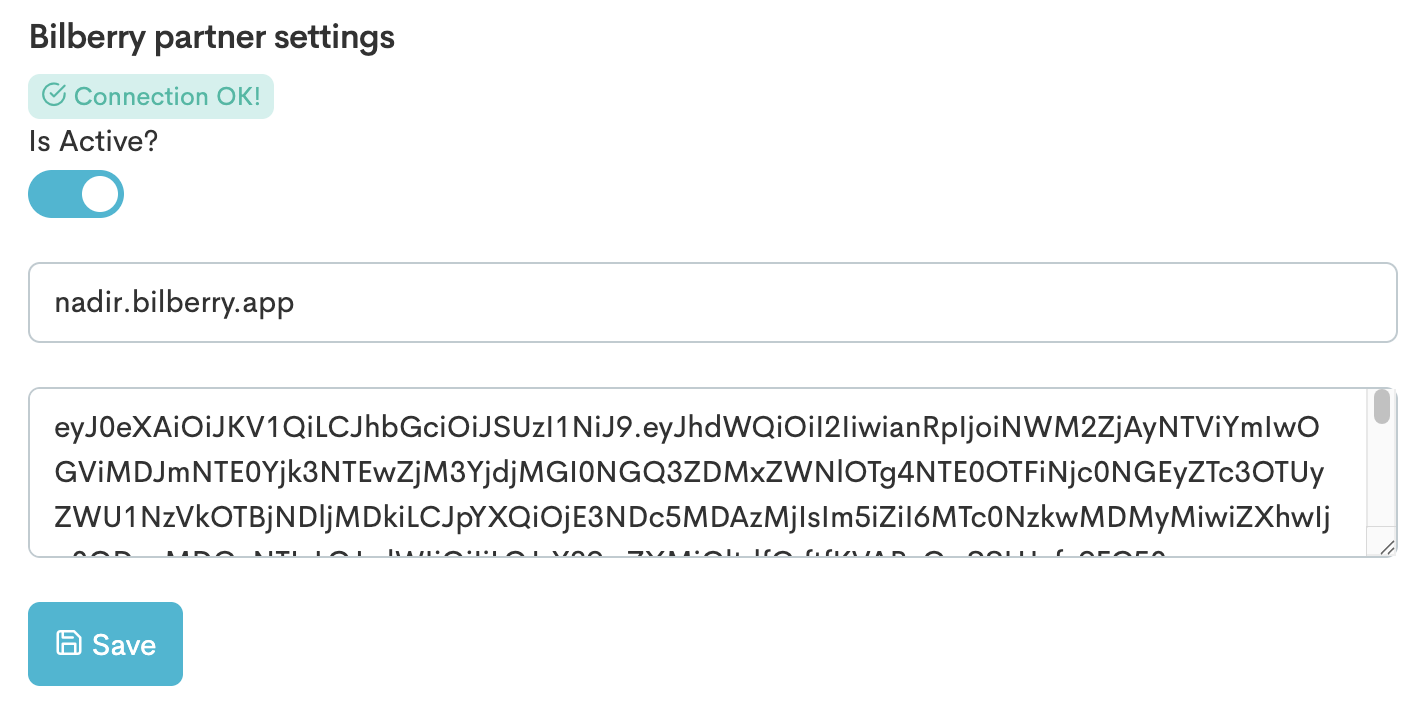
In the customer card, navigate to the Partner tab.
Click Settings.
Toggle
 Is Active? on.
Type in the domain (instance) of the Supplier.
This is the domain without https:// → In this case: nadir.bilberry.app.
Add the API token that was shared by the Supplier.
Click Save.
Now that the connection between Agent and Supplier is up and running, the Agent need to import the products which the Supplier has made available to the Agent.
Click the Products tab. The products that is shared by the Supplier will be listed here.
Click the green Import button to the right of the product(s) you want to import.
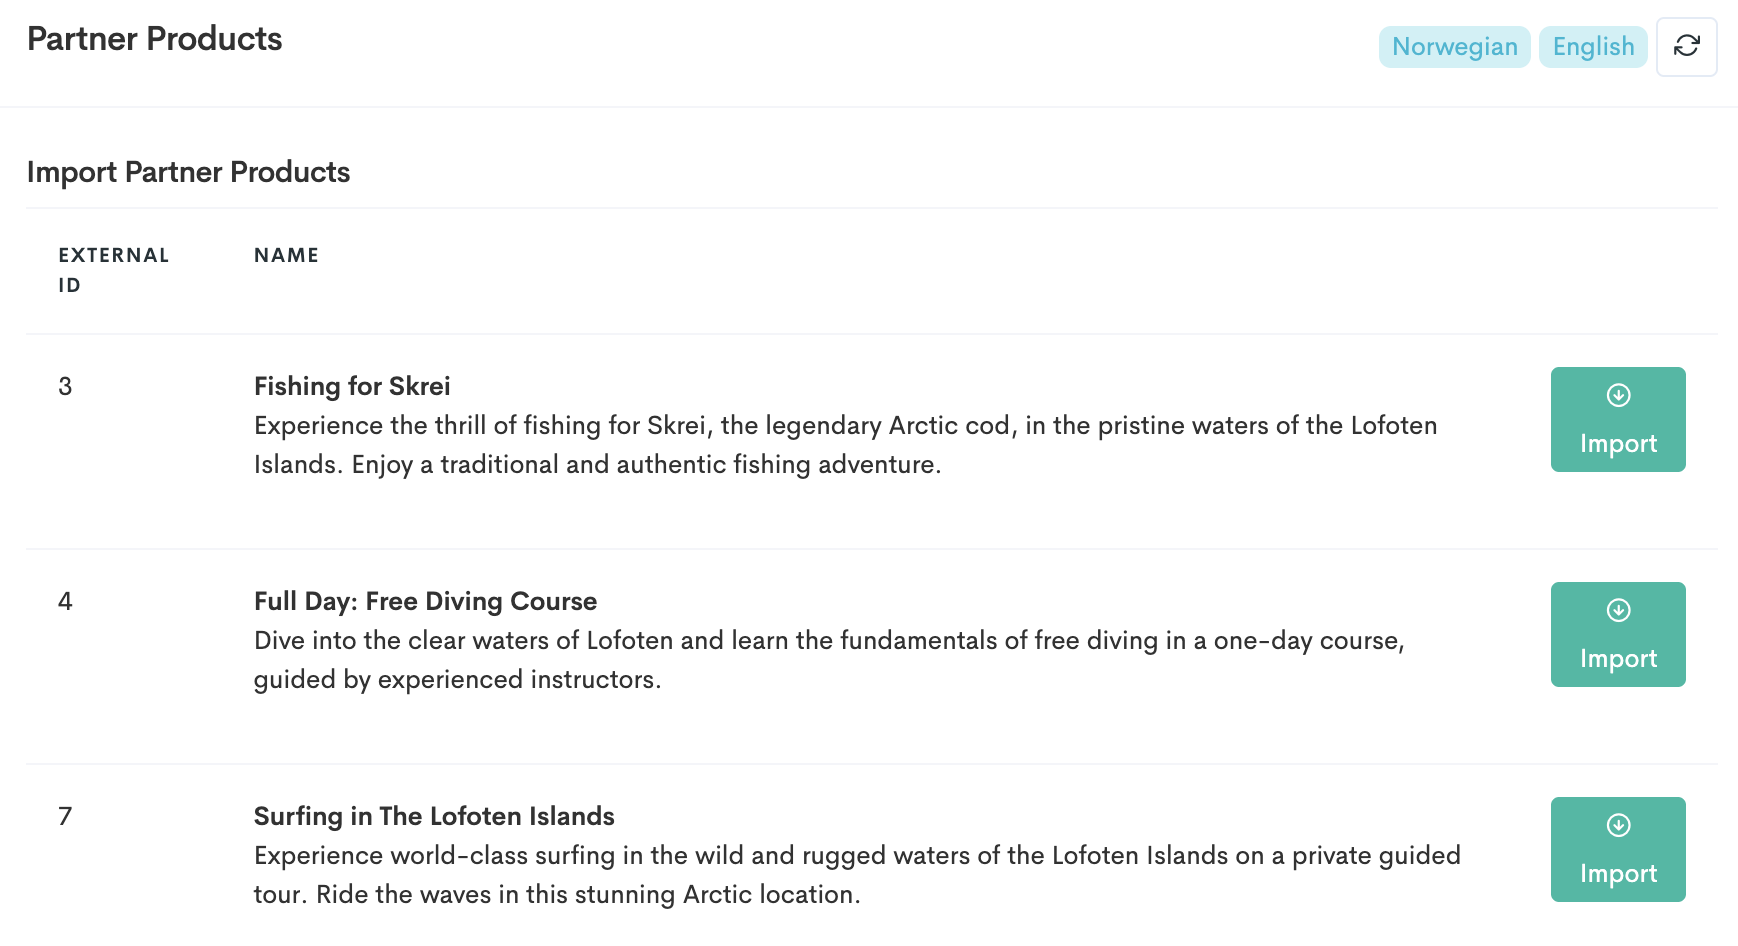
The available products to import.
The inherited partner products can be found by the Agent by navigating to Products → Products → Partner products. The Agent is now ready to sell the products from the Supplier, and can go ahead and add these products to their website using widgets 🌟
To learn about what widgets are, you can visit our guide Widgets Explained.
To learn how to add widgets to a website, please visit our guide on how to Add the Configuration Code to a Website.
Partner Network for Private Event
When creating a Private Event, often built from several different products, it is possible to add inherited products from a supplier, as well as the agents own products, to the private event.
Navigate to Projects.
Create a project (private event) by following the steps in our article about how to Create and Build a Private Event.
When a private event is created, start adding products to the event.
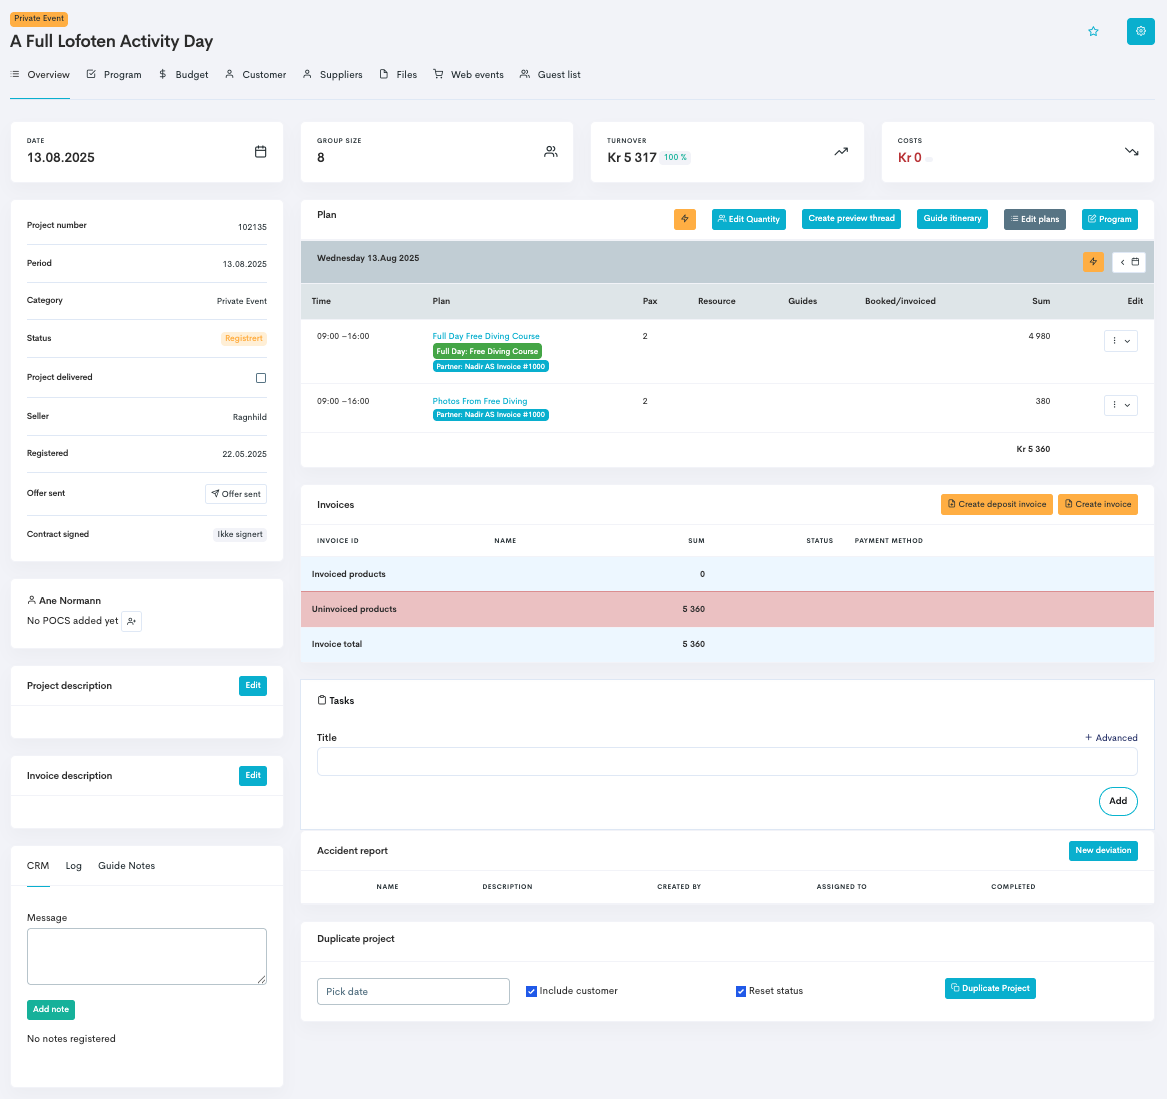
The Project Card.
In the Private Event, click the Program tab.
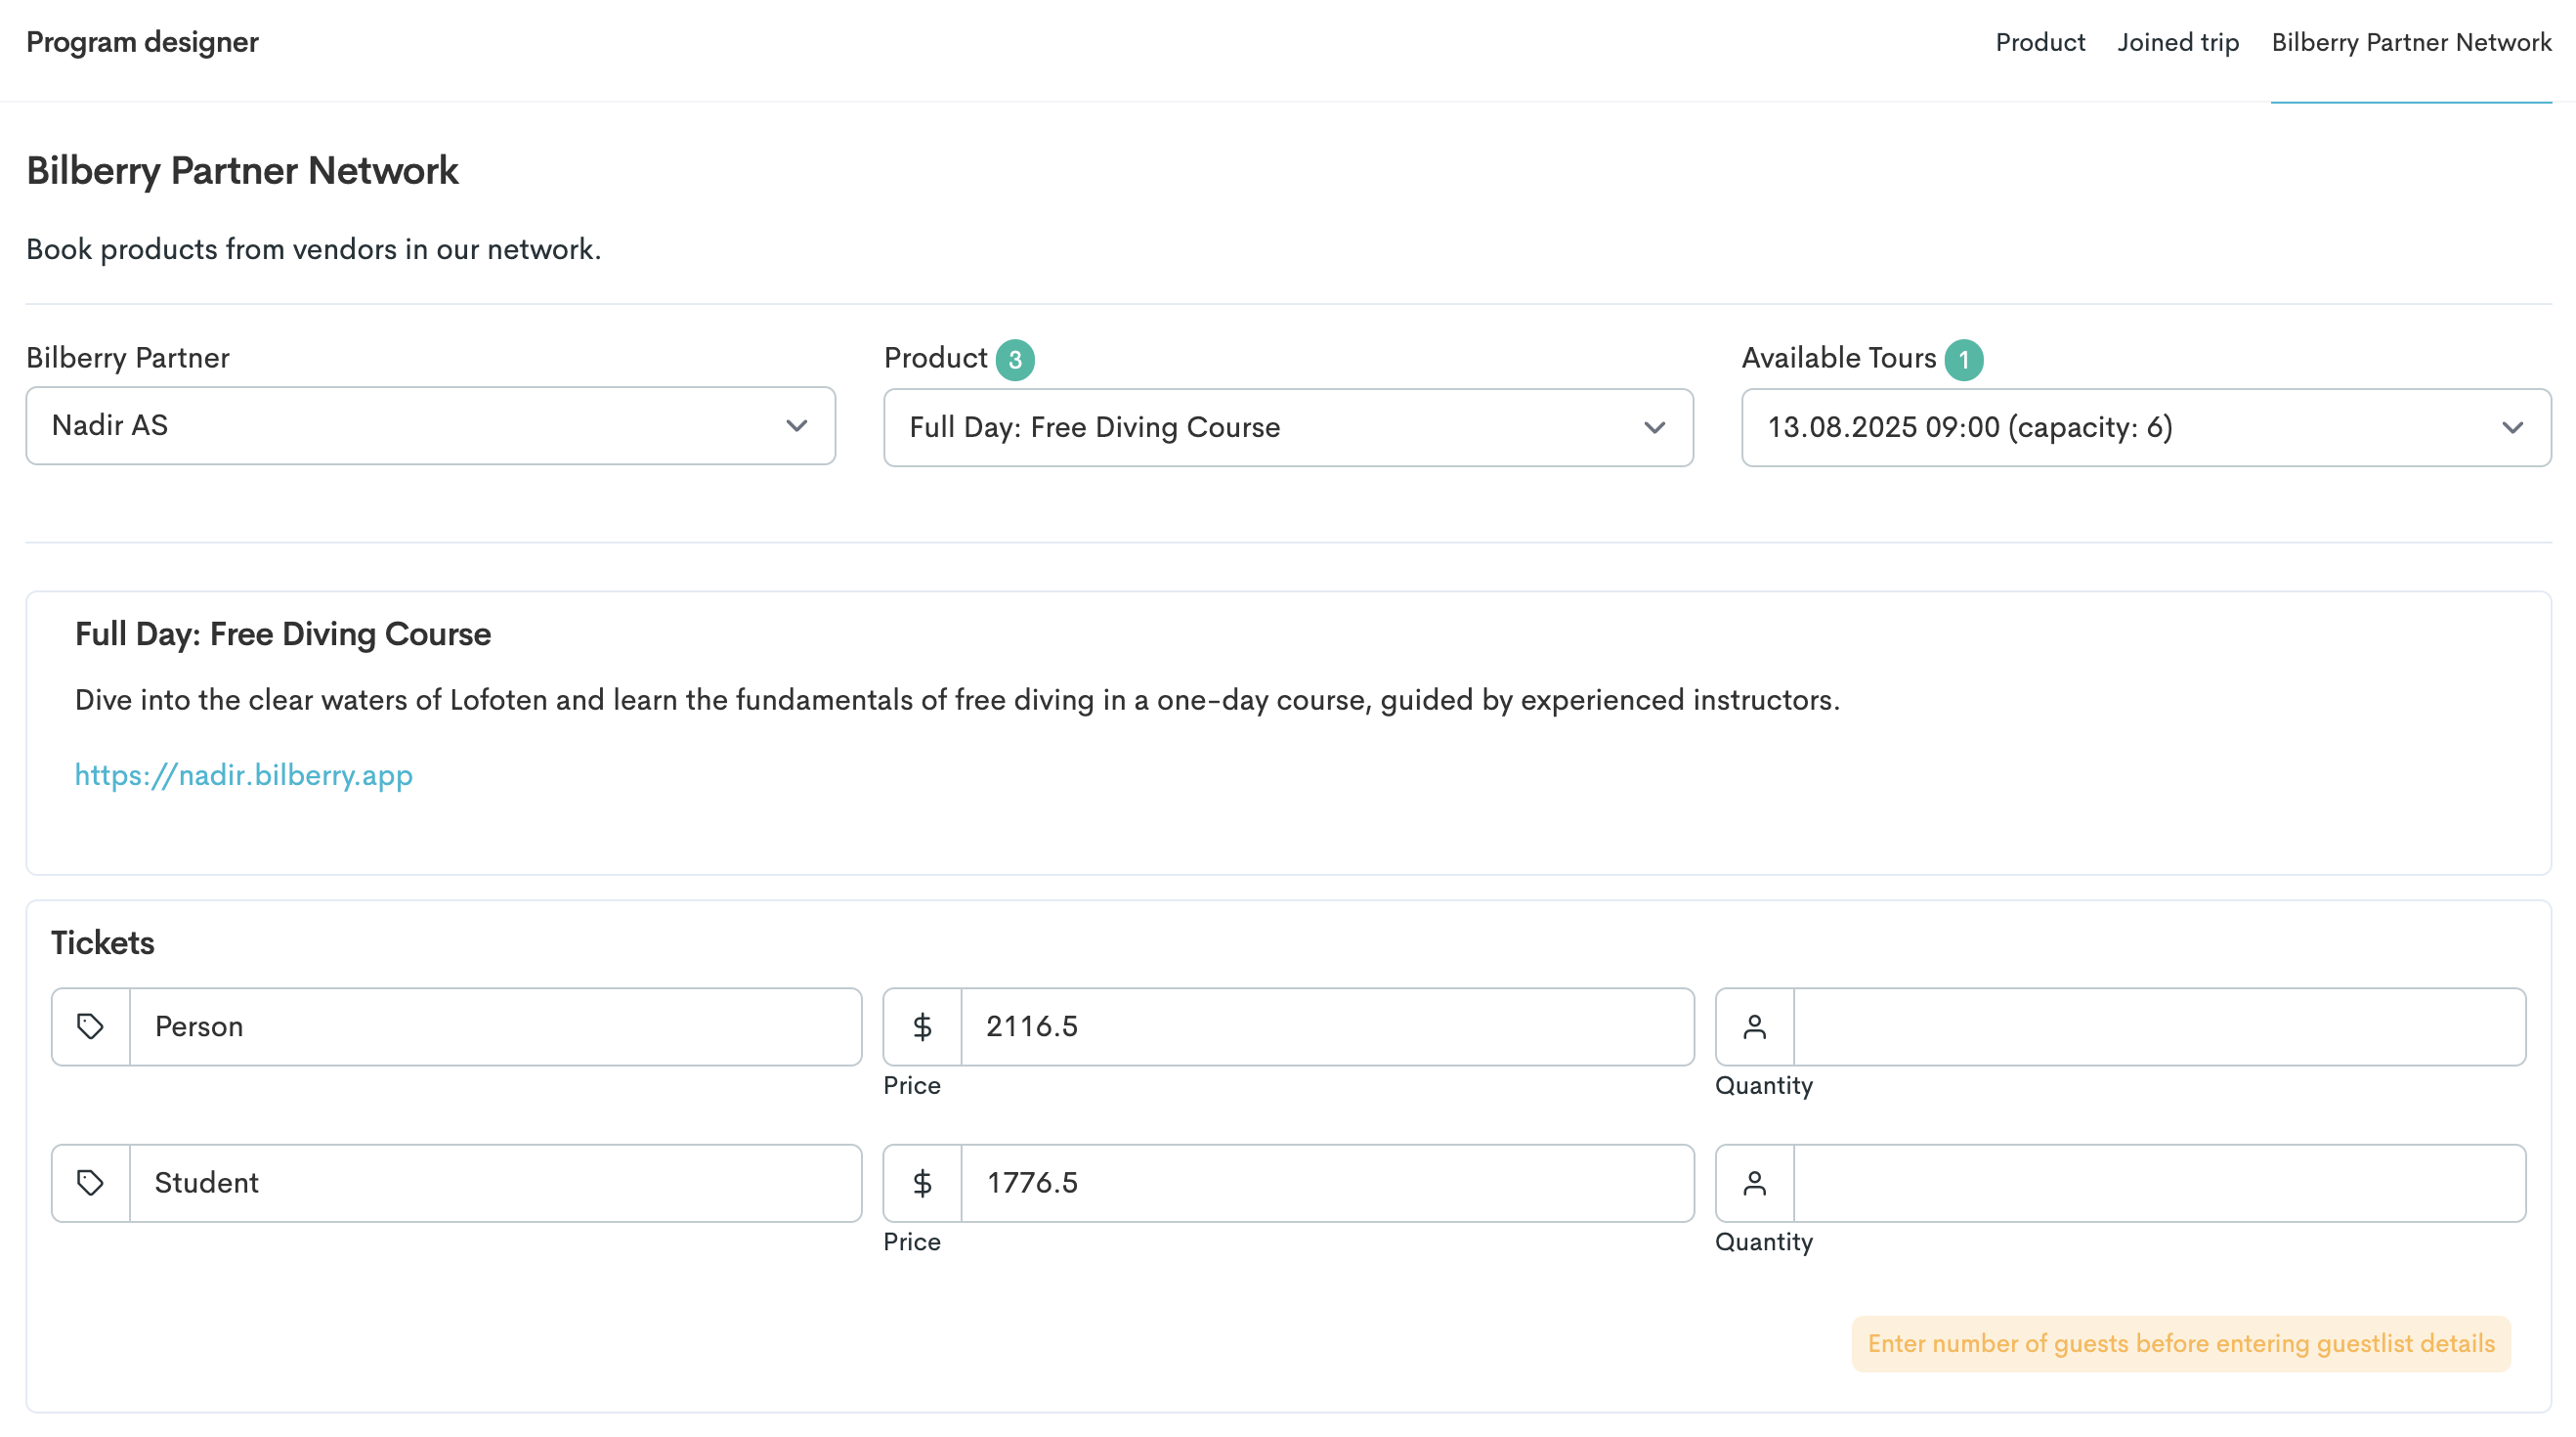
In the top right corner of the Program designer section, click the Bilberry Partner Network tab.
Select a supplier from in the drop down menu.
Select a product from the supplier to add to the private event of the ones available.
You will now see the available tours for the chosen product based on the date(s) you have selected on the private event.
Select the specific tour you want to add.
Add the quantity of tickets you want to order. When you do this, and if added, guestlist fields and/or order fields will appear.
(If applicable) Enter info in the guestlist/order fields.
(If applicable) Add the quantity of extra products to add and book.
Click Book from Partner.
The Partner Network product is now added to the private event 🌟
The Supplier will get a notification saying they have received a booking from the Agent.
Cancel a Partner Booking
It is a different process to cancelling a partner product than canceling your own product.
Navigate to Suppliers in the main menu.
Click the supplier where you want to cancel a booking.
Click the Partner tab.
In the Bookings section you will find a list of the Partner bookings that has come through.
Find and click View project to the right of the booking which you want to cancel.
In the project card, find the Program section.
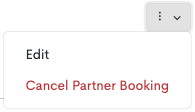
Click the Edit button.
Click Cancel Partner Booking. This will automatically remove the booking from the Partner Tour and the partner will be notified.